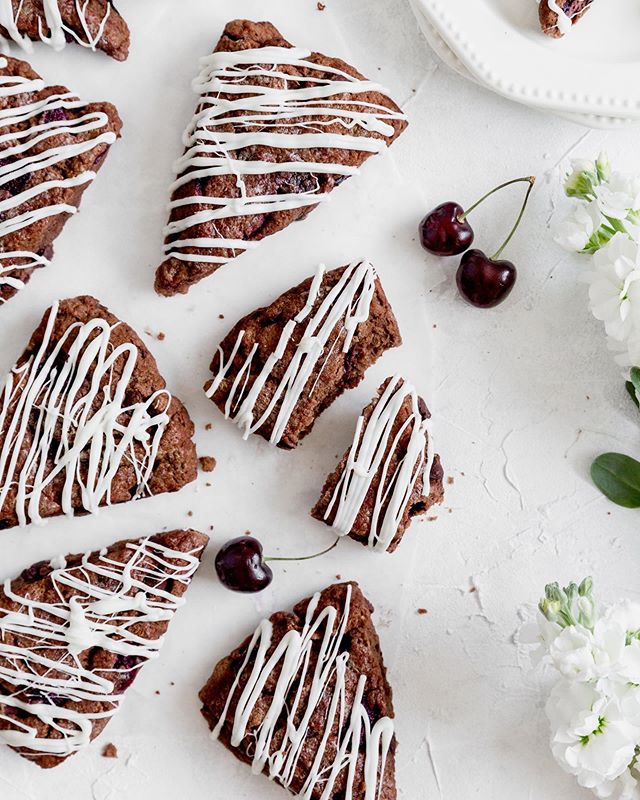
Banana Pudding Ice Box Cake
/
Dining room chairs have become the bane of Alex and my’s existence. Before we moved out from Minnesota we sold a few furniture pieces, some of which were the dining room table and chairs that we had gotten from Craigslist, in order to fit all our stuff in a UHaul truck. We were slow to get a new table and chairs here as we wanted to be able to see the furniture and test it out in person. And with Alex always at the hospital, we had little time to furniture shop. We finally got a dining room table that we really like...almost 3 months after moving in, but who’s keeping track haha. We found chairs at the same store that we liked, but they only had 4 instead of 6, and since we want uniform chairs, we passed. After many google searches we ordered chairs from Target to be delivered to the store as we both work during the day. The delivery date kept being pushed back, until finally 2 weeks after they were supposed to have arrived, Target just cancelled the order and refunded our money! Gah! So now we have to start over and neither of us are too thrilled by it. Who would have thought finding dining chairs would prove to be soooo difficult!
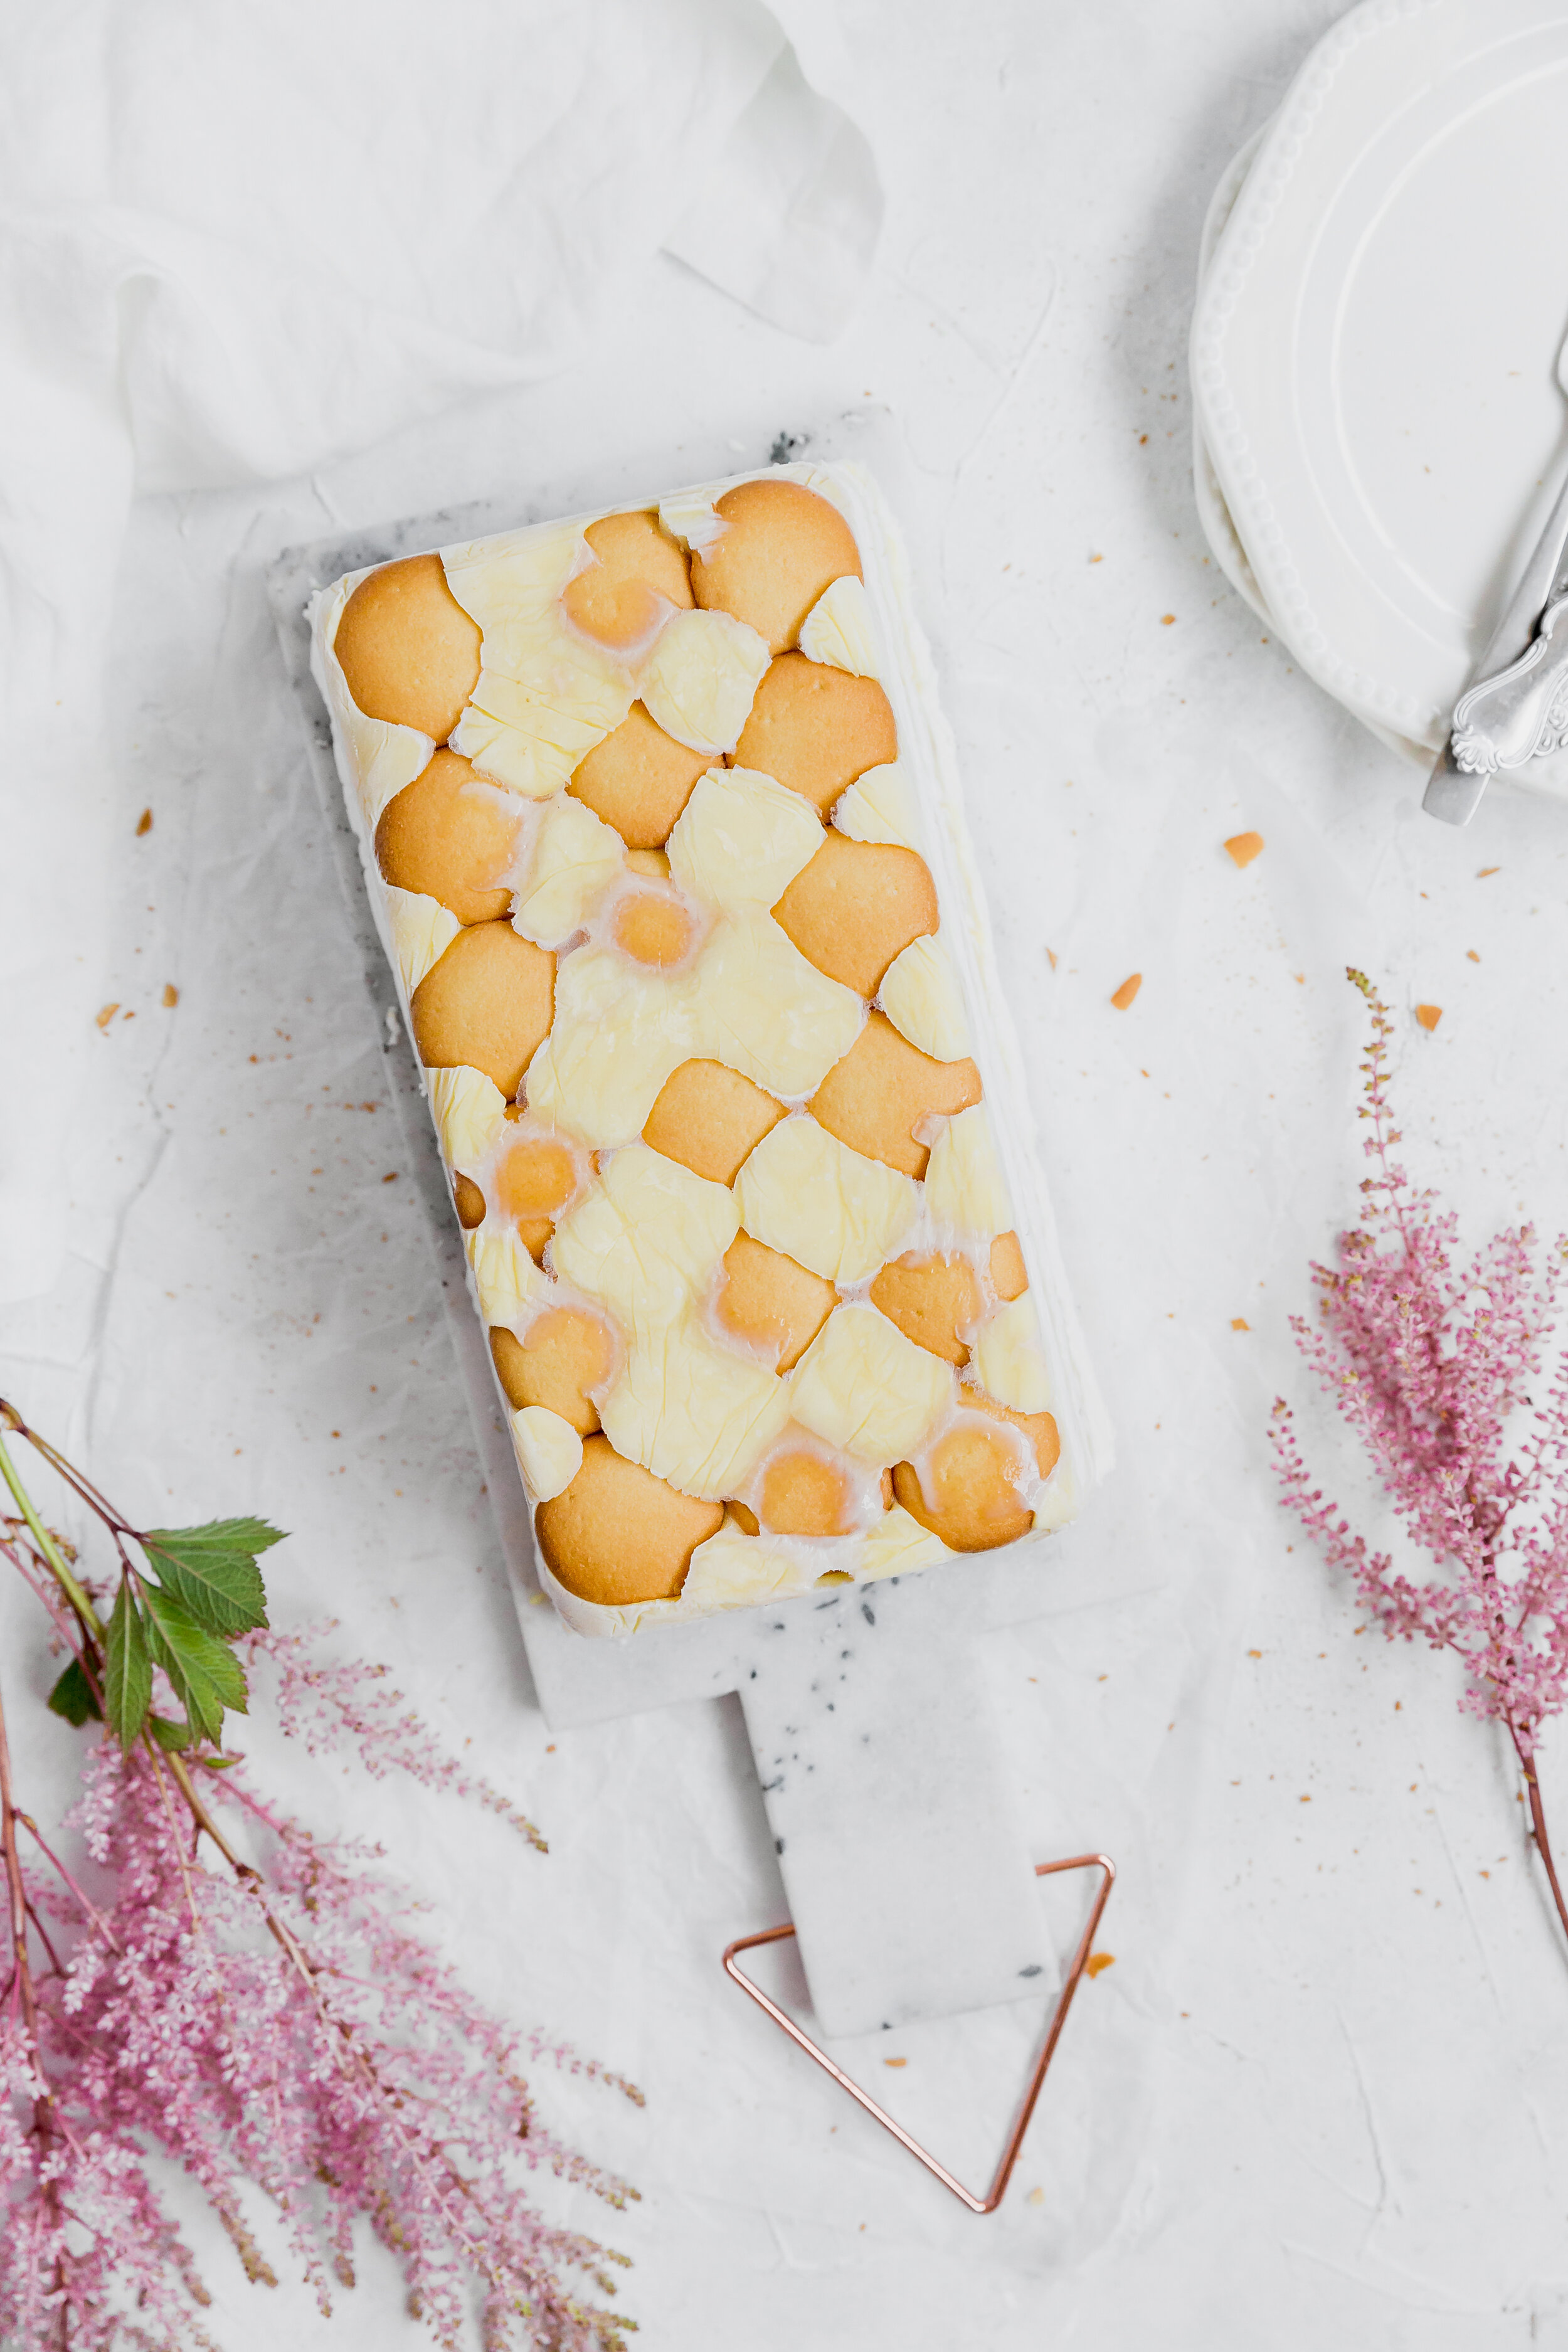
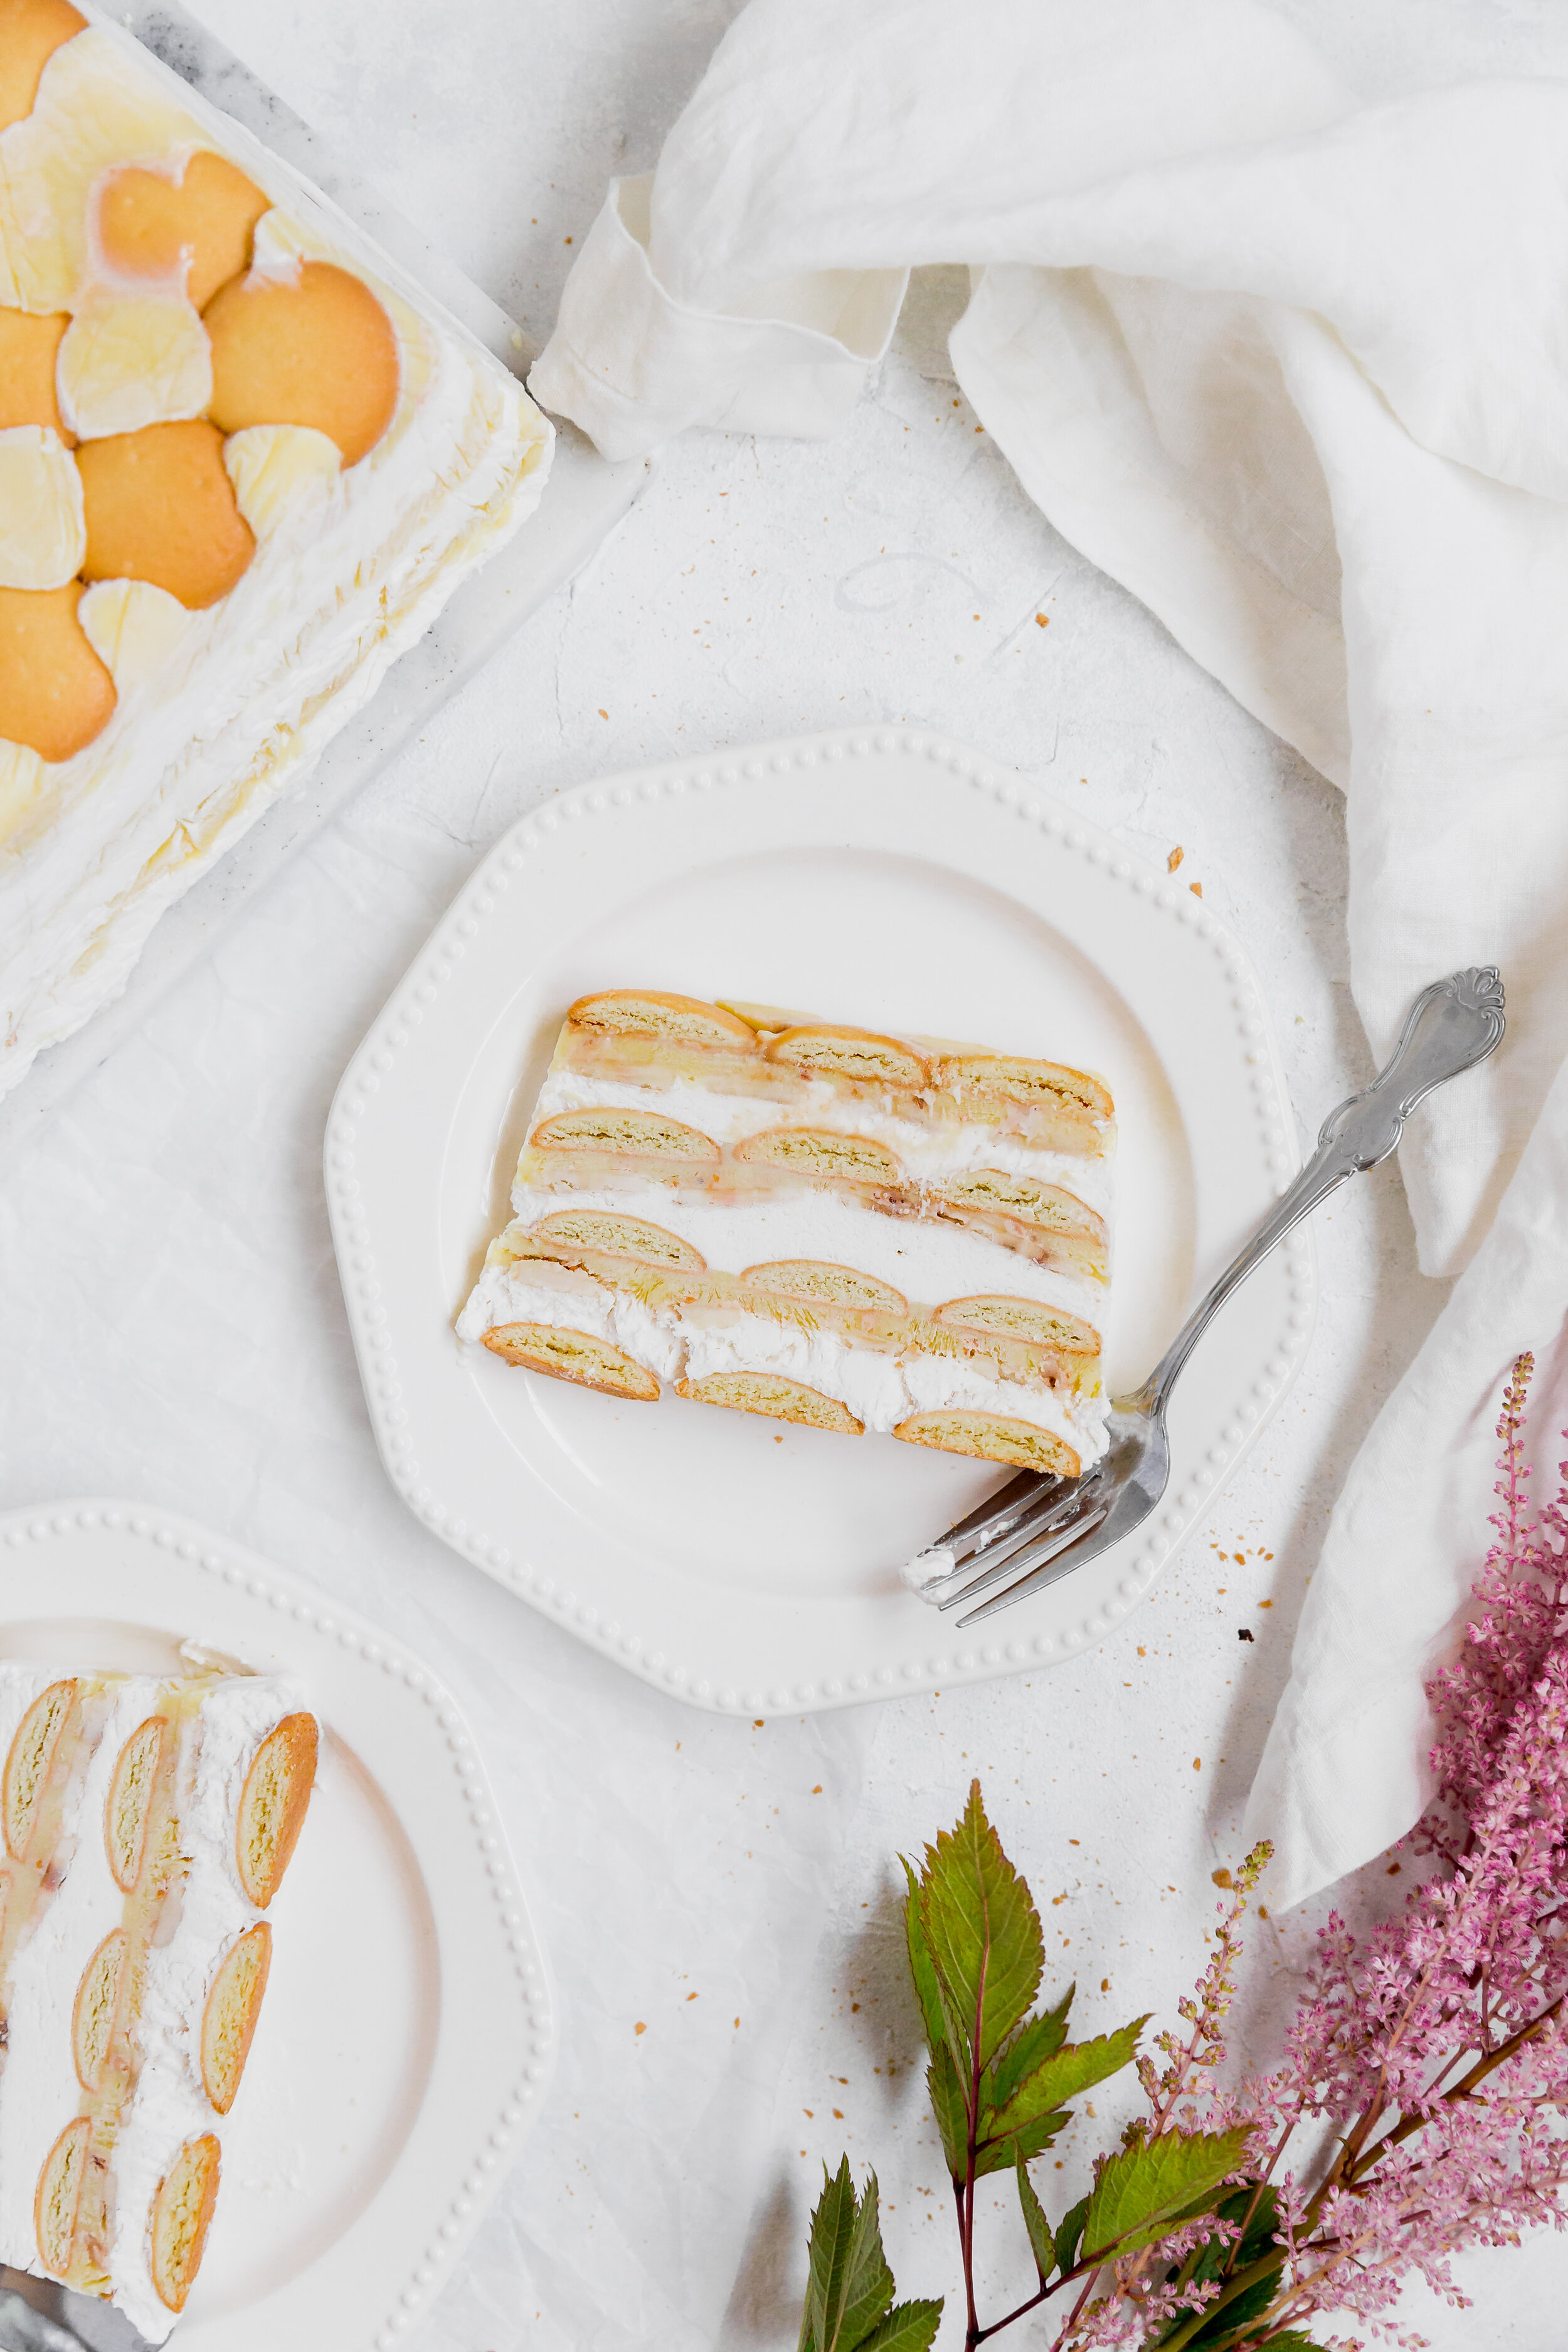
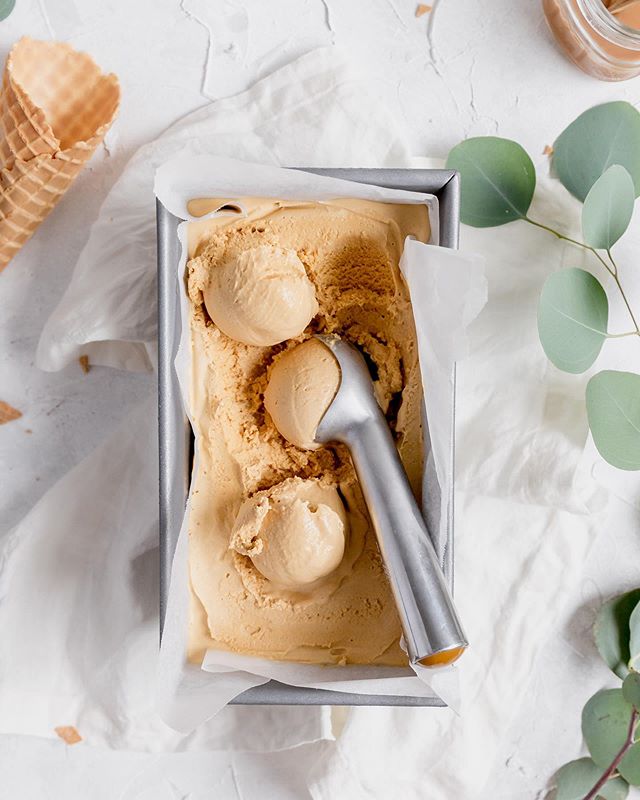
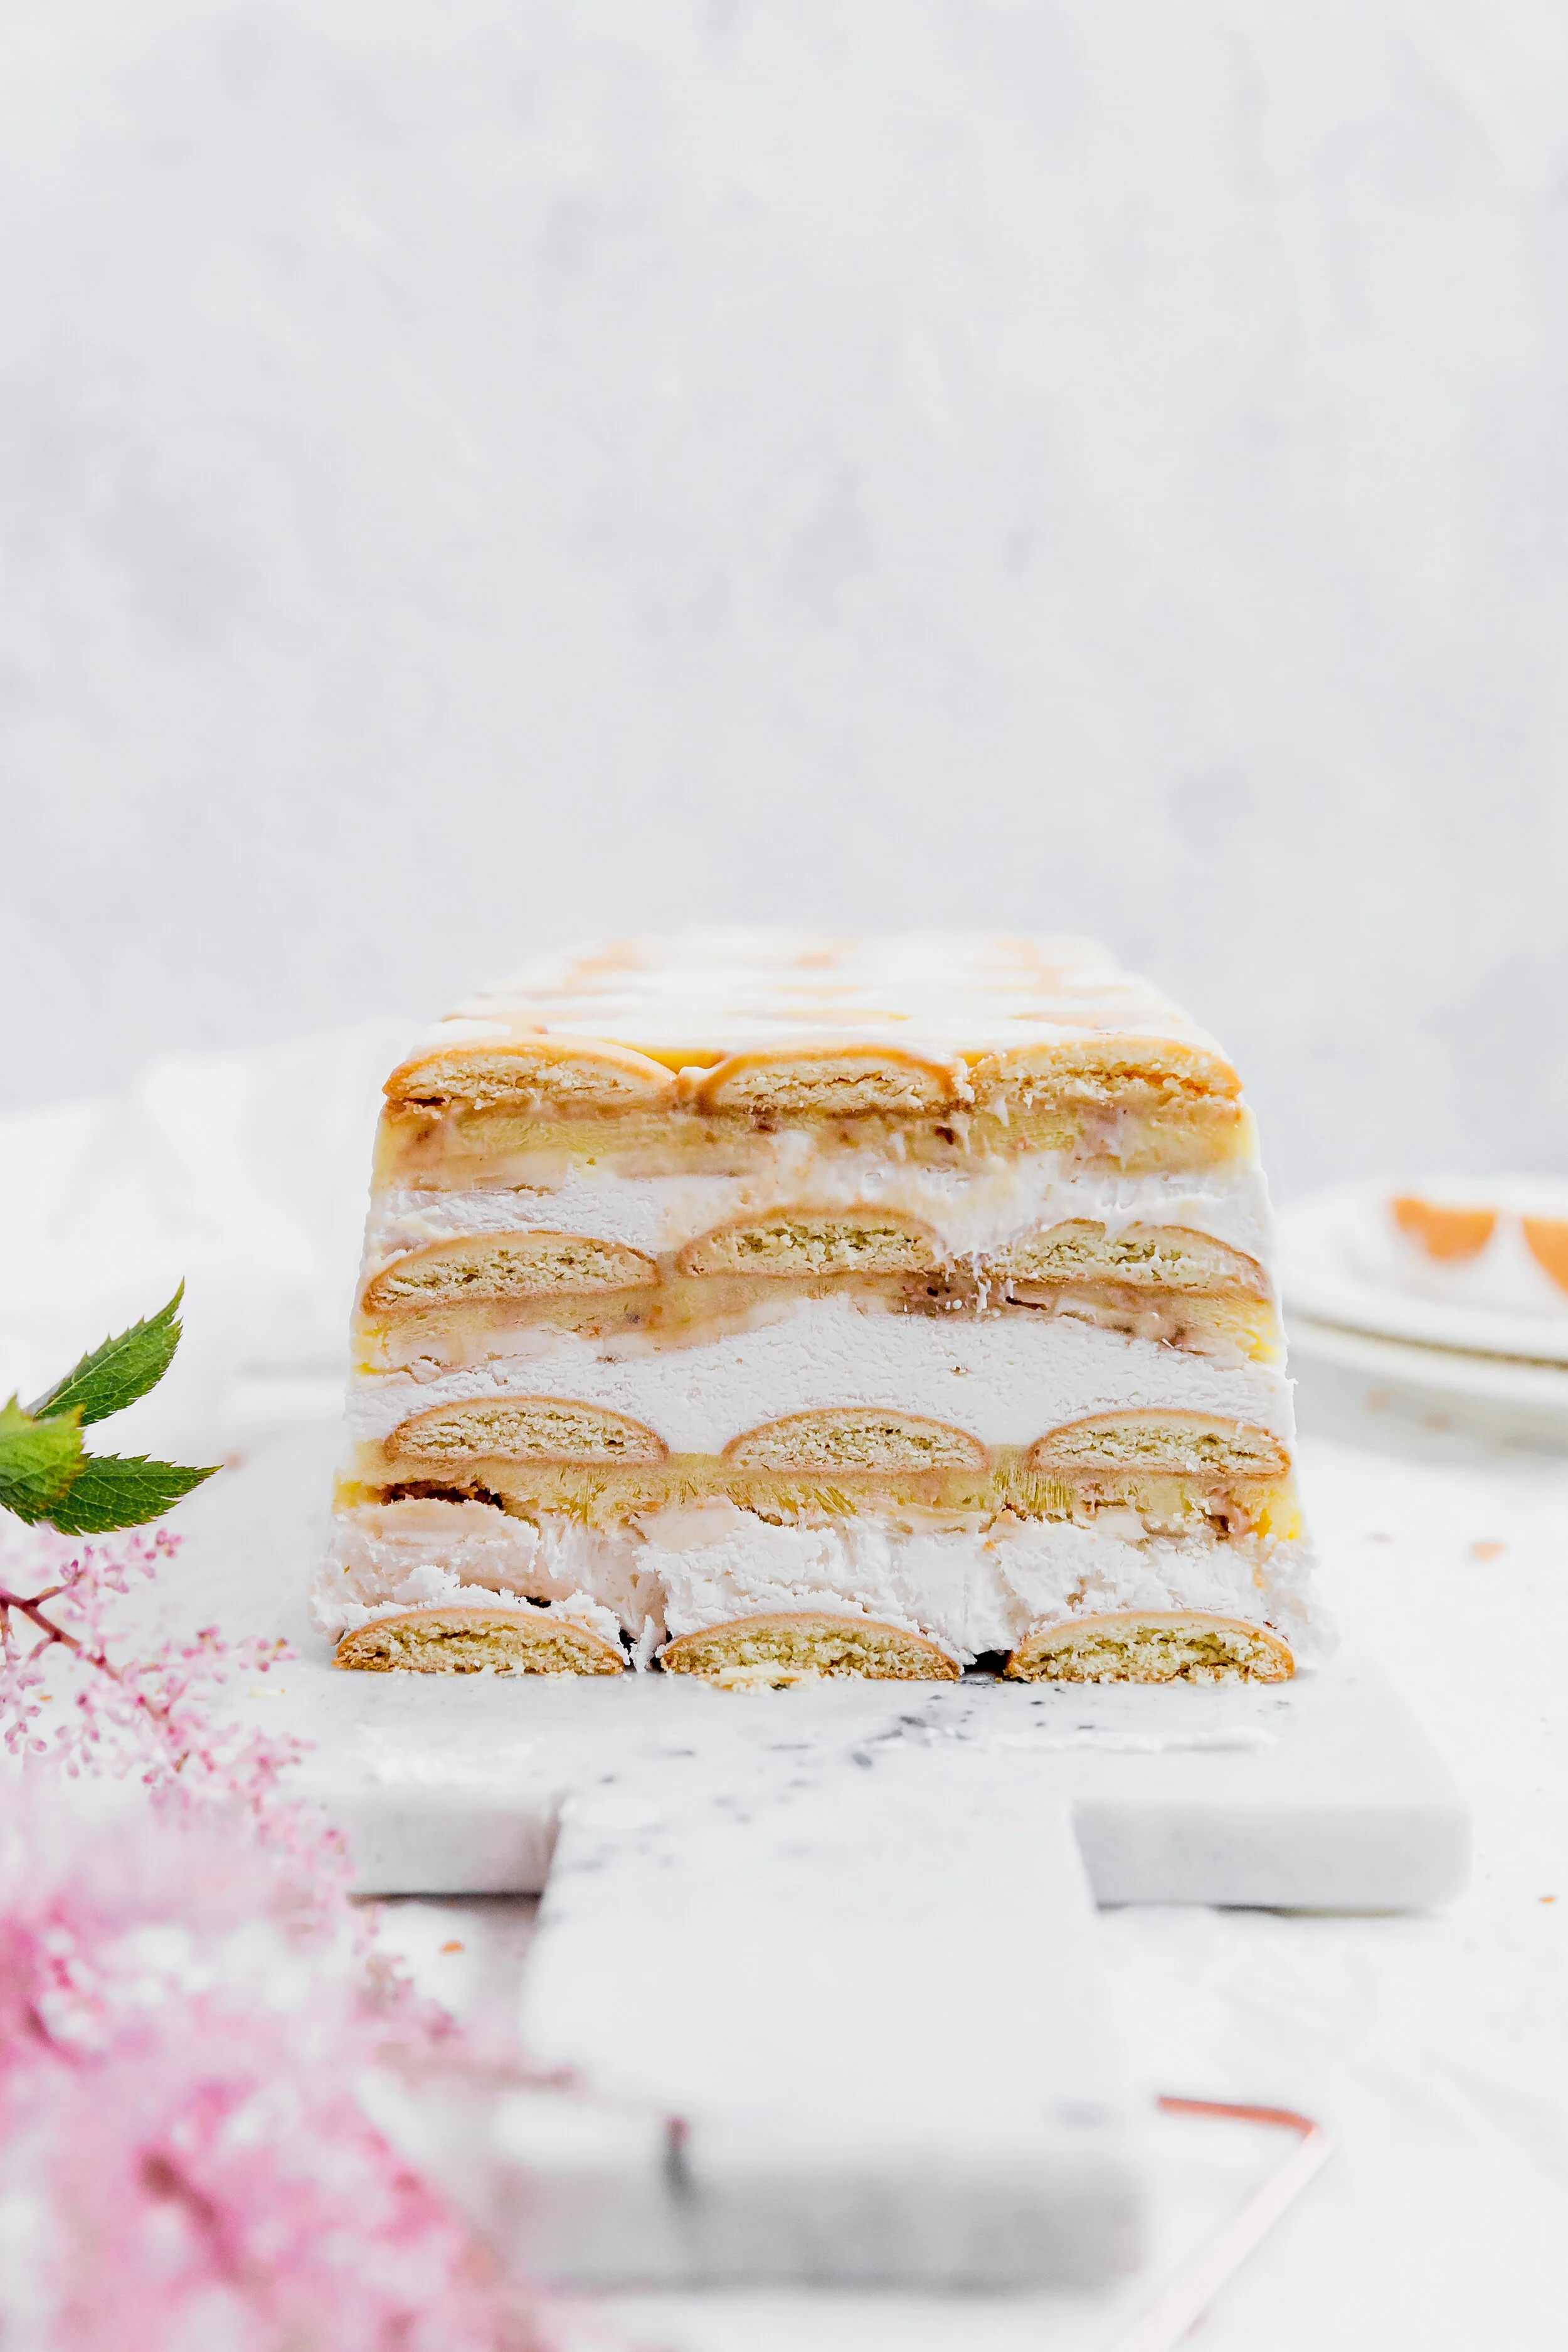
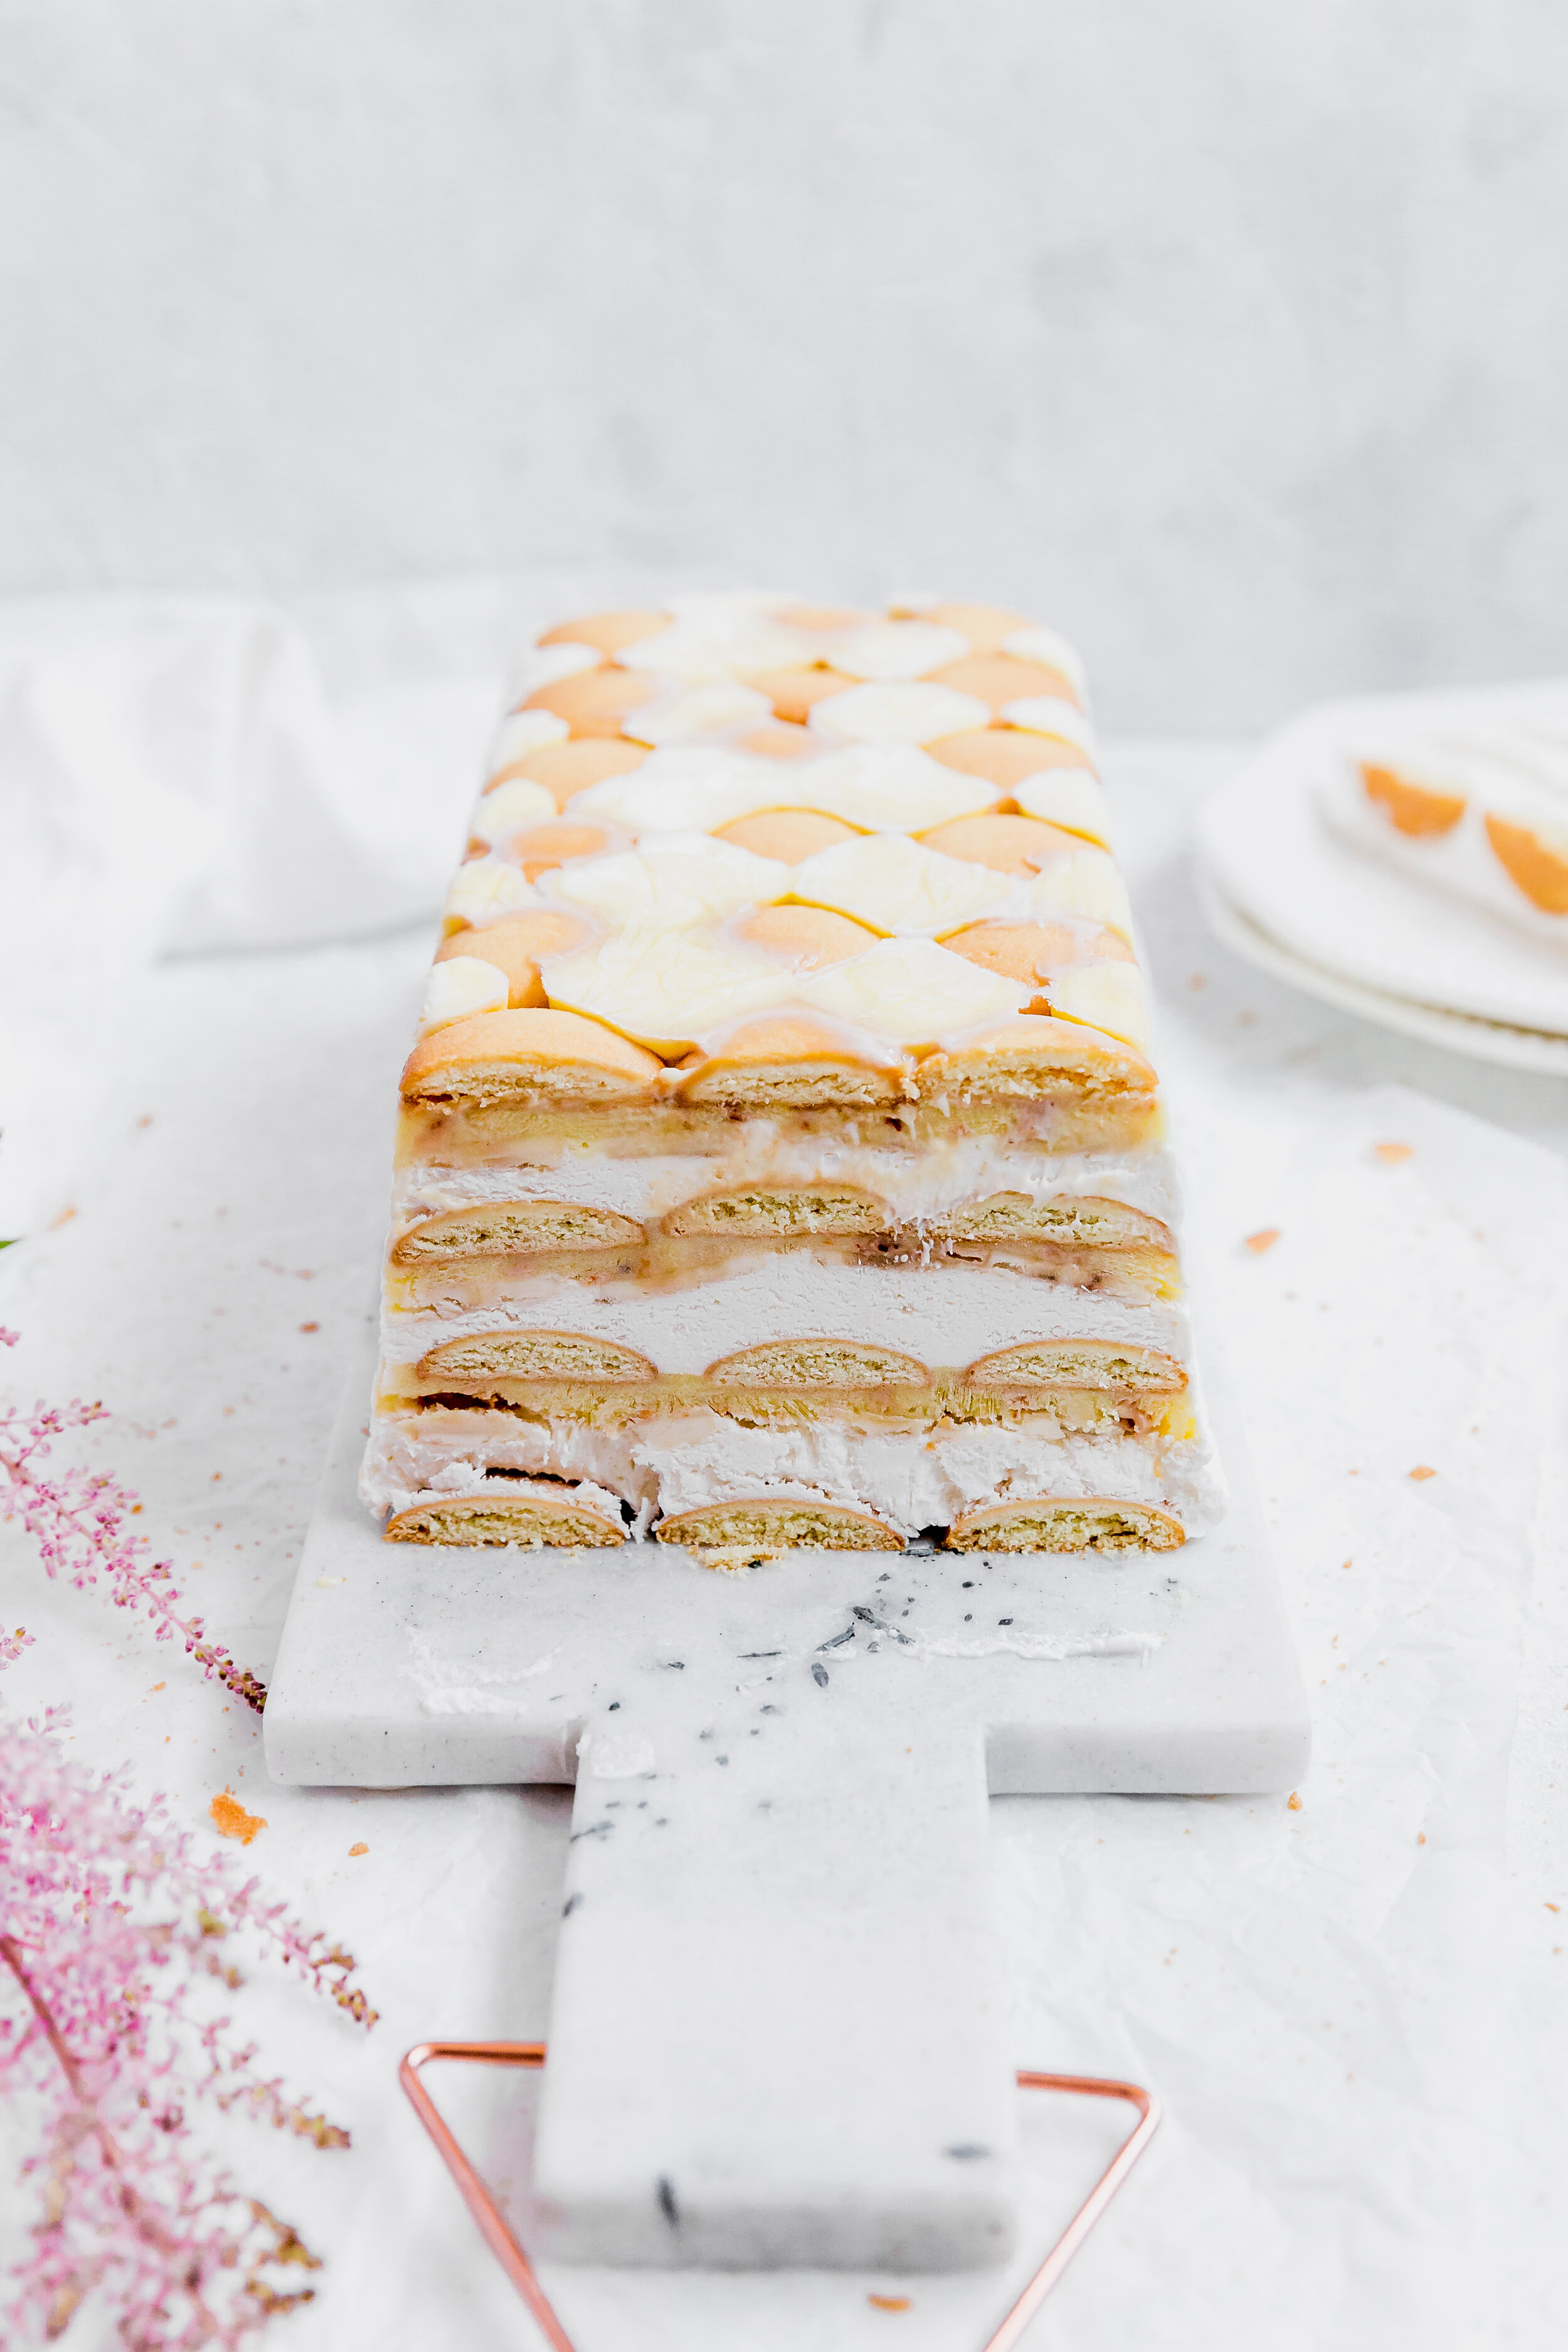
Ignoring dining chairs for now, let’s talk about this banana pudding icebox cake. On our trip to NYC a few years ago, we went to Magnolia Bakery because we heard their banana pudding was to die for. And it was! So naturally I decided to turn it into an icebox cake! The layers are composed of banana pudding, whipped cream, Nilla wafers, bananas, and crunchy toffee bits. The best part about this recipe is that it is a no bake recipe and is easy to make. To make, you simply line a bread loaf pan with plastic wrap, layer the ingredients in the pan, and stick it in the freezer to solidify. That’s it! Personally, one of my favorite things about this dessert is its beautiful symmetry, which can be seen both from above and the side. To serve, I recommend allowing the icebox cake to sit at room temperature for a few minutes to allow the ingredients to soften, which will make cutting slices much easier!

Banana Pudding Ice Box Cake
Prep time:
Assembly time:
Serves: 12Ingredients:
- 3.4 ounce package of instant banana pudding(*)
- 2 cups milk
- 2 cups heavy whipping cream
- 6 Tablespoons powdered sugar
- 2 teaspoons vanilla
- 3 large ripe bananas
- Box of Nilla wafers
- 1/3 cup toffee pieces
Instructions:
- Place the bowl of a stand mixer and the whisk in the freezer. If you don't have a stand mixer, place a large bowl and the beaters from your handmixer in the freezer. Allow to freeze for 30 minutes.
- In the meantime, line a bread pan with 2 long pieces of plastic wrap - one going parallel to the long edge of the pan, and the other going perpendicular to the long edge, so that they crisscross in the middle. Set aside.
- In a separate bowl, make the pudding according to the instructions on the box. Set aside.
- Make the whipped cream: Attach the frozen bowl to your stand mixer, and attach the frozen whisk. Pour in the heavy whipping cream, and whip on med/high until soft peaks form. Add the powdered sugar and vanilla, and whisk briefly until combined. Set aside.
- Thinly slice the bananas. Set aside.
- Assemble the cake: place 18 Nilla wafers in the bottom of the lined bread pan, placing 3 along the short end and 6 along the long. Gently spread 1/3rd of the banana pudding on top of the Nilla wafers until even and flat. Sprinkle 1/3rd of the toffee pieces. Layer on 1/3rd of the banana slices. Top of 1/3rd of the whipped cream. Gently smooth, so that the top is even.
- Repeat the step above two more times. (Since the whipped cream is thick, push the Nilla wafers into the whipped cream).
- End with a final layer of 18 Nilla wafers, facedown (remember this will be the bottom of the cake once flipped, so we want a flat bottom), and again, push the wafers into the whipped cream.
- The cake may be taller than the bread pan at this point, so smooth the edges with a spatula or knife so that when the cake is removed the sides will be flat. Cover the top with the overhanging plastic wrap.
- Place in the freezer for at least 4 hours to solidify.
- To serve, remove the plastic wrap on the top. Place a rectangular plate face down on the top, then while tightly holding both the plate and the pan, flip upside down. Remove the pan, and gently remove the plastic wrap. Allow to sit at room temperature for ~10 minutes to softened before cutting into.
- To store, you can freeze the cake on the plate, or return it to the bread pan (no need for the plastic wrap at this point) and freeze.
(*) Baker’s Notes:
— If you can’t find banana pudding, you can substitute with vanilla pudding.