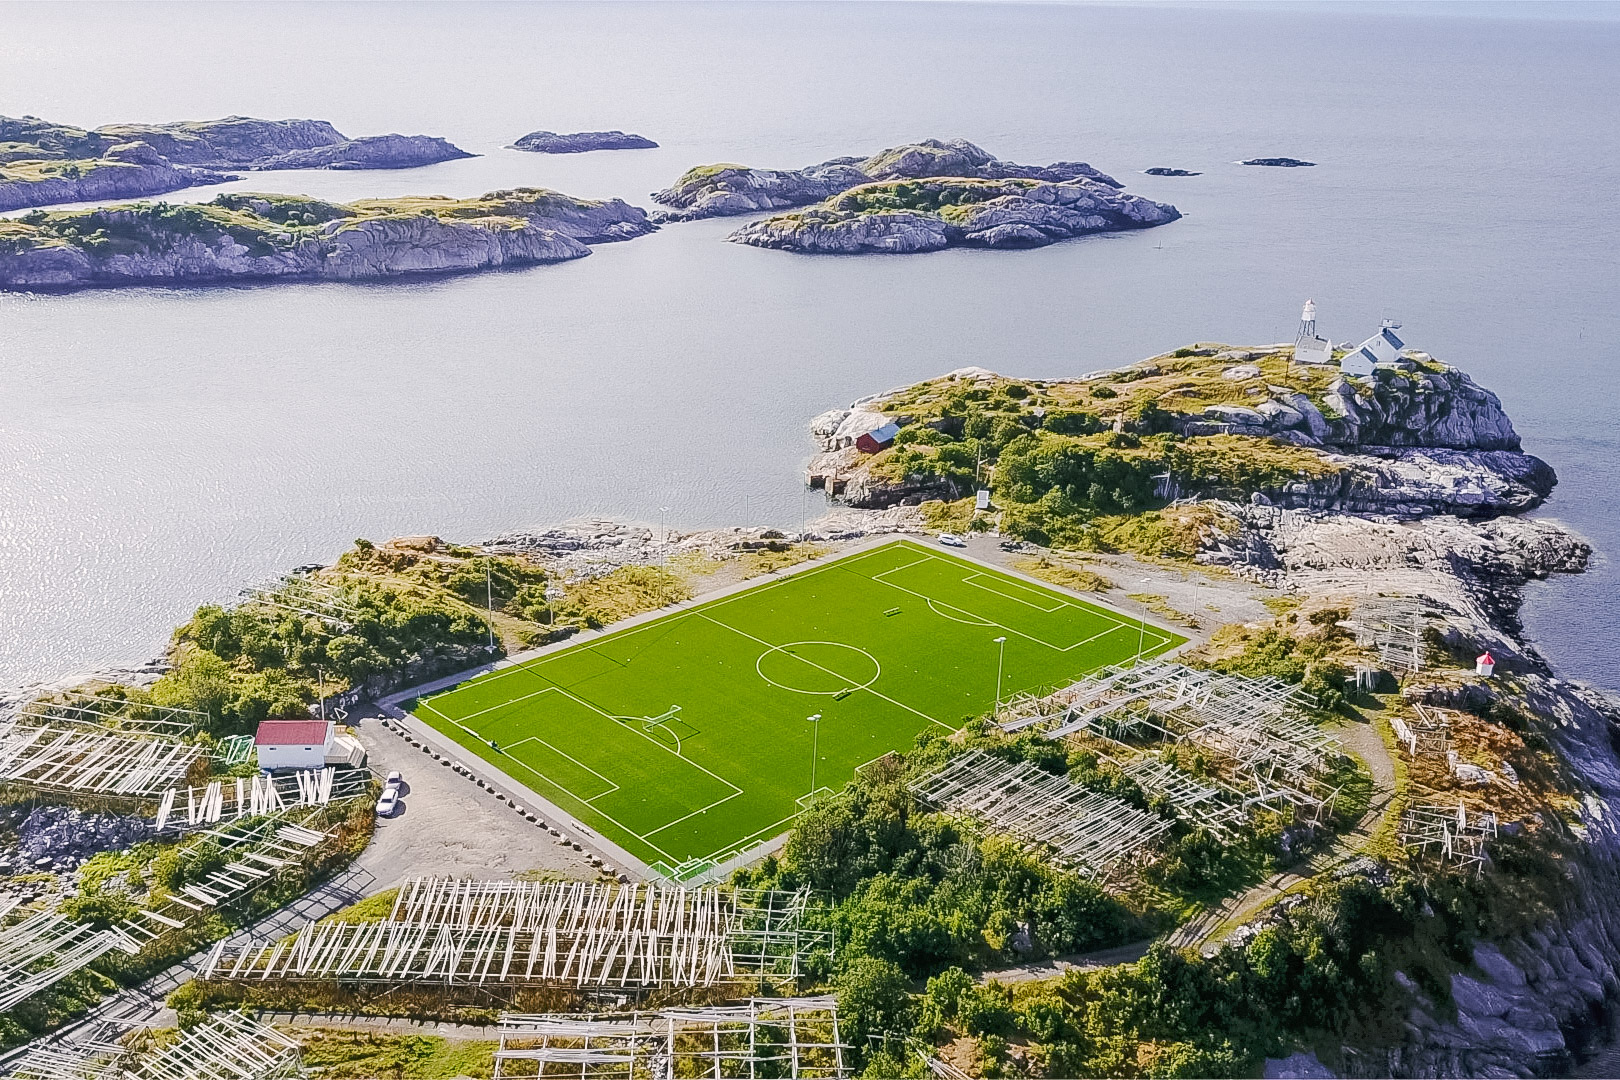
Exploring Nusa Penida
/Nusa Penida is a small island located off the coast of Bali. It takes about 45 minutes to get there via speedboat.
It is a popular day trip destination, so the island is usually more crowded between 9 AM and 5 PM. We opted to stay on the island for 3 days, 2 nights in order to experience the island once the day tourists are gone.
Nusa Penida was our first stop once landing in Bali and we joined our roommates from college who were at the end of their multi-week Asia trip. We created a modified tour with Nusa Penida Trip, which was really helpful because it came with a local driver, lunches, entrance fees, and a private boat for snorkeling. It costs us around $350 for the four of us, which was such a great deal. We opted to go with a tour company instead of driving ourselves around via scooters because we had read that the road conditions were terrible, there is limited service, and it would allow us to spend more time together instead of needing to worry about navigating.
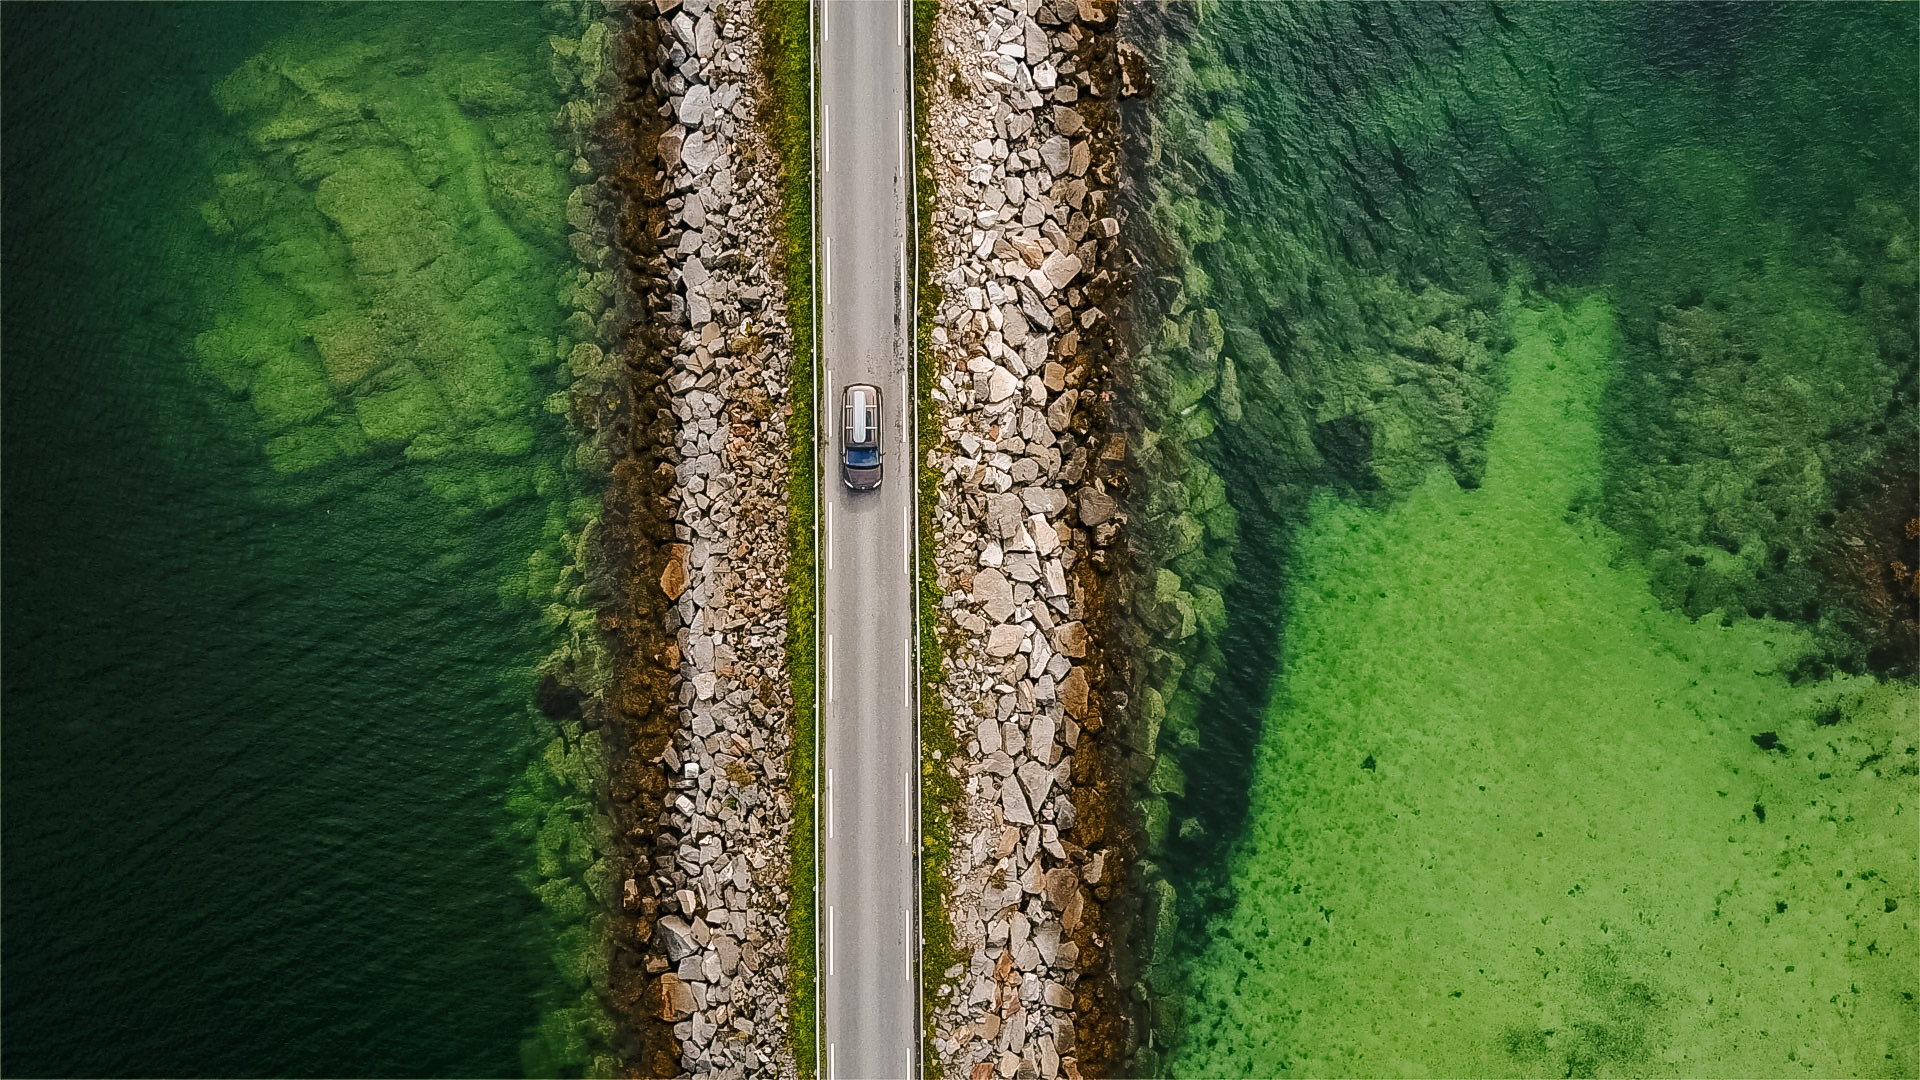
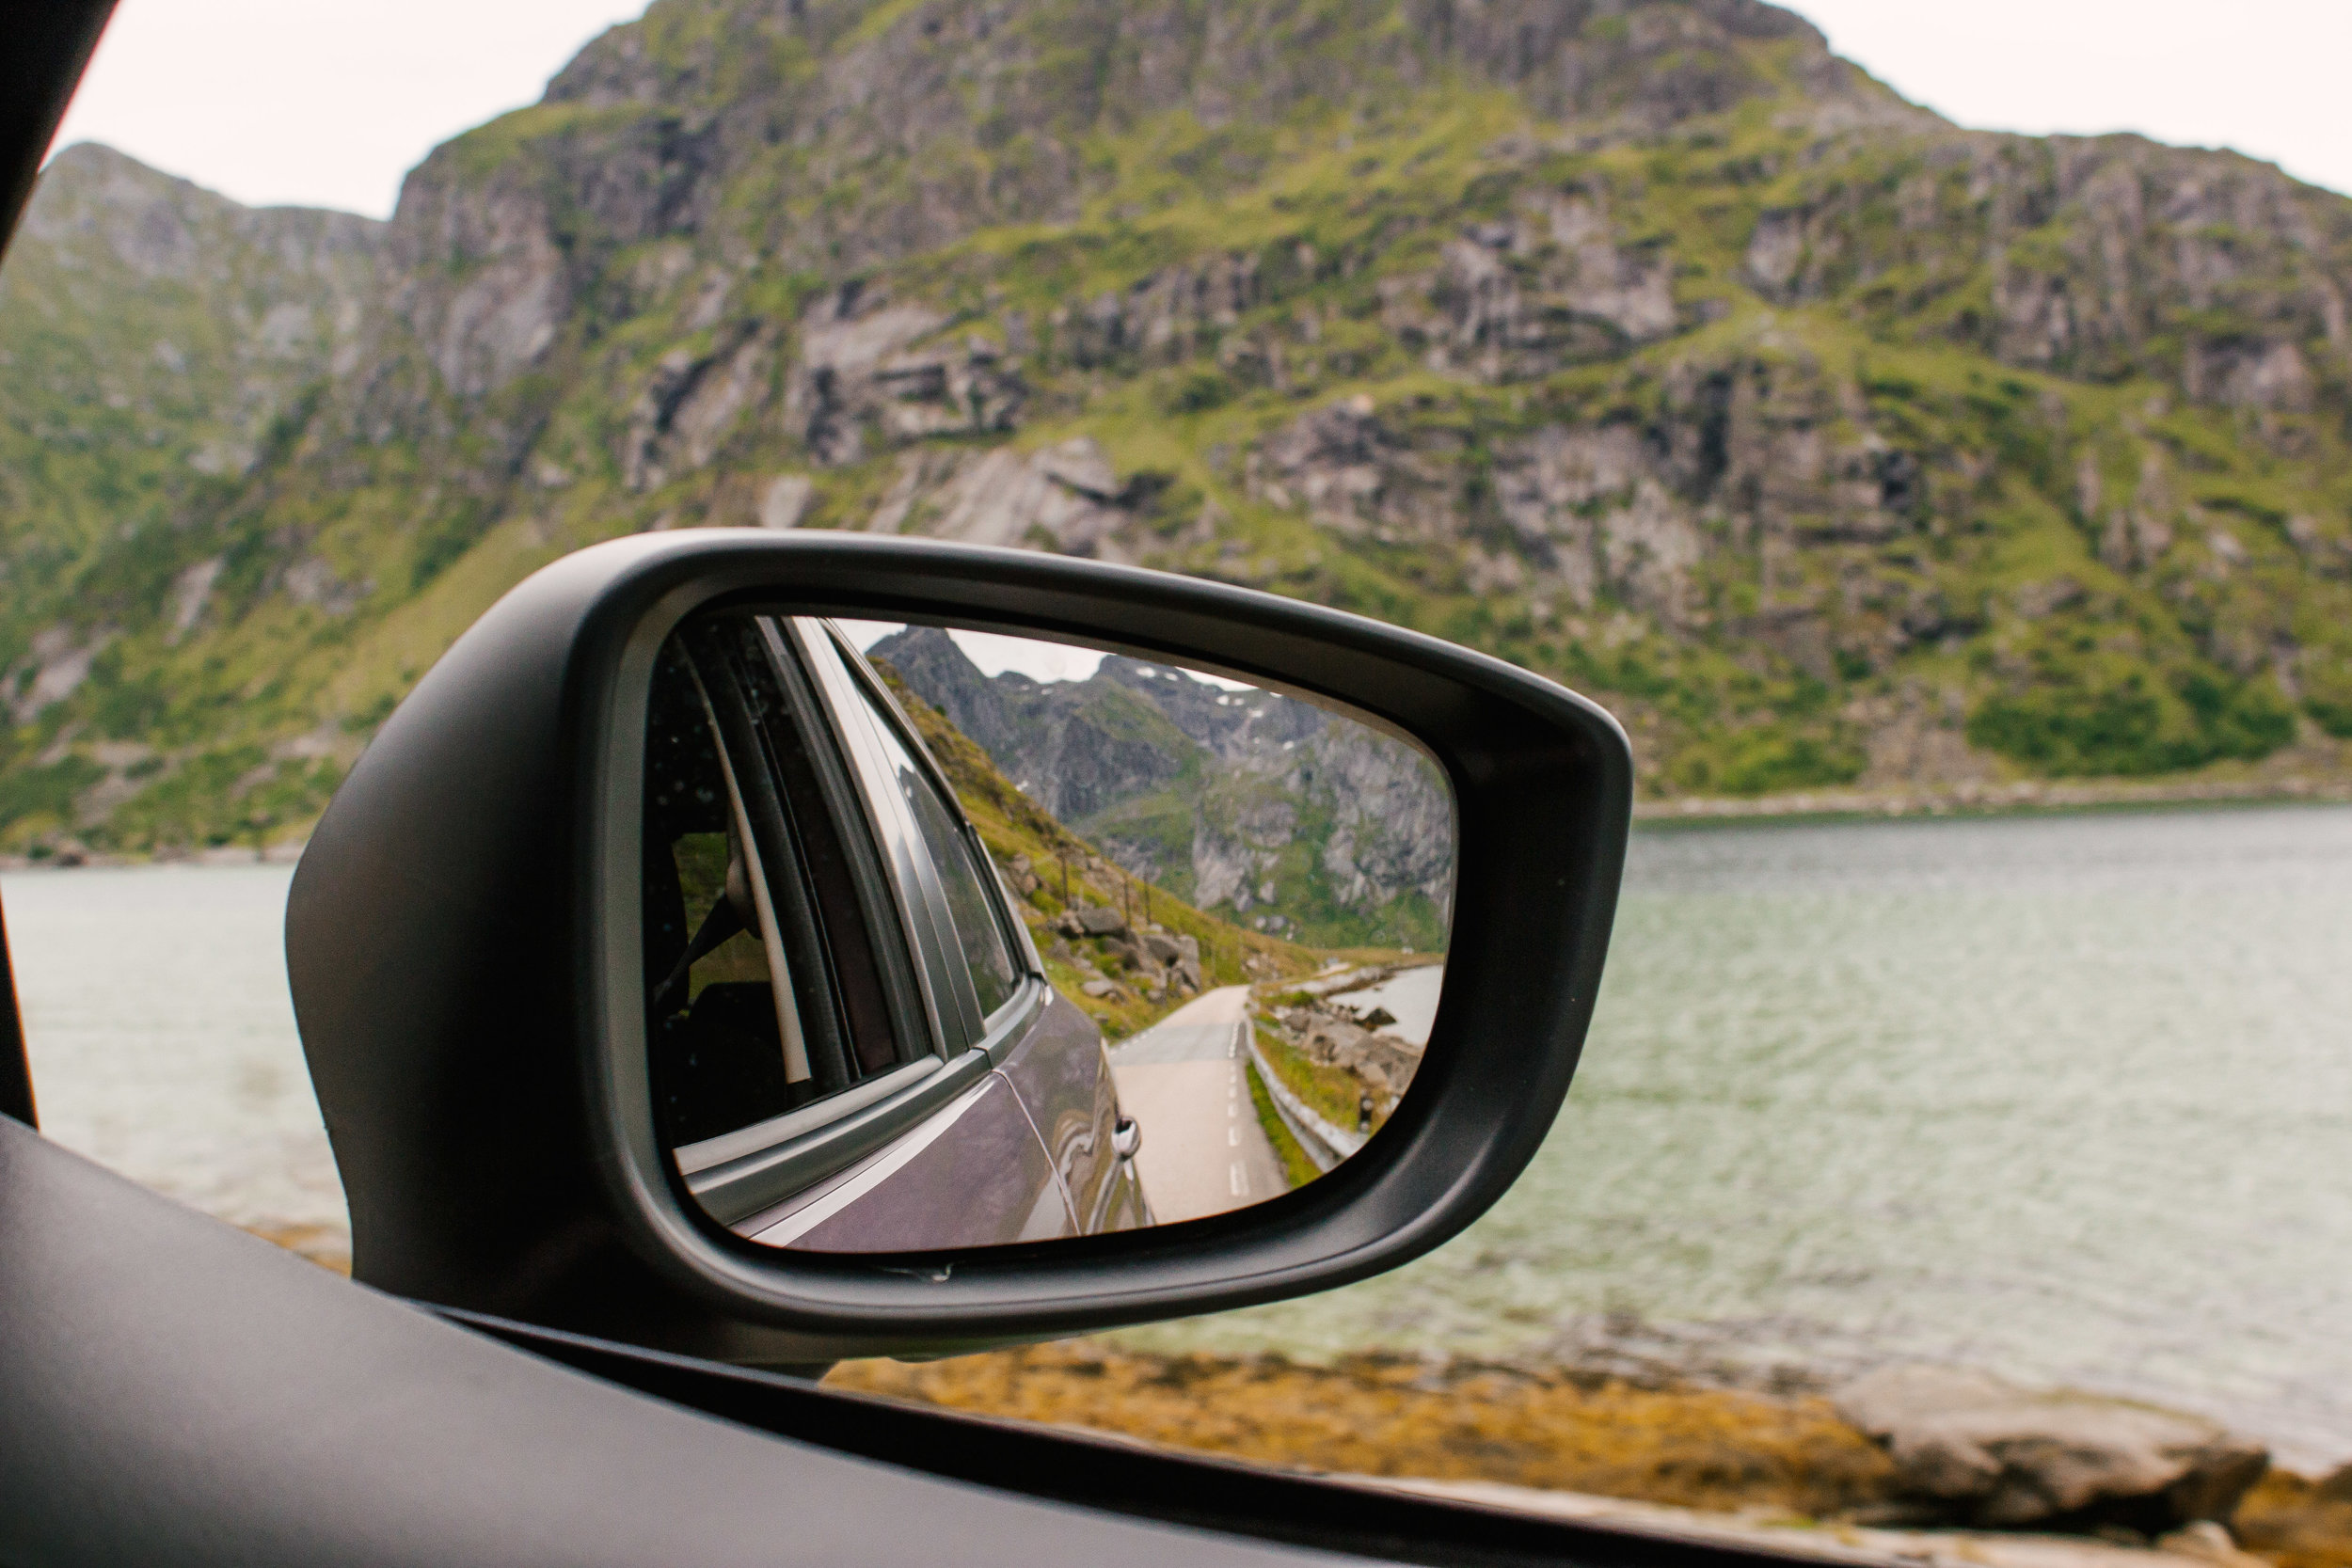
The road conditions are indeed terrible in a few long stretches - it felt like we were off-roading and we hit our heads on the side of the car numerous times. The center of the island is very mountainous, so some of the roads can be very steep. We saw a couple whose scooter fell over because it couldn’t make it up a steep, tight curve. (Thankfully, no one was hurt). The roads are extremely narrow, and what should be used as a one-way road is used as a two-way road. Honestly, we had some traveler’s guilt while being here because we were being driven around in a car on infrastructure that wasn’t built for cars. When passing traffic going the opposite way, the drivers had to get their cars as close as possible to one another, even pulling in their side mirrors and driving off the road.
The majority of the places of interest are located on the south and east side of the island. Unfortunately all of the places to stay are located on the north side of the island, and with a limited number of roadways, it will take at least an hour to travel from one location to the next.
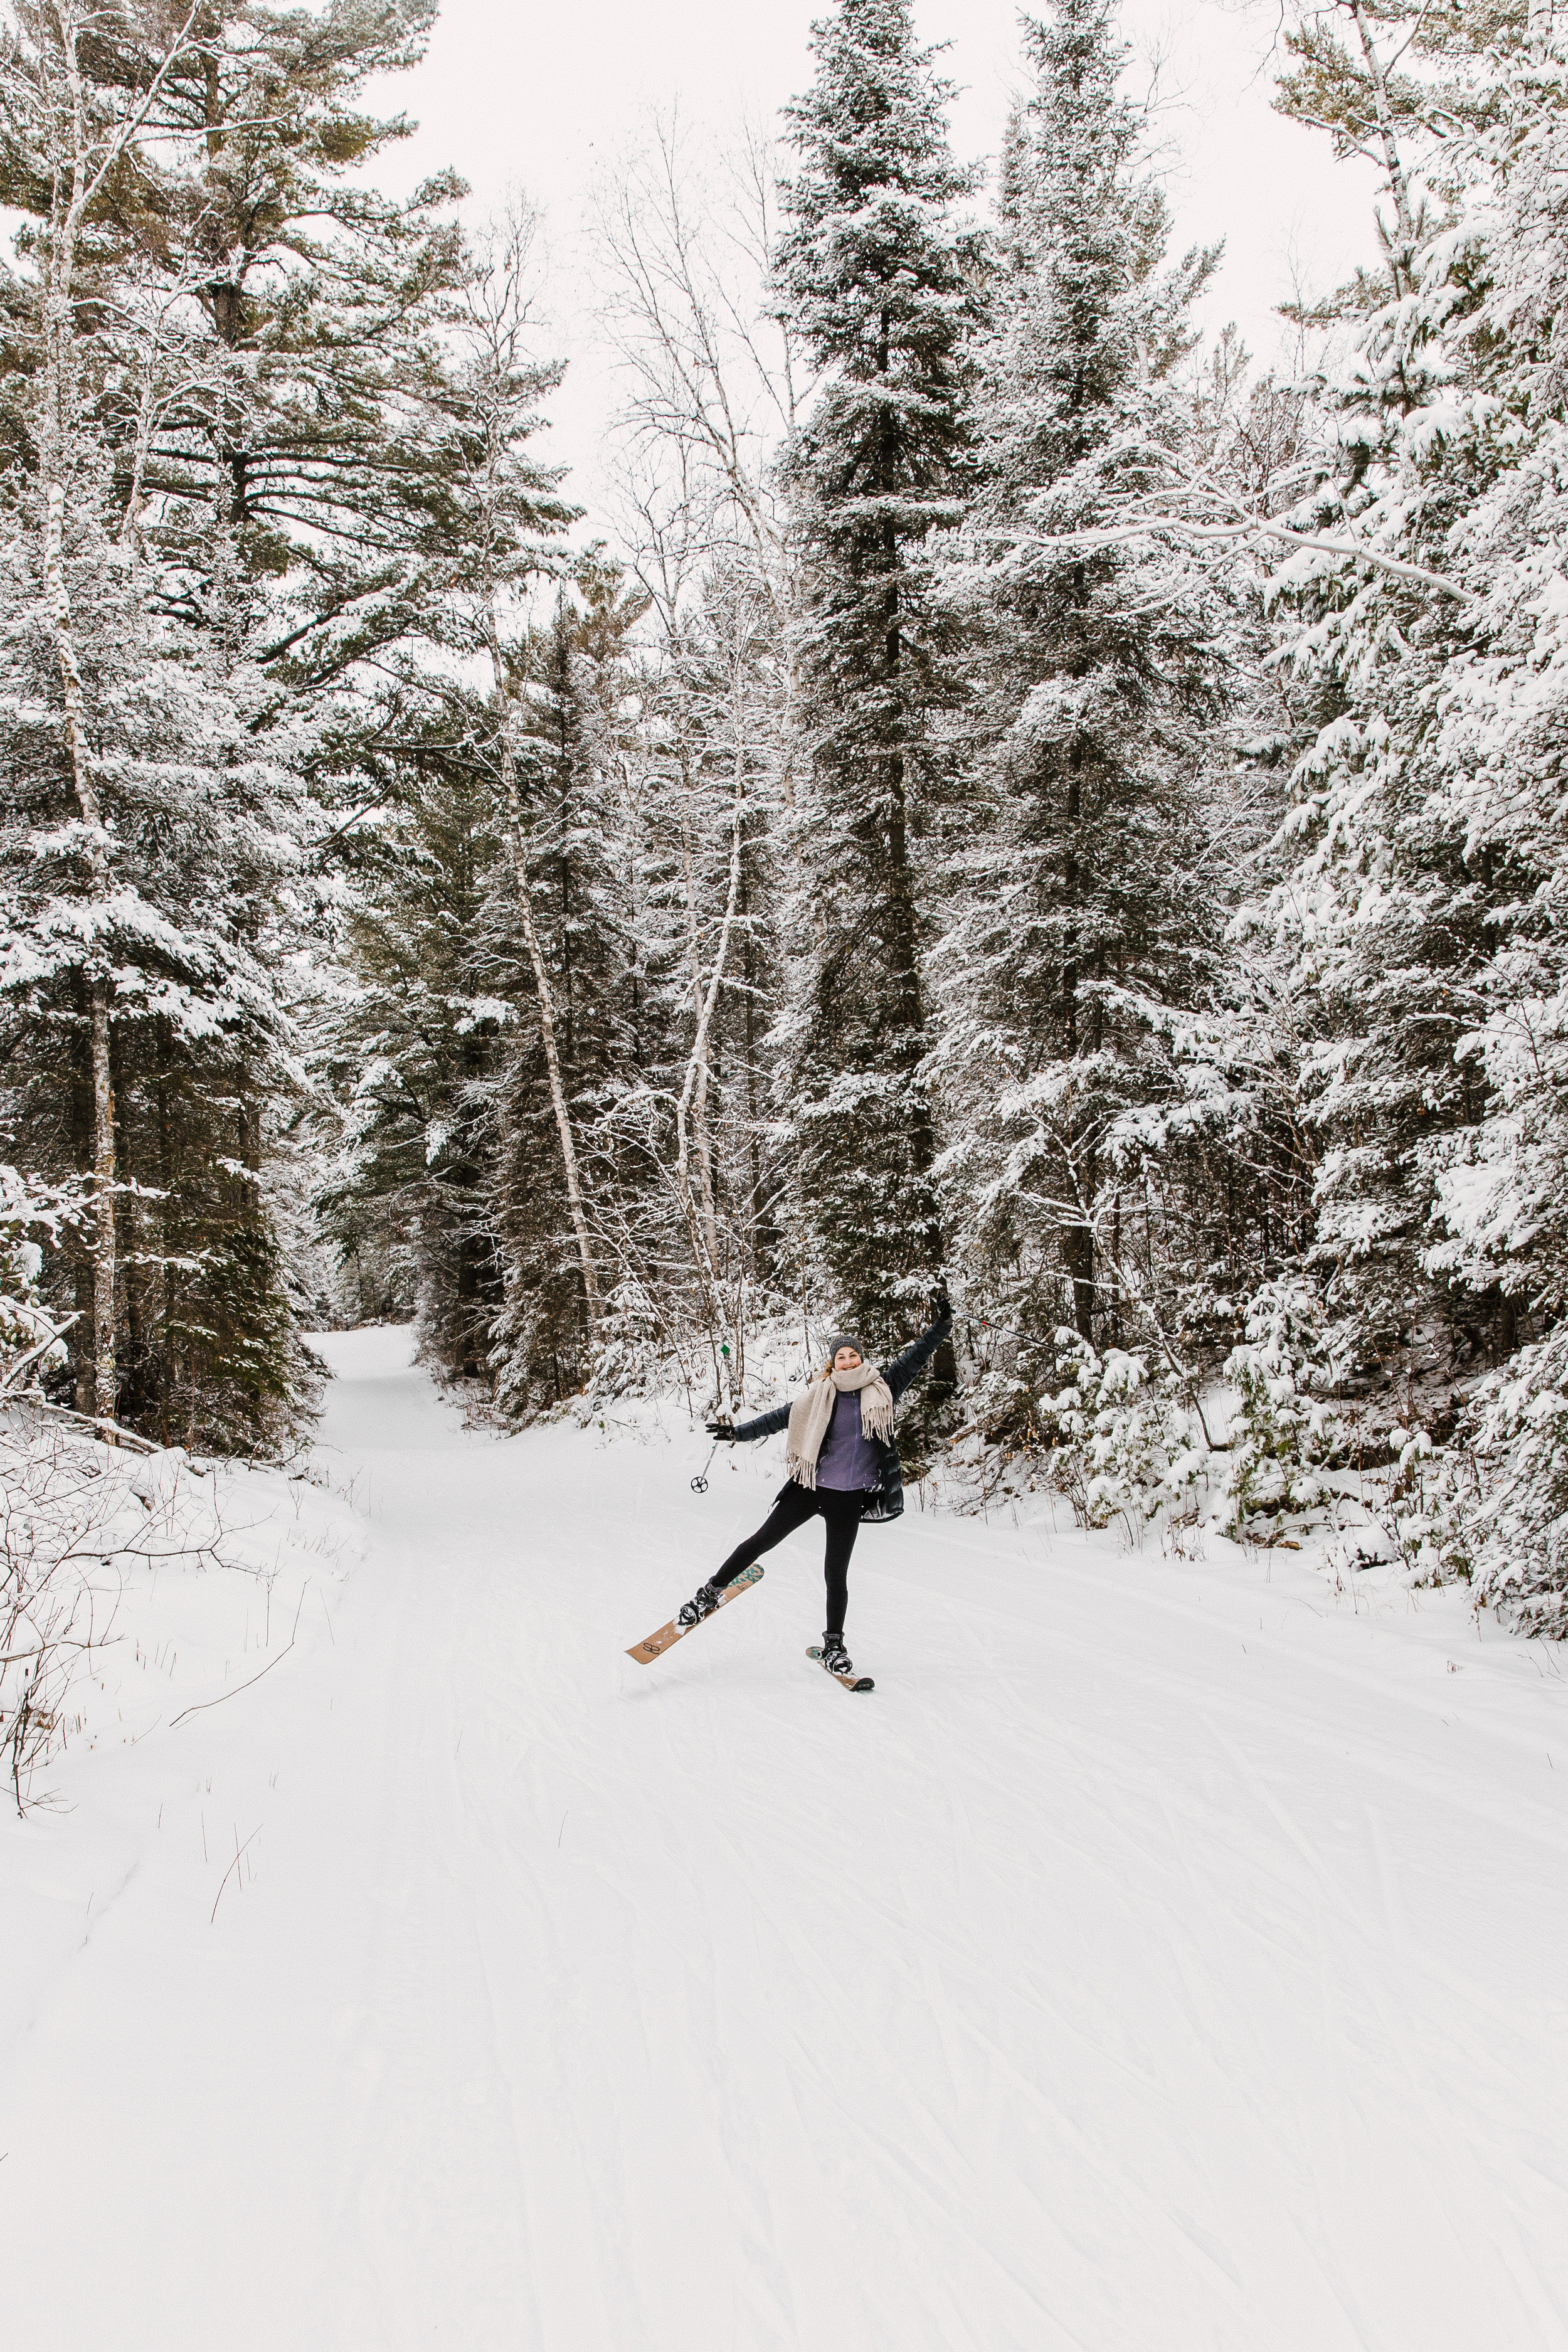
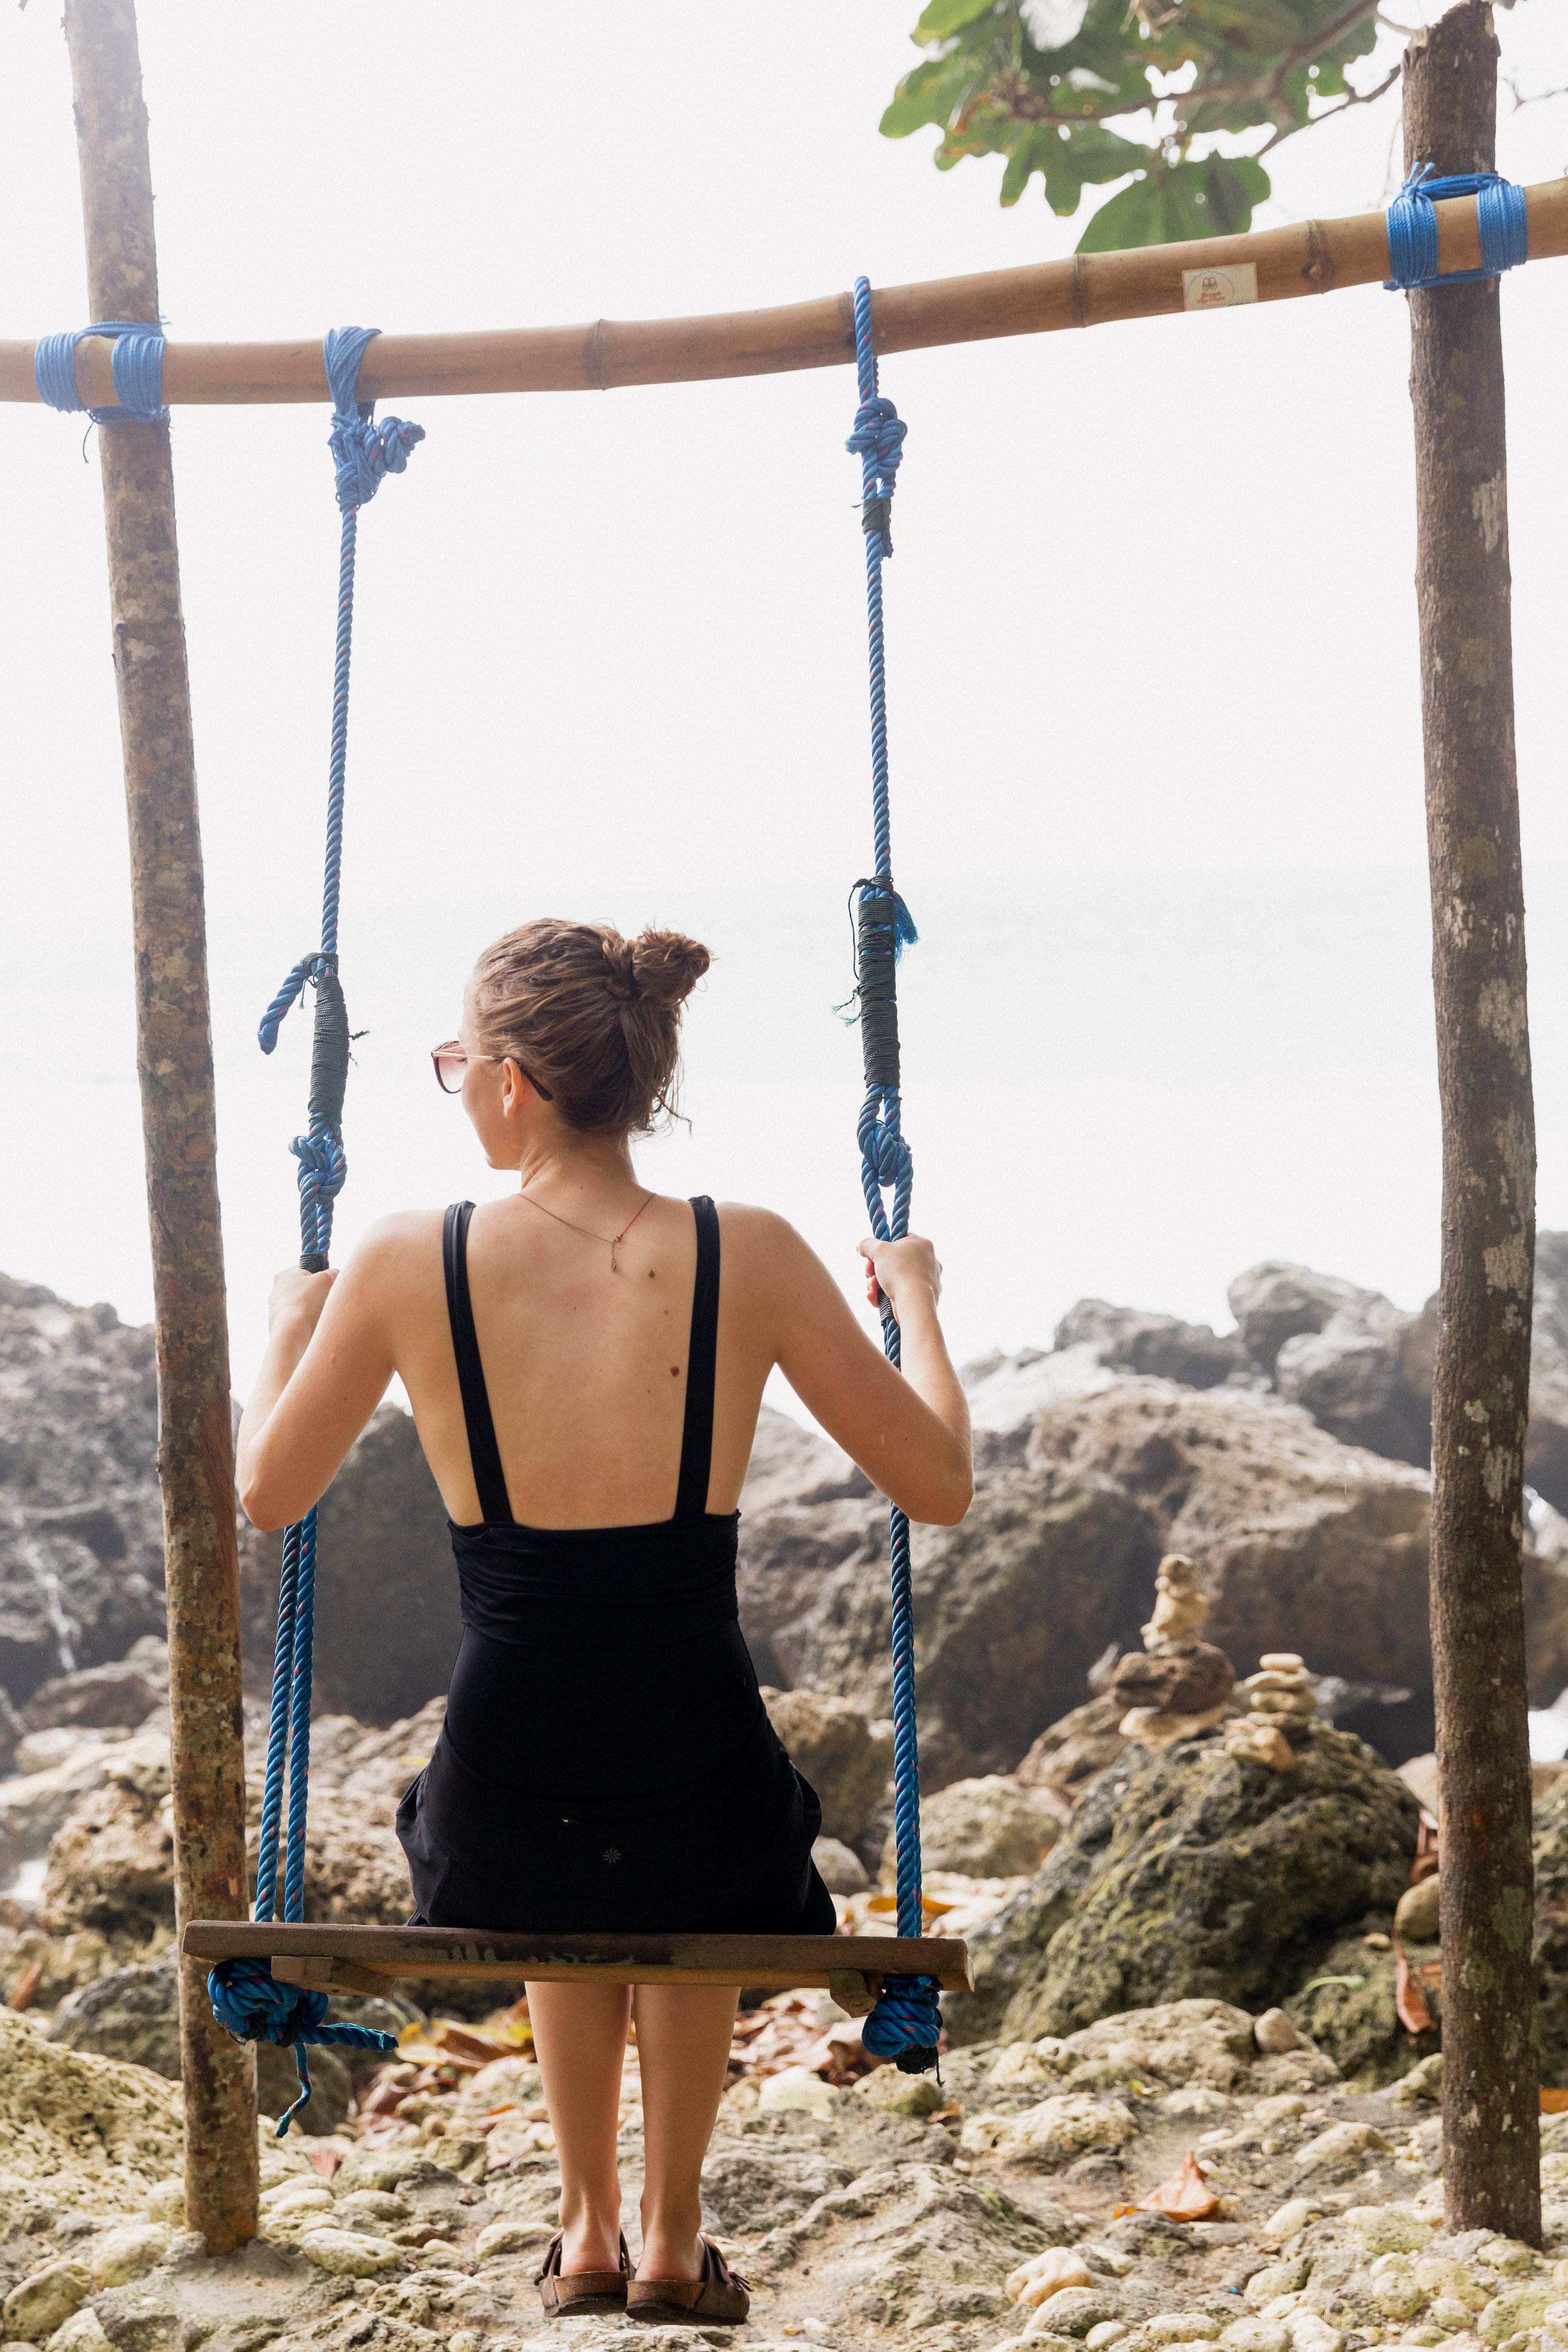
The weather on the island is HOT. It’s hard to say whether the extreme heat we felt was because our bodies were used to the cool Minnesota weather and coming to Indonesia was too much of a shock, or if it really was that hot. But we spoke to a few Balinese people who stated that Nusa Penida was really hot, so I don’t think it was just us. The main thing to do in Nusa Penida is to see all of the stunning outlooks, and then hike down to them. We did a LOT of sweating while we were here, and I, unfortunately, got a heat rash that lasted a few days. But here are the locations that we visited while in Nusa Penida:
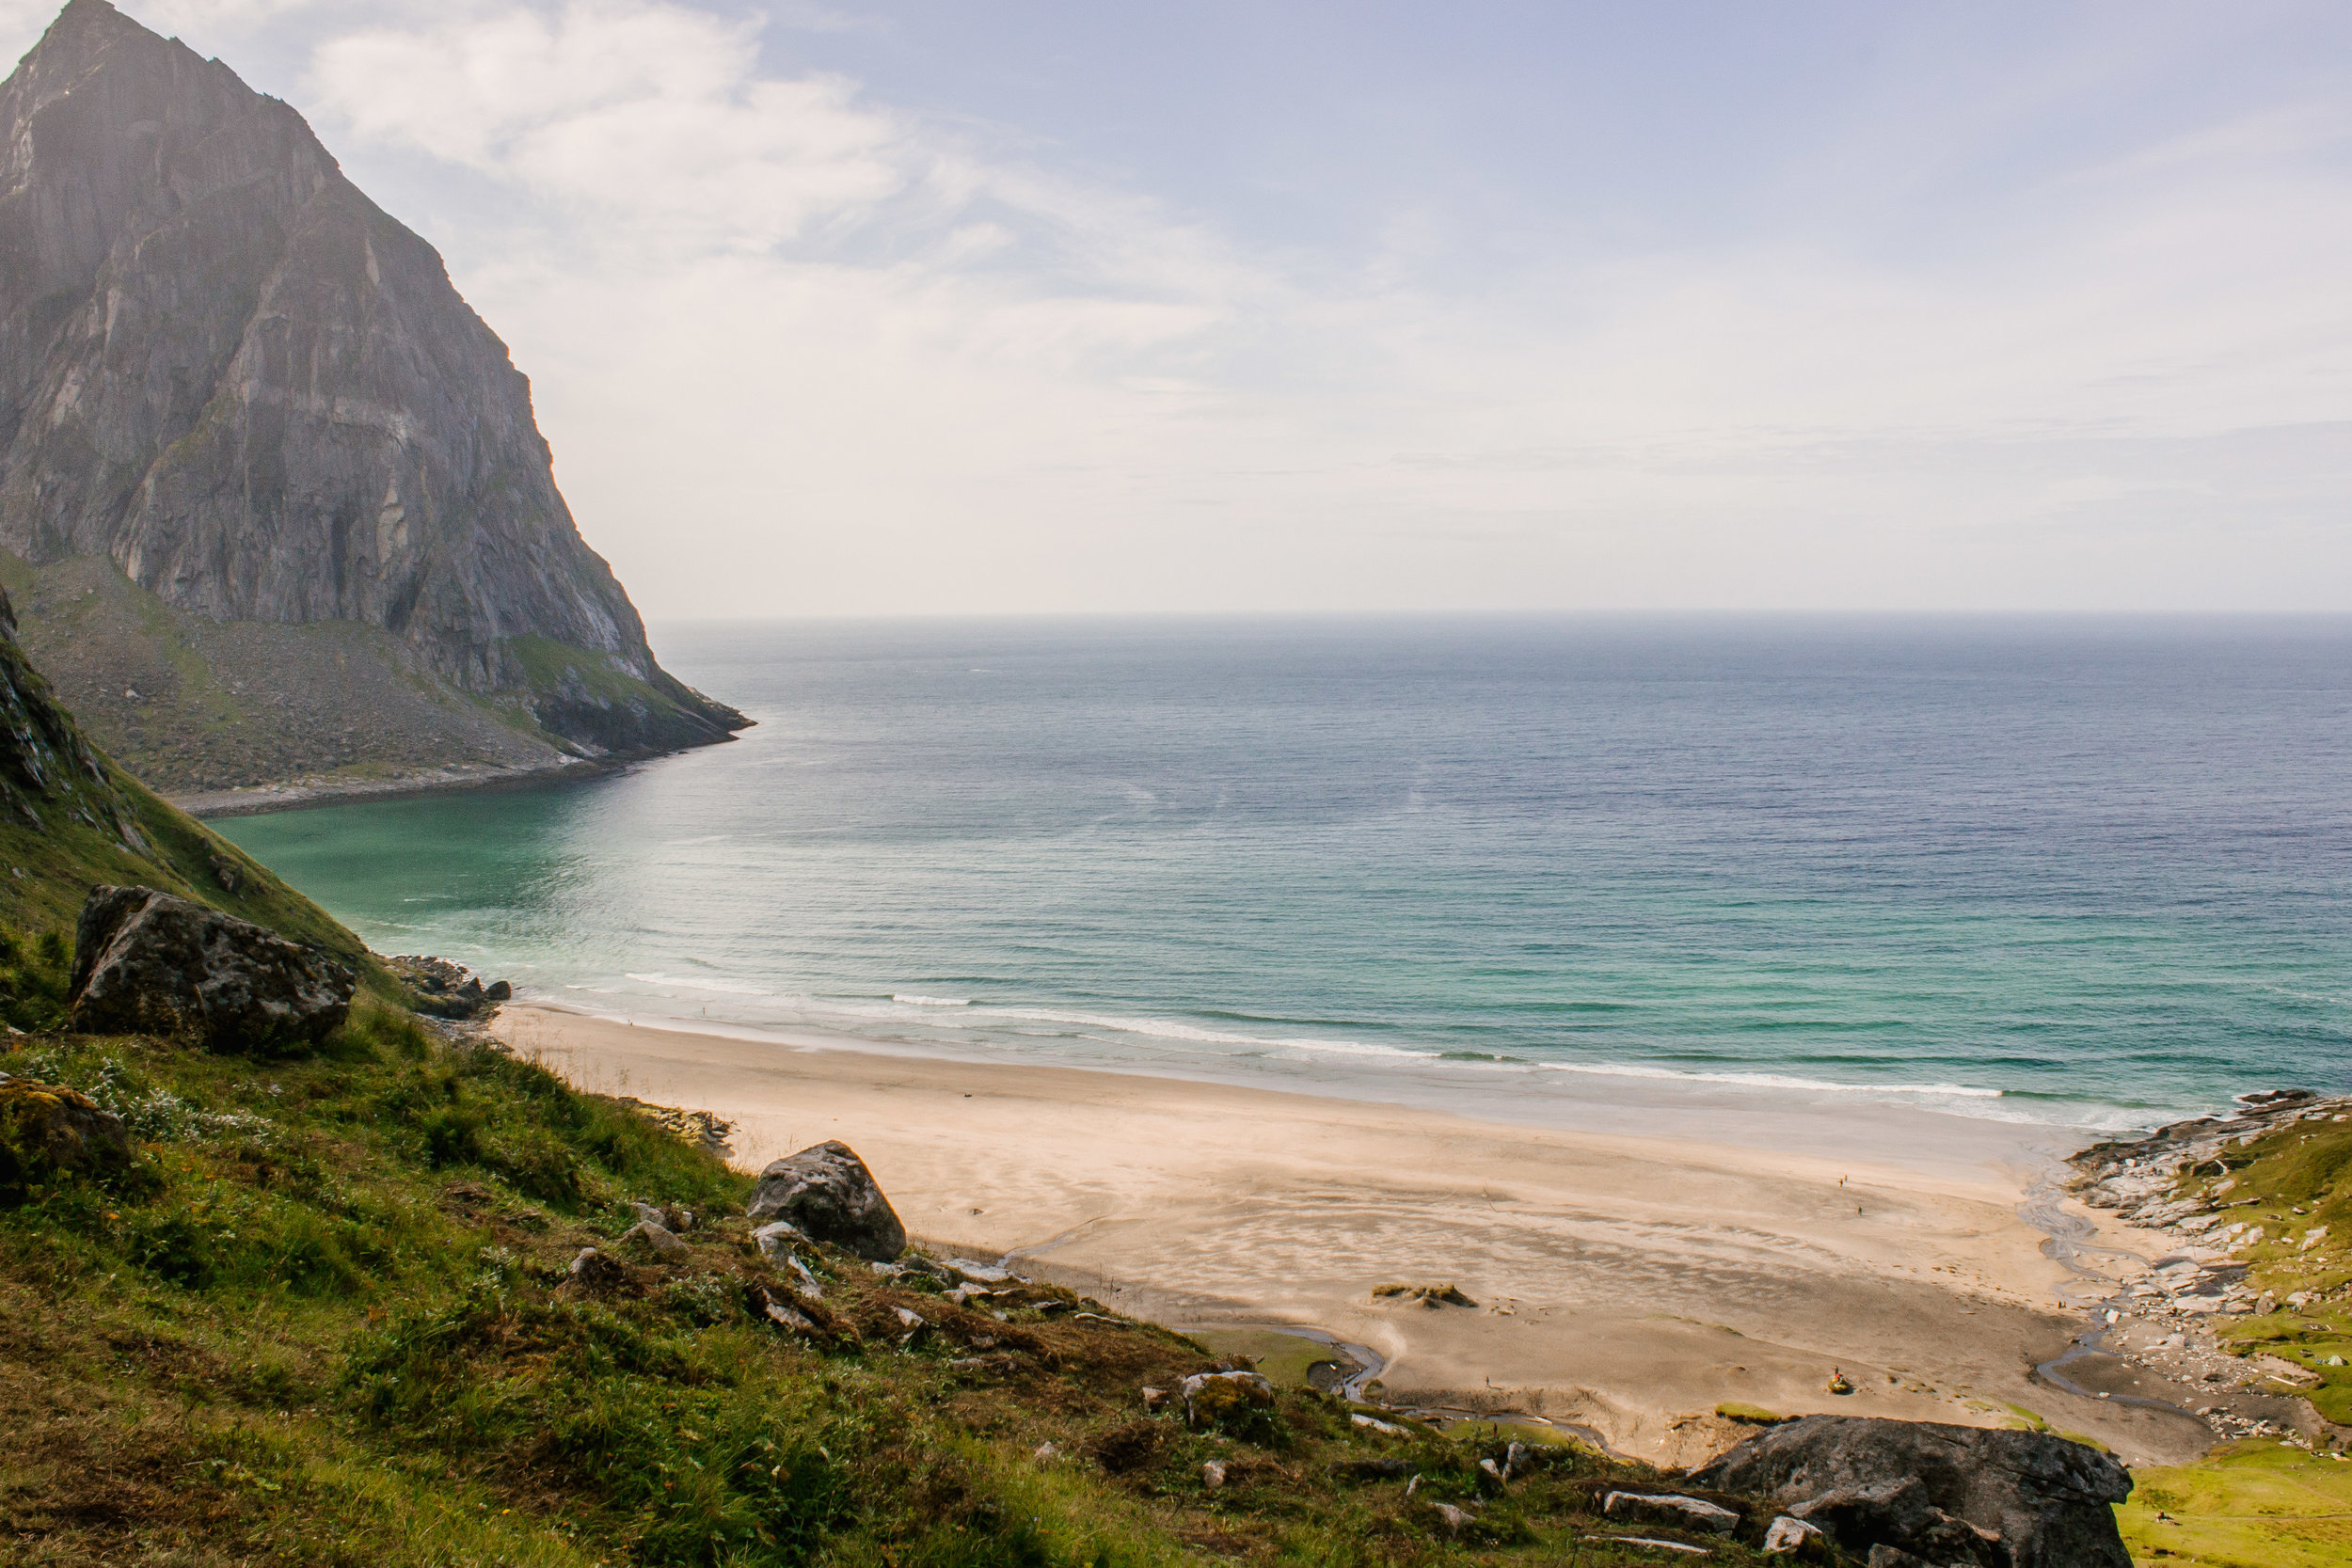
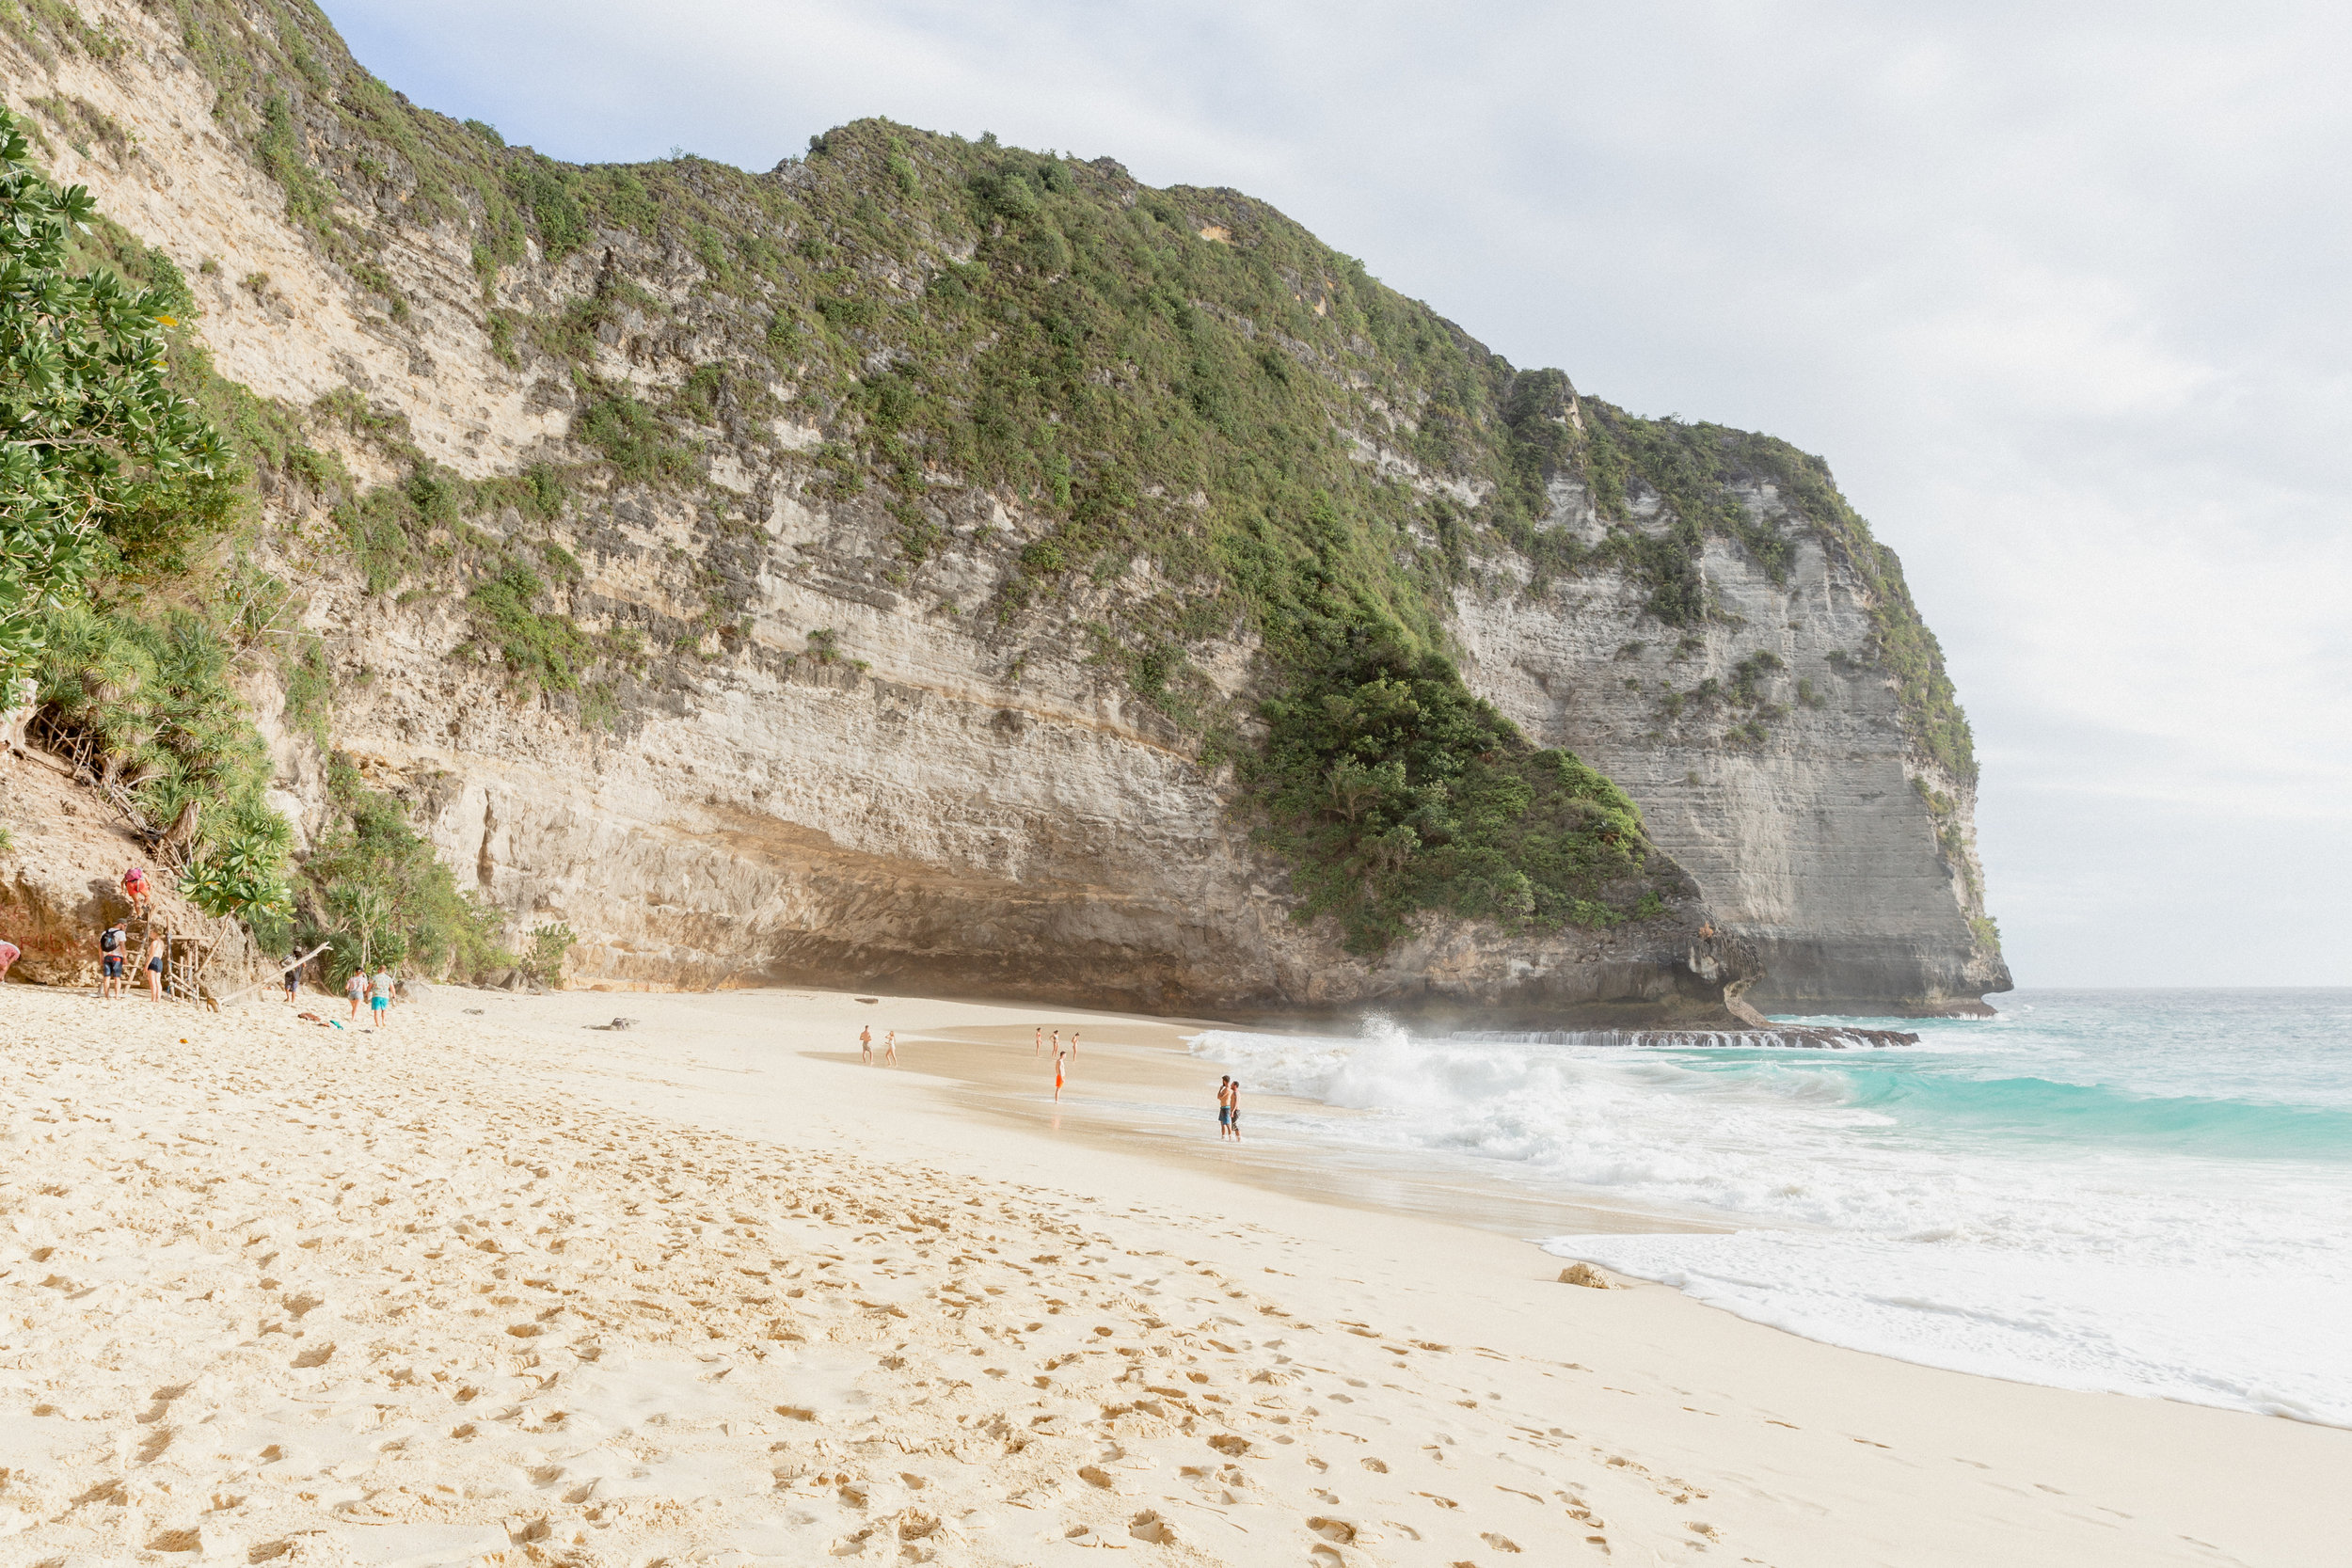
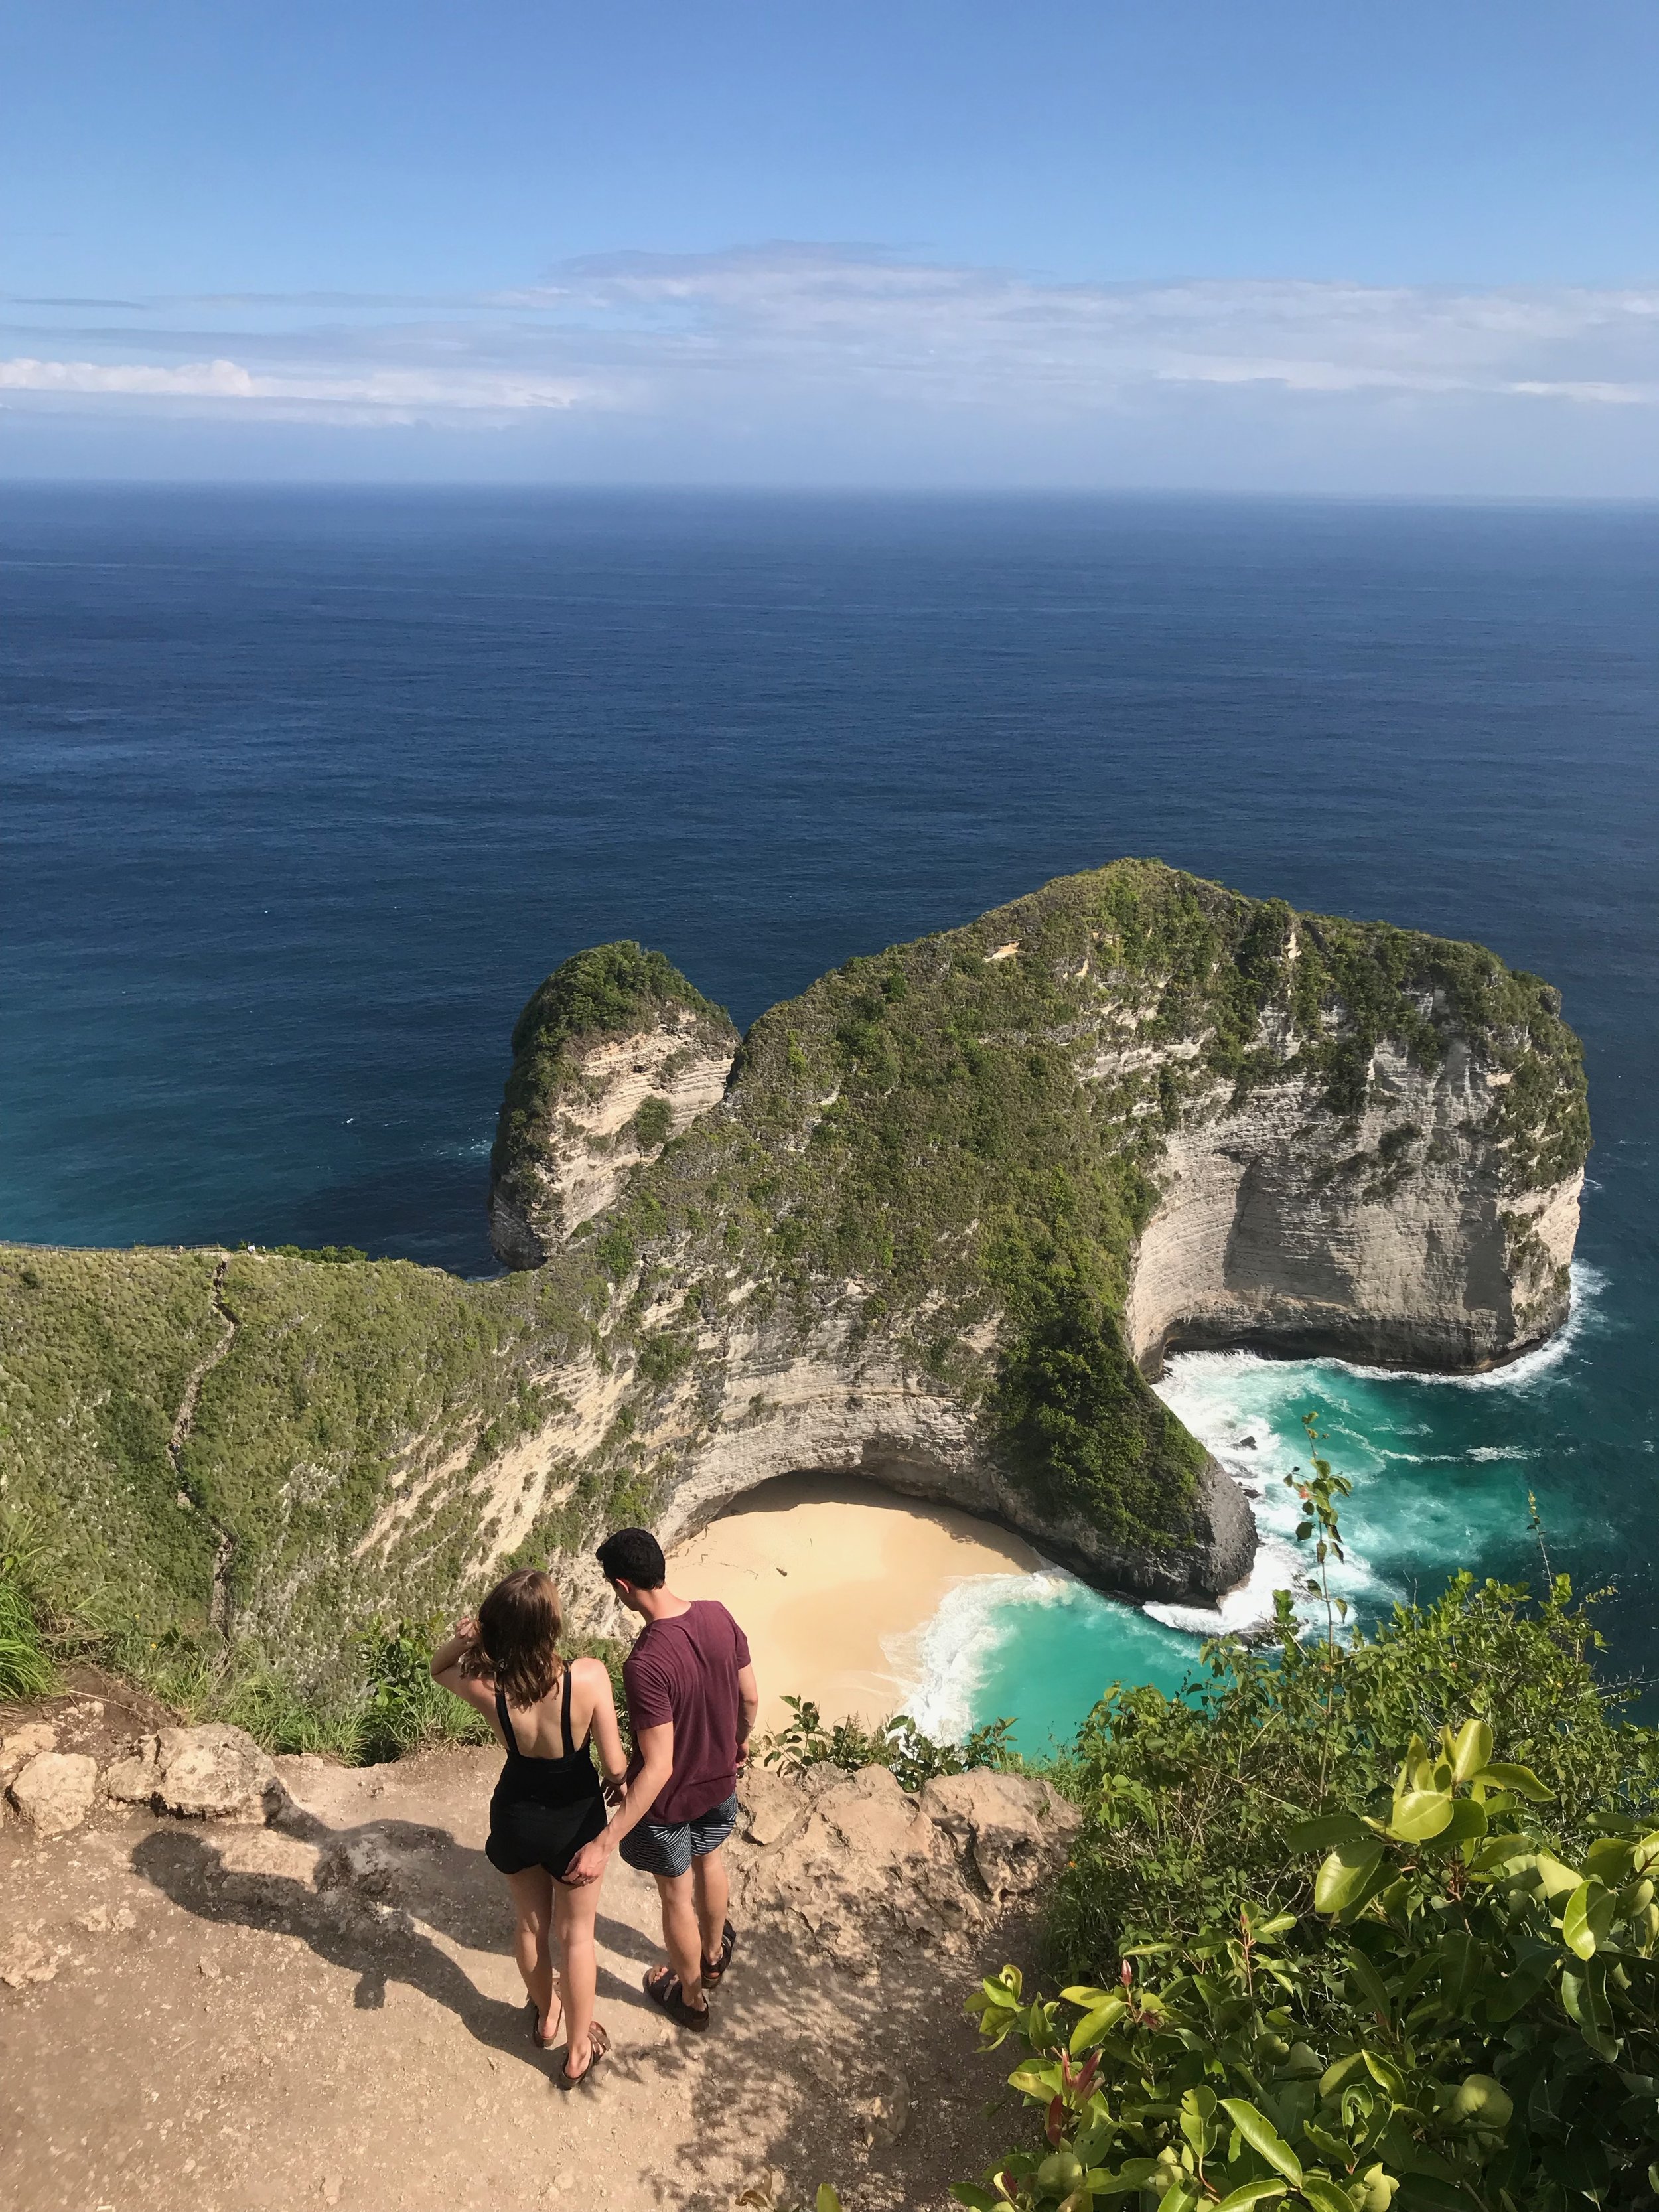
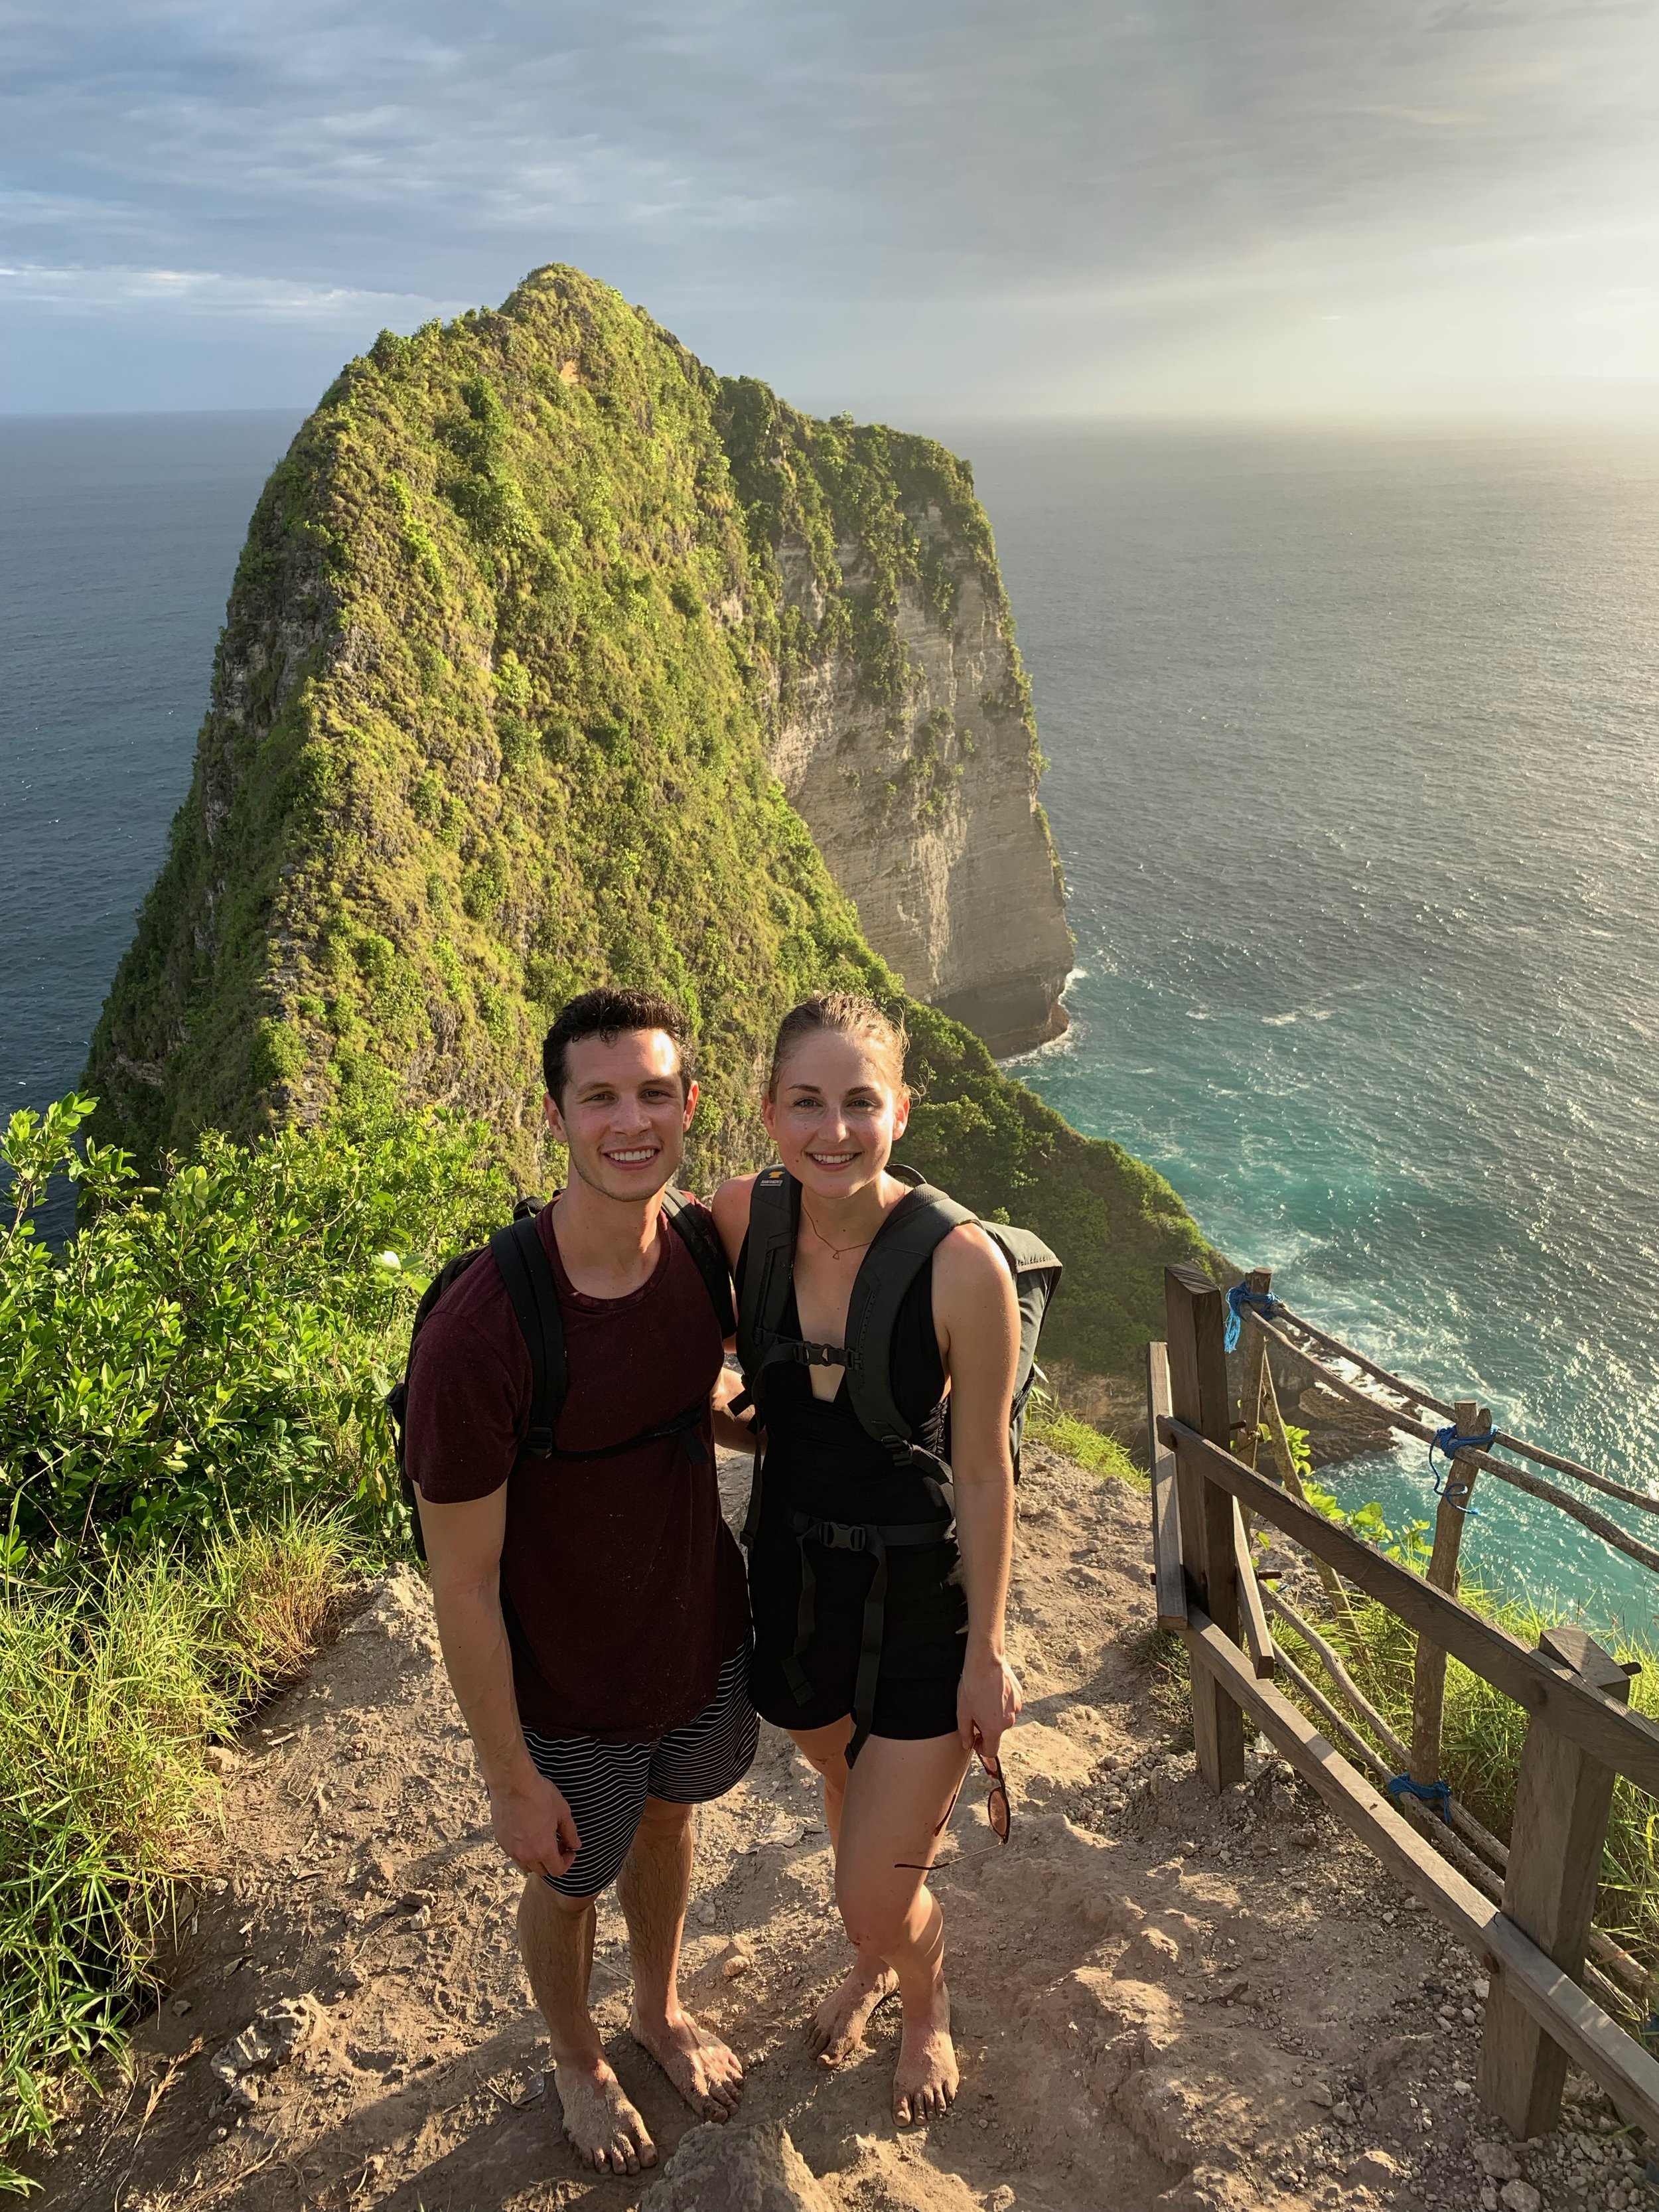
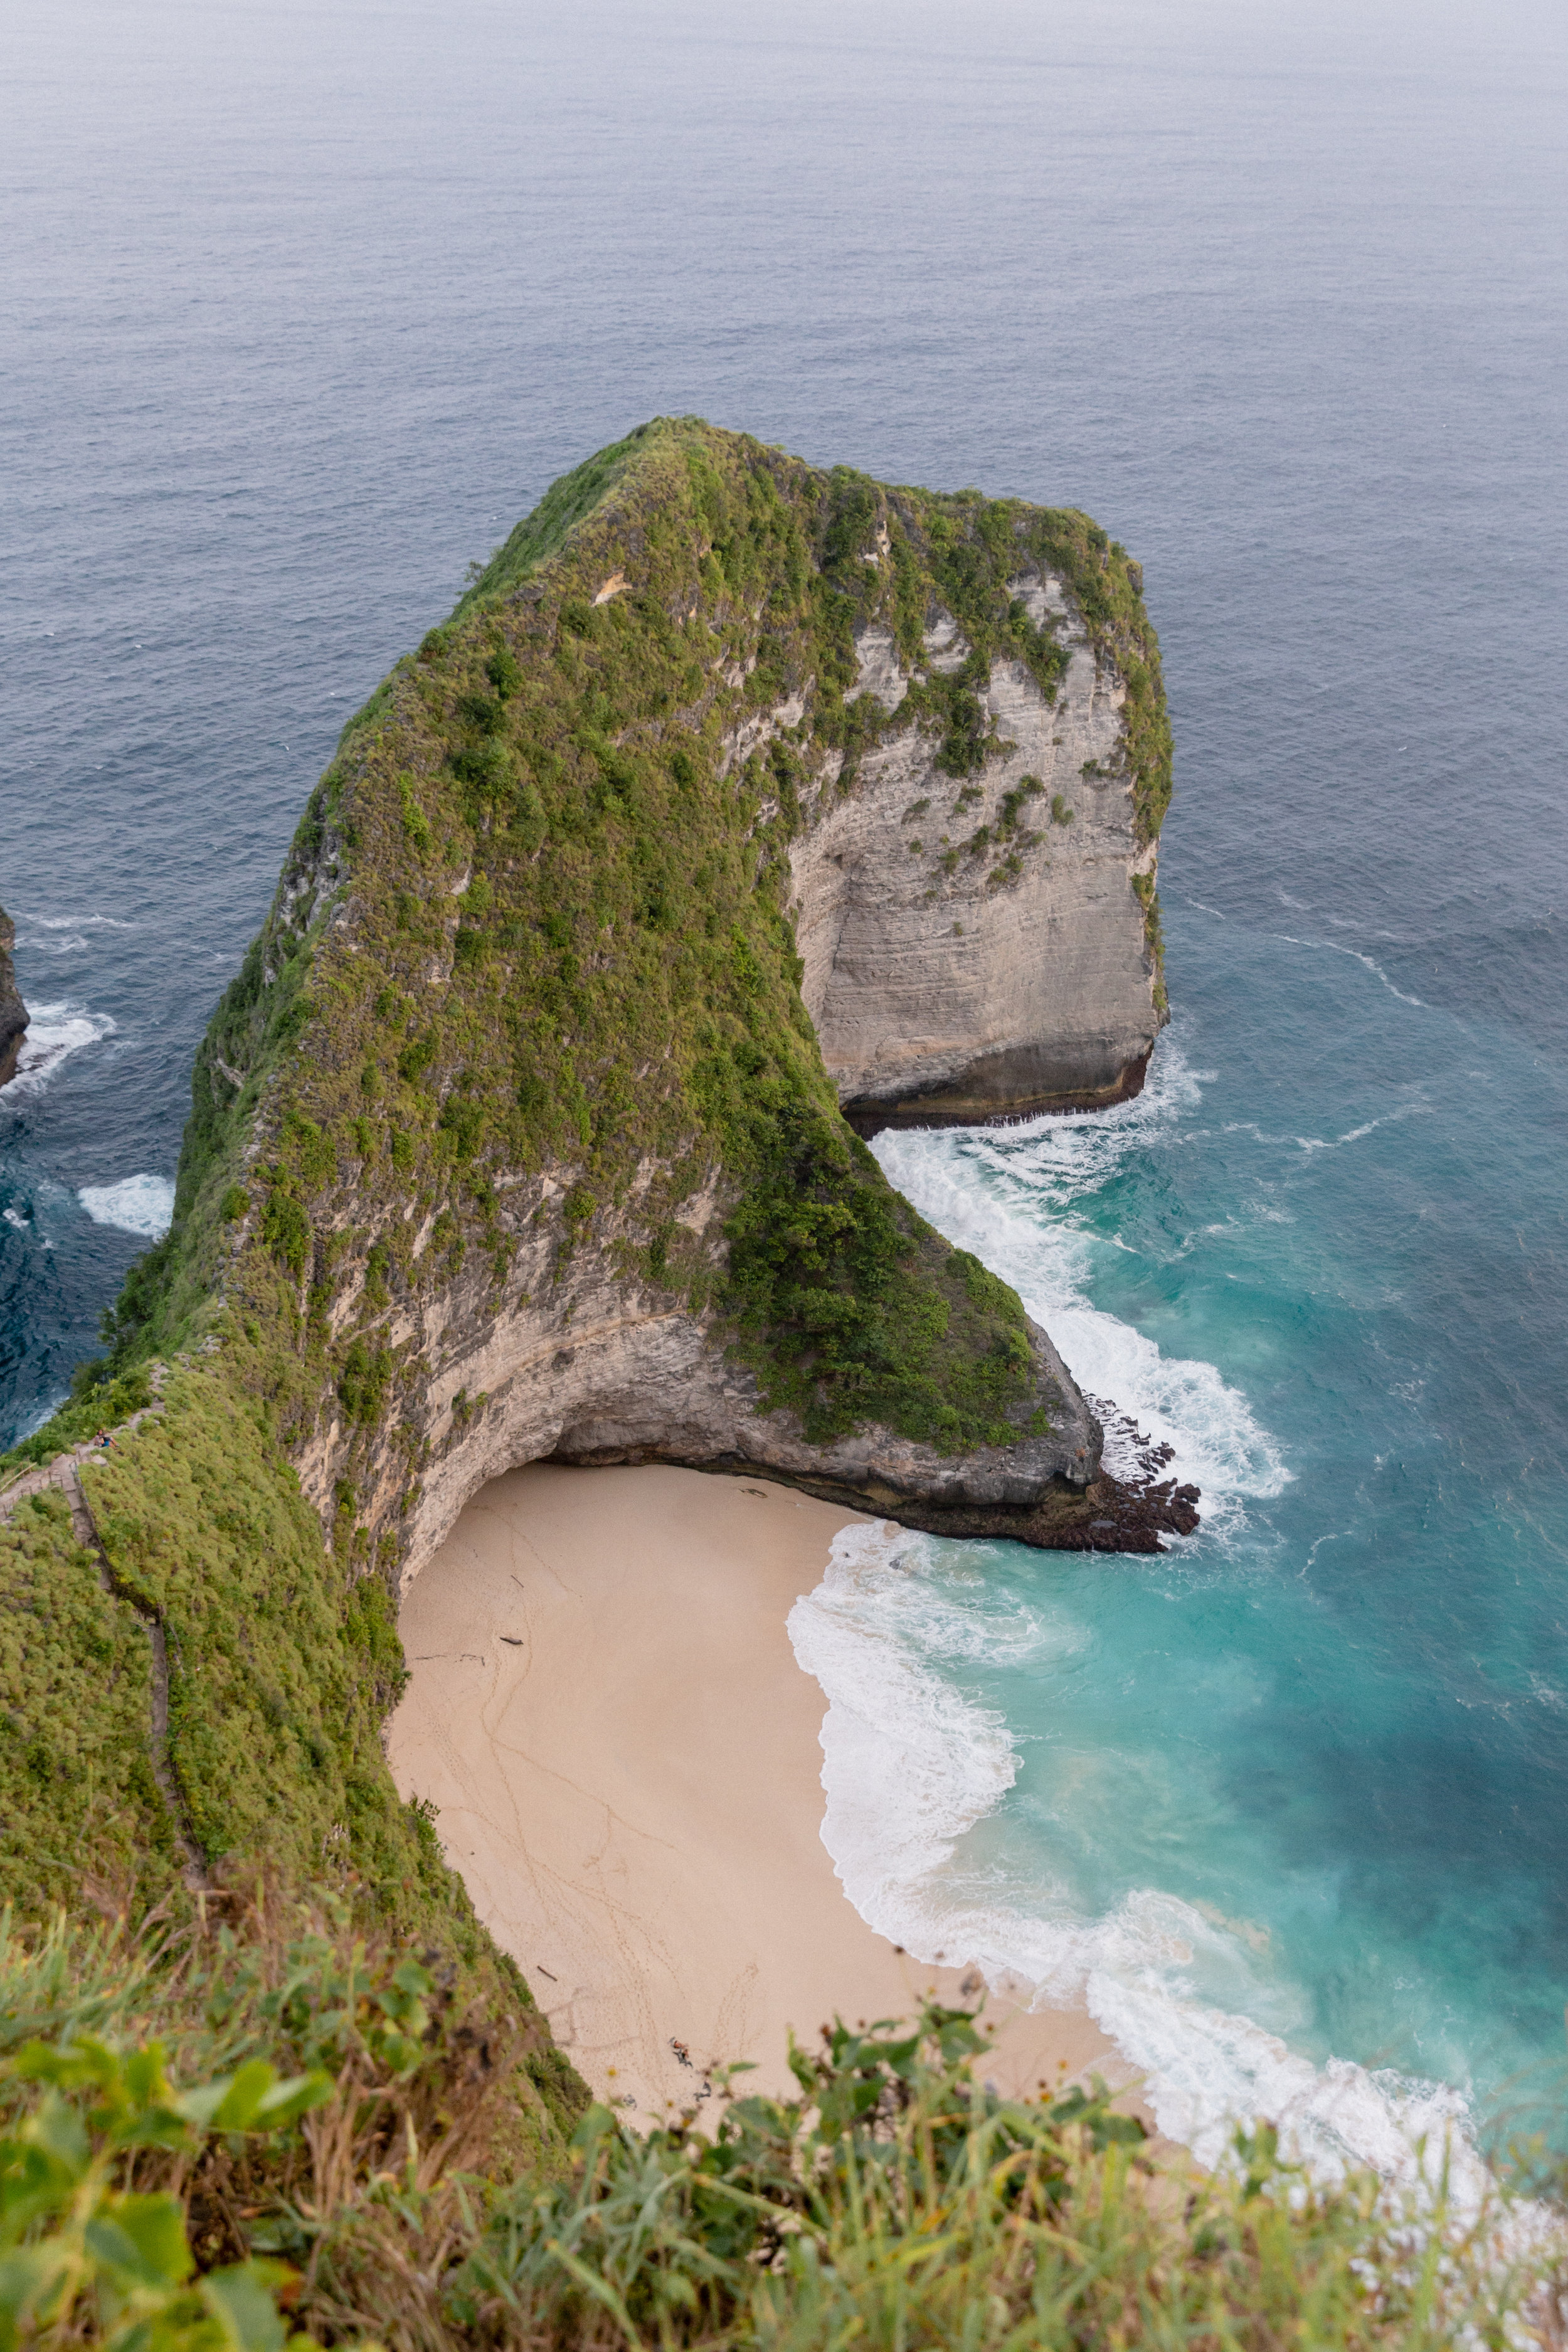
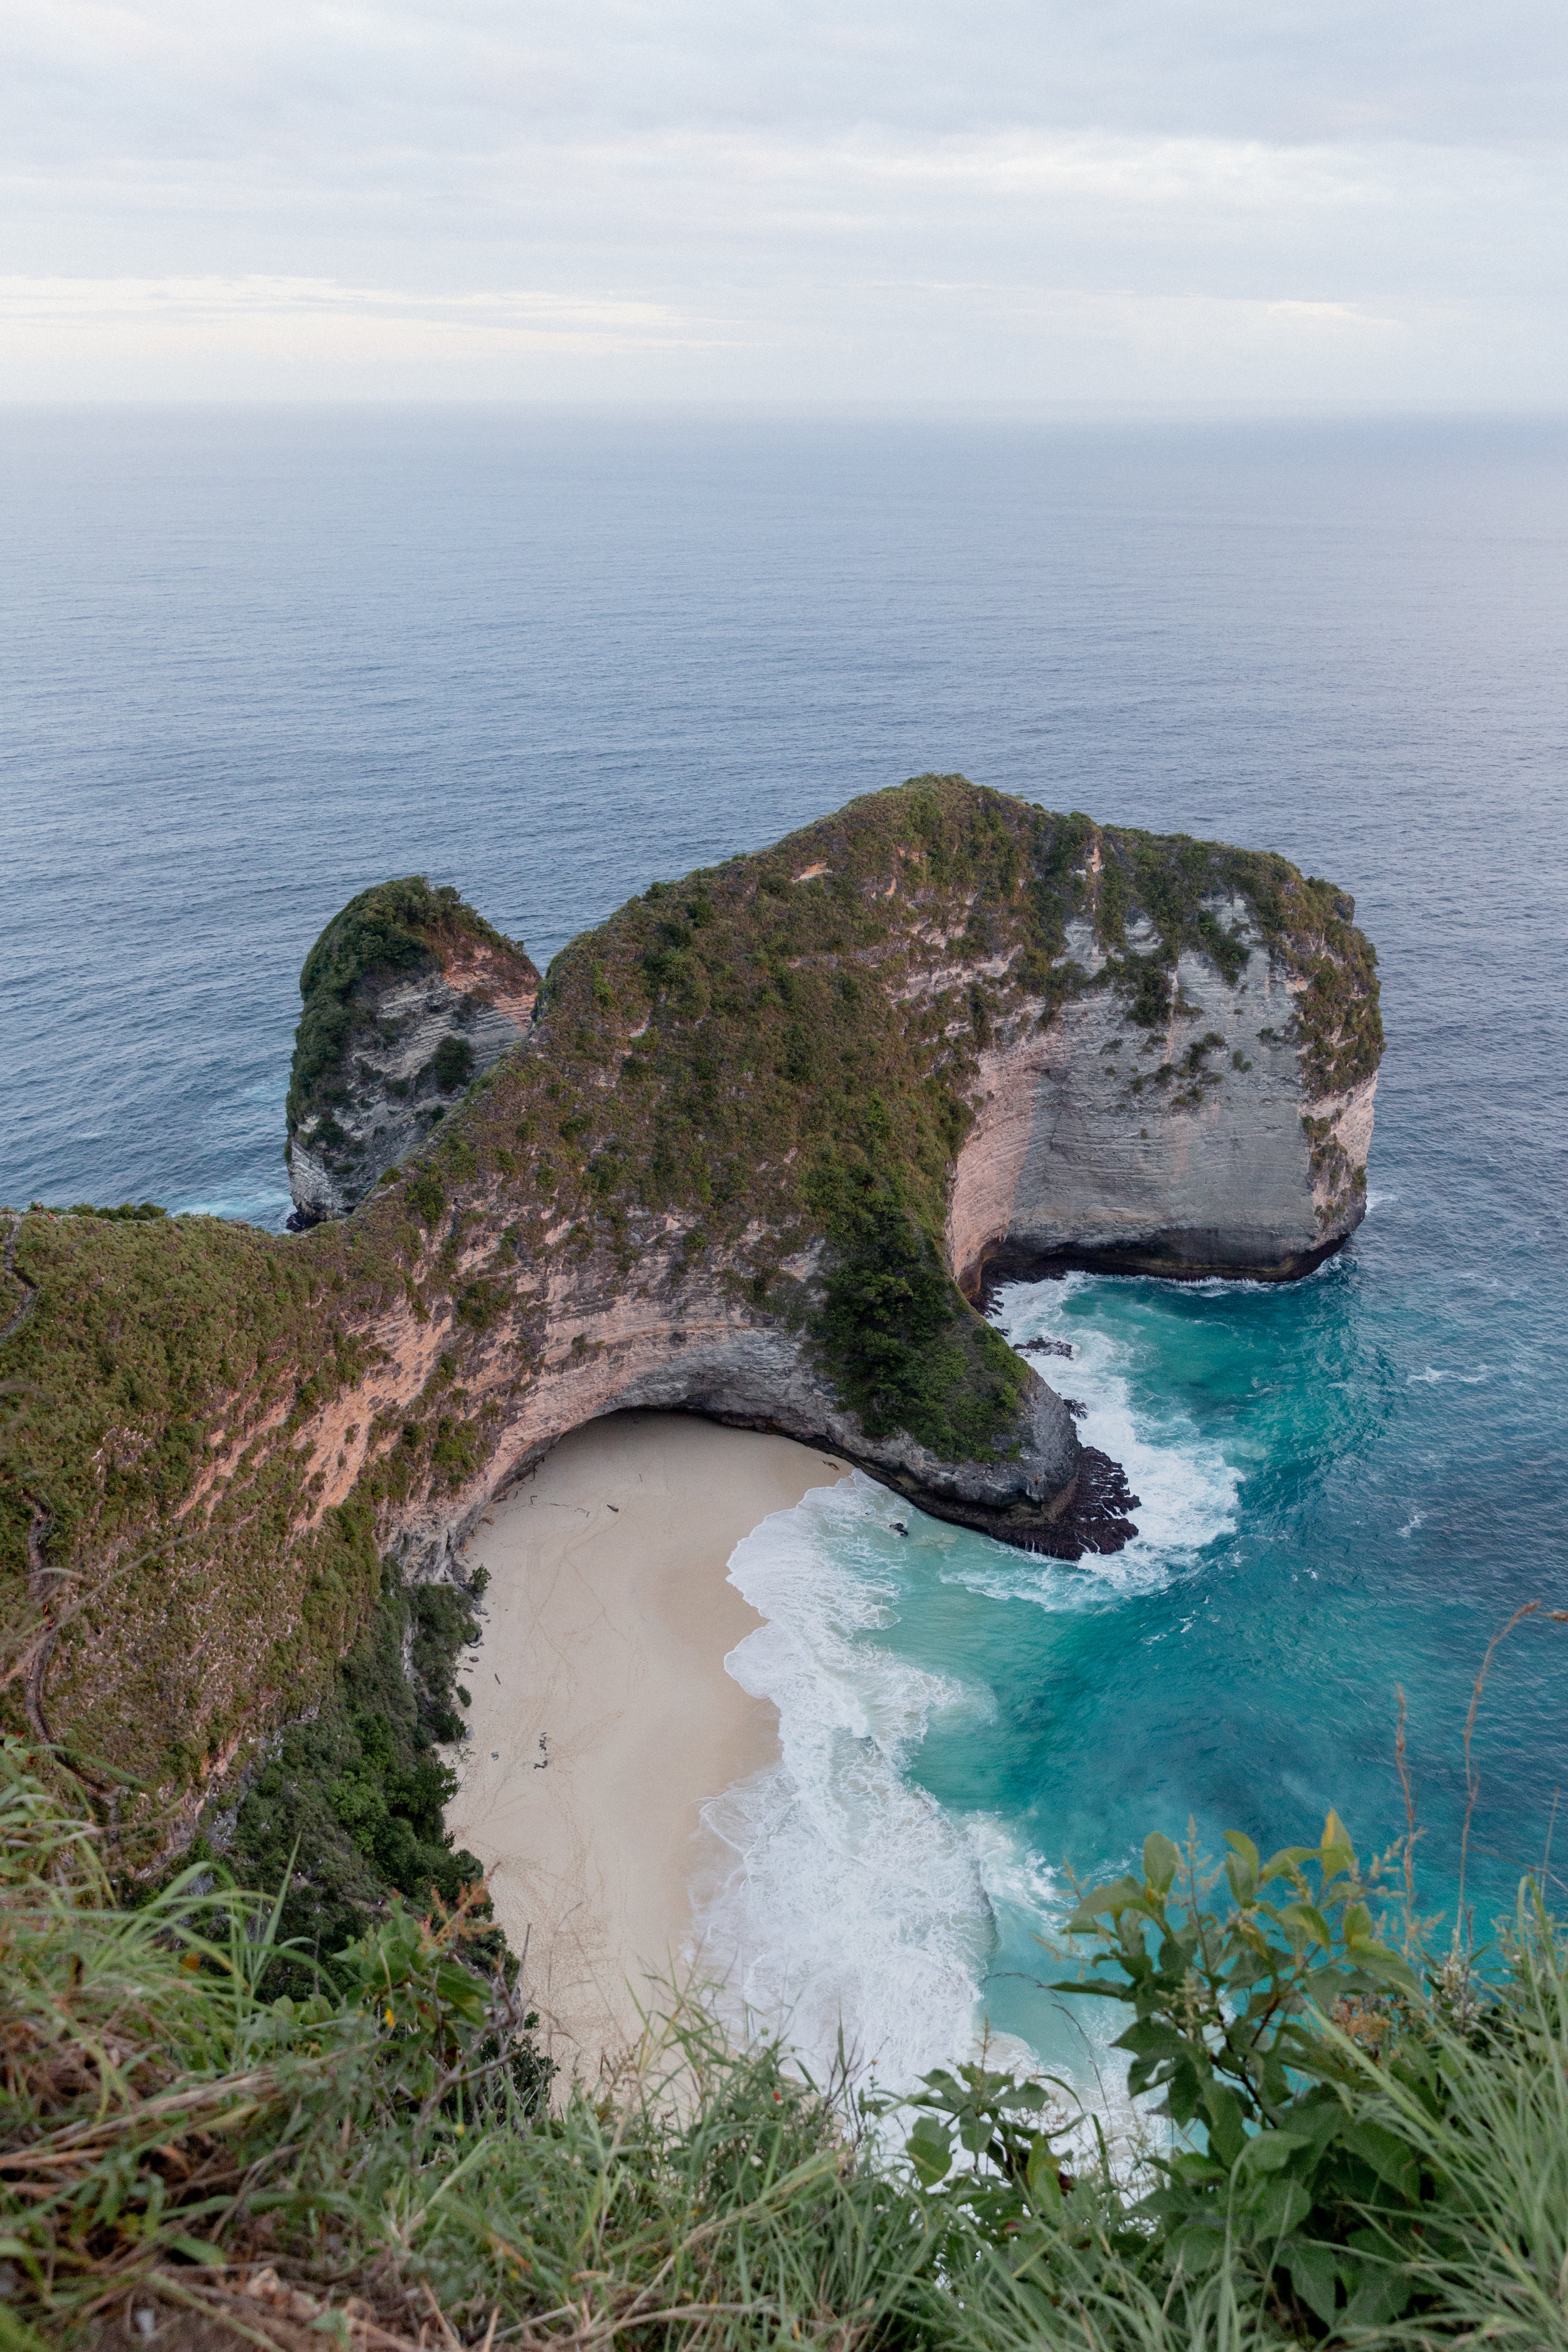
Kelingking Beach
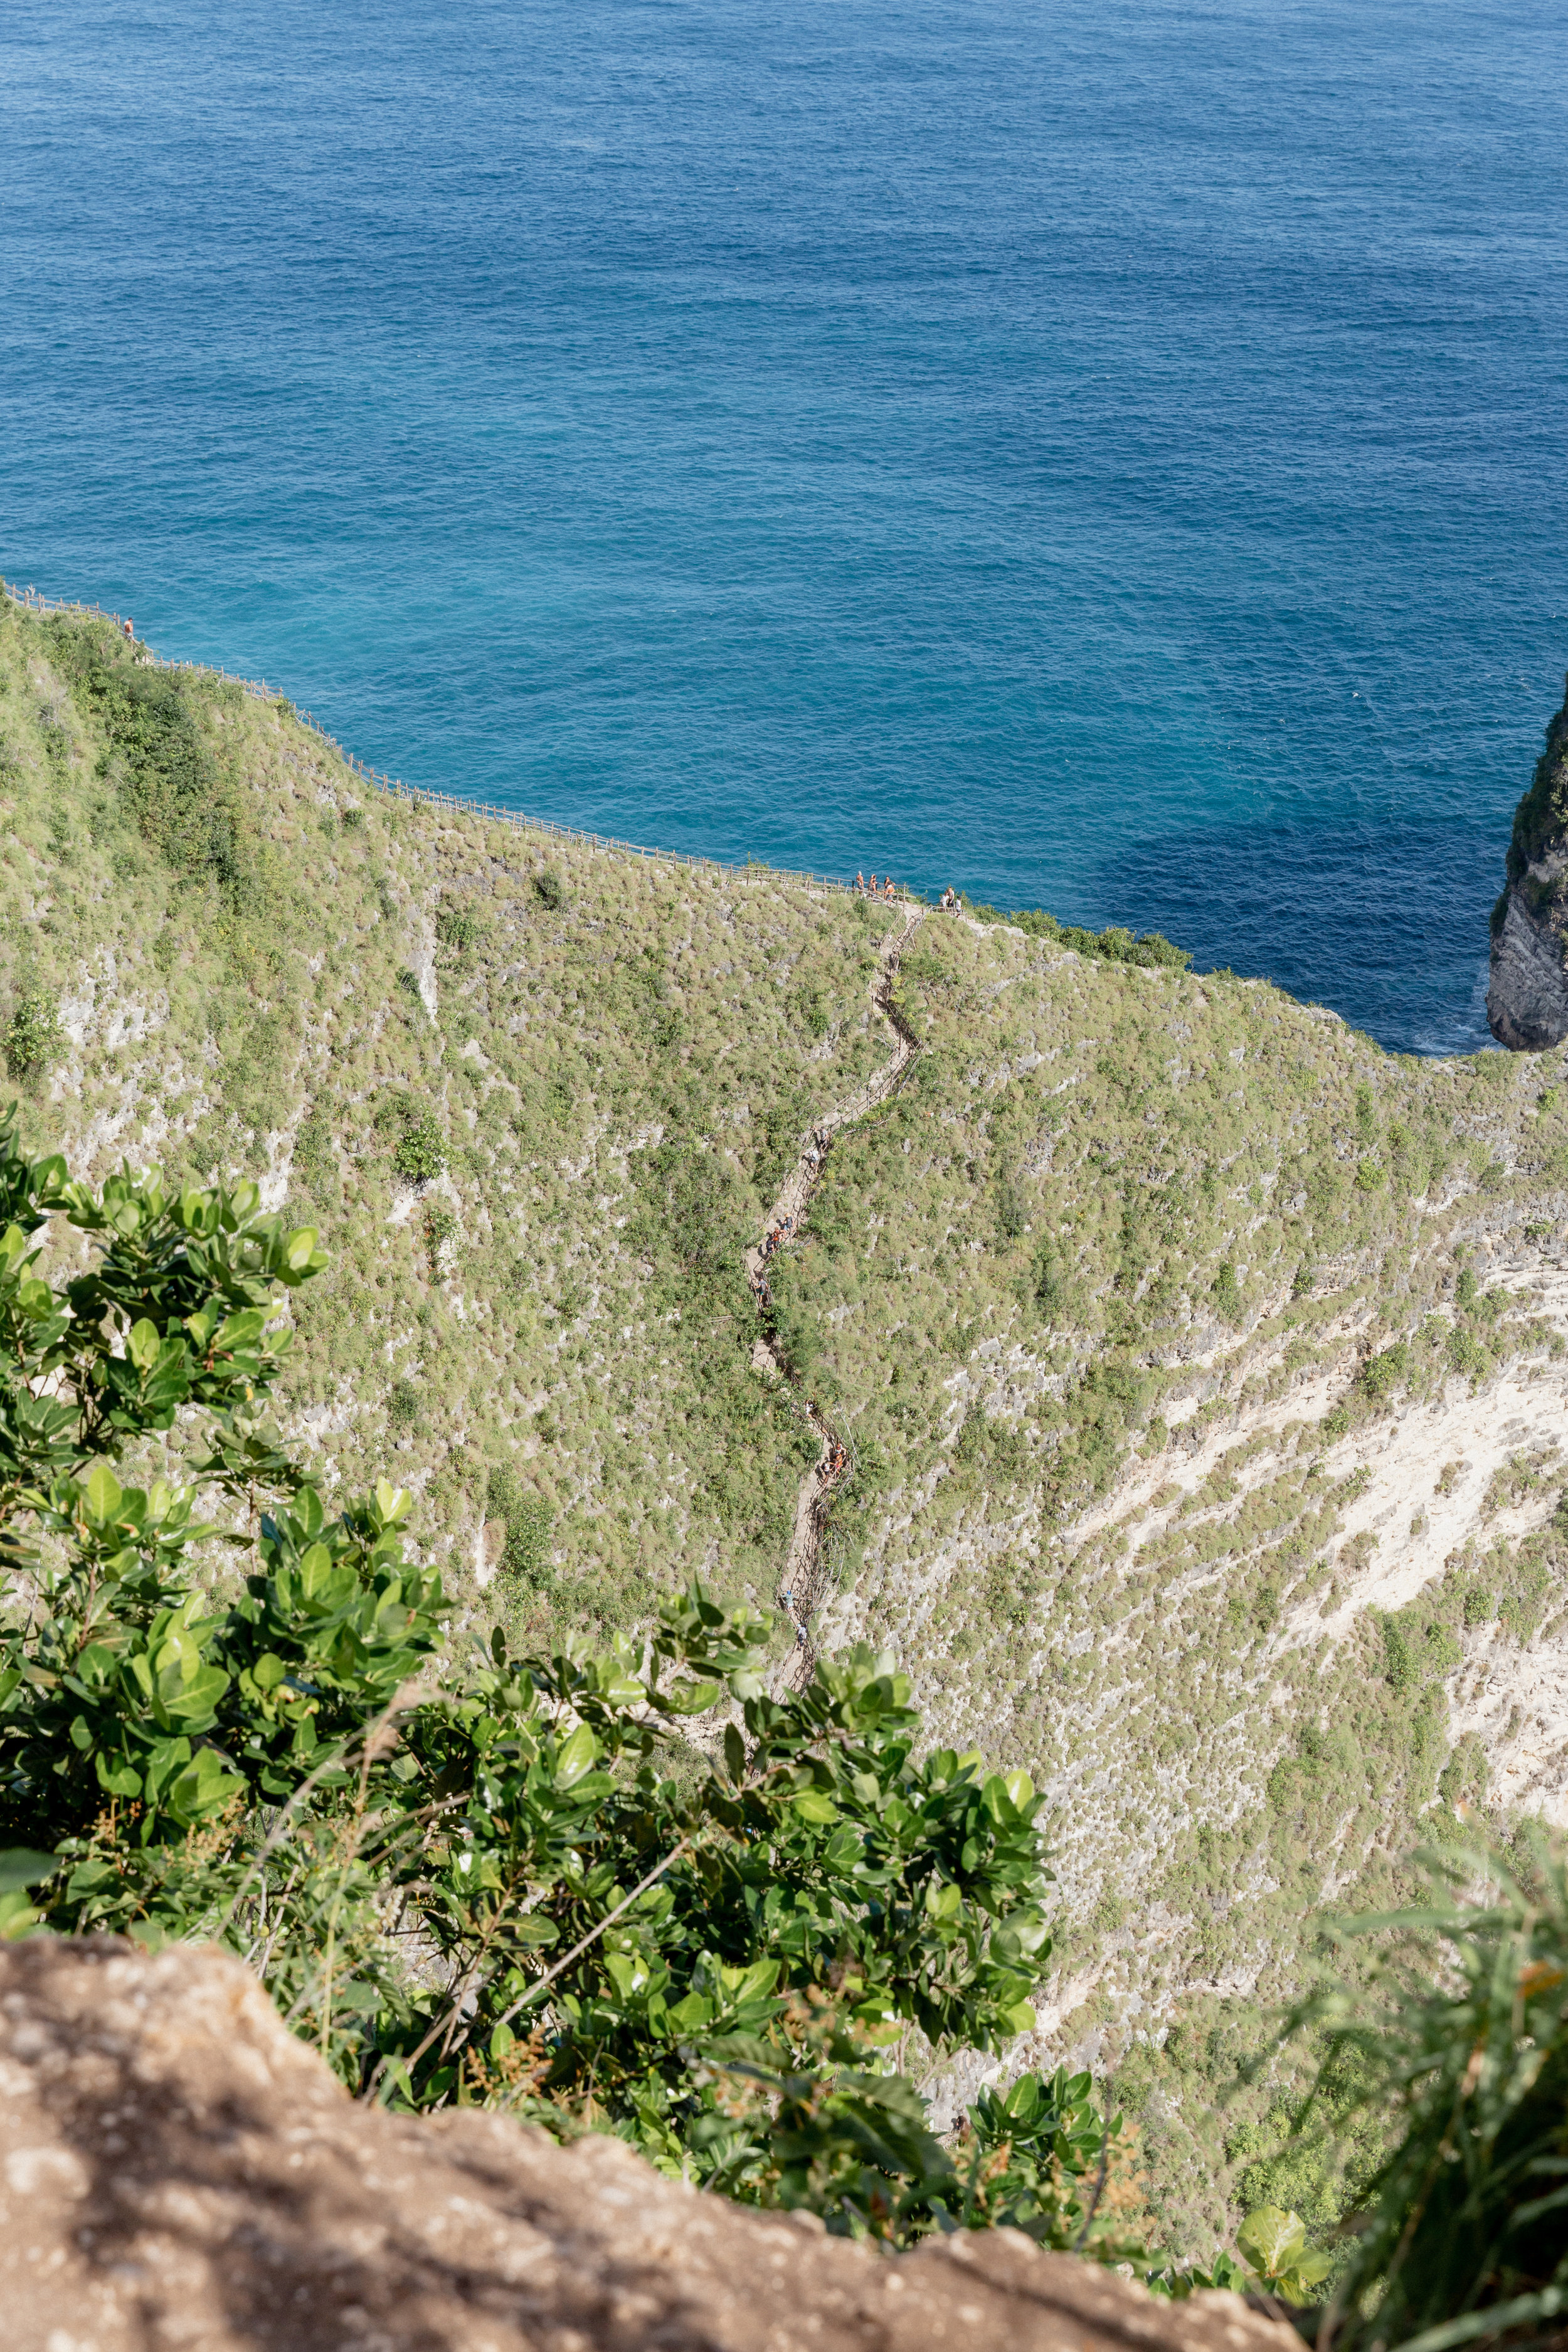
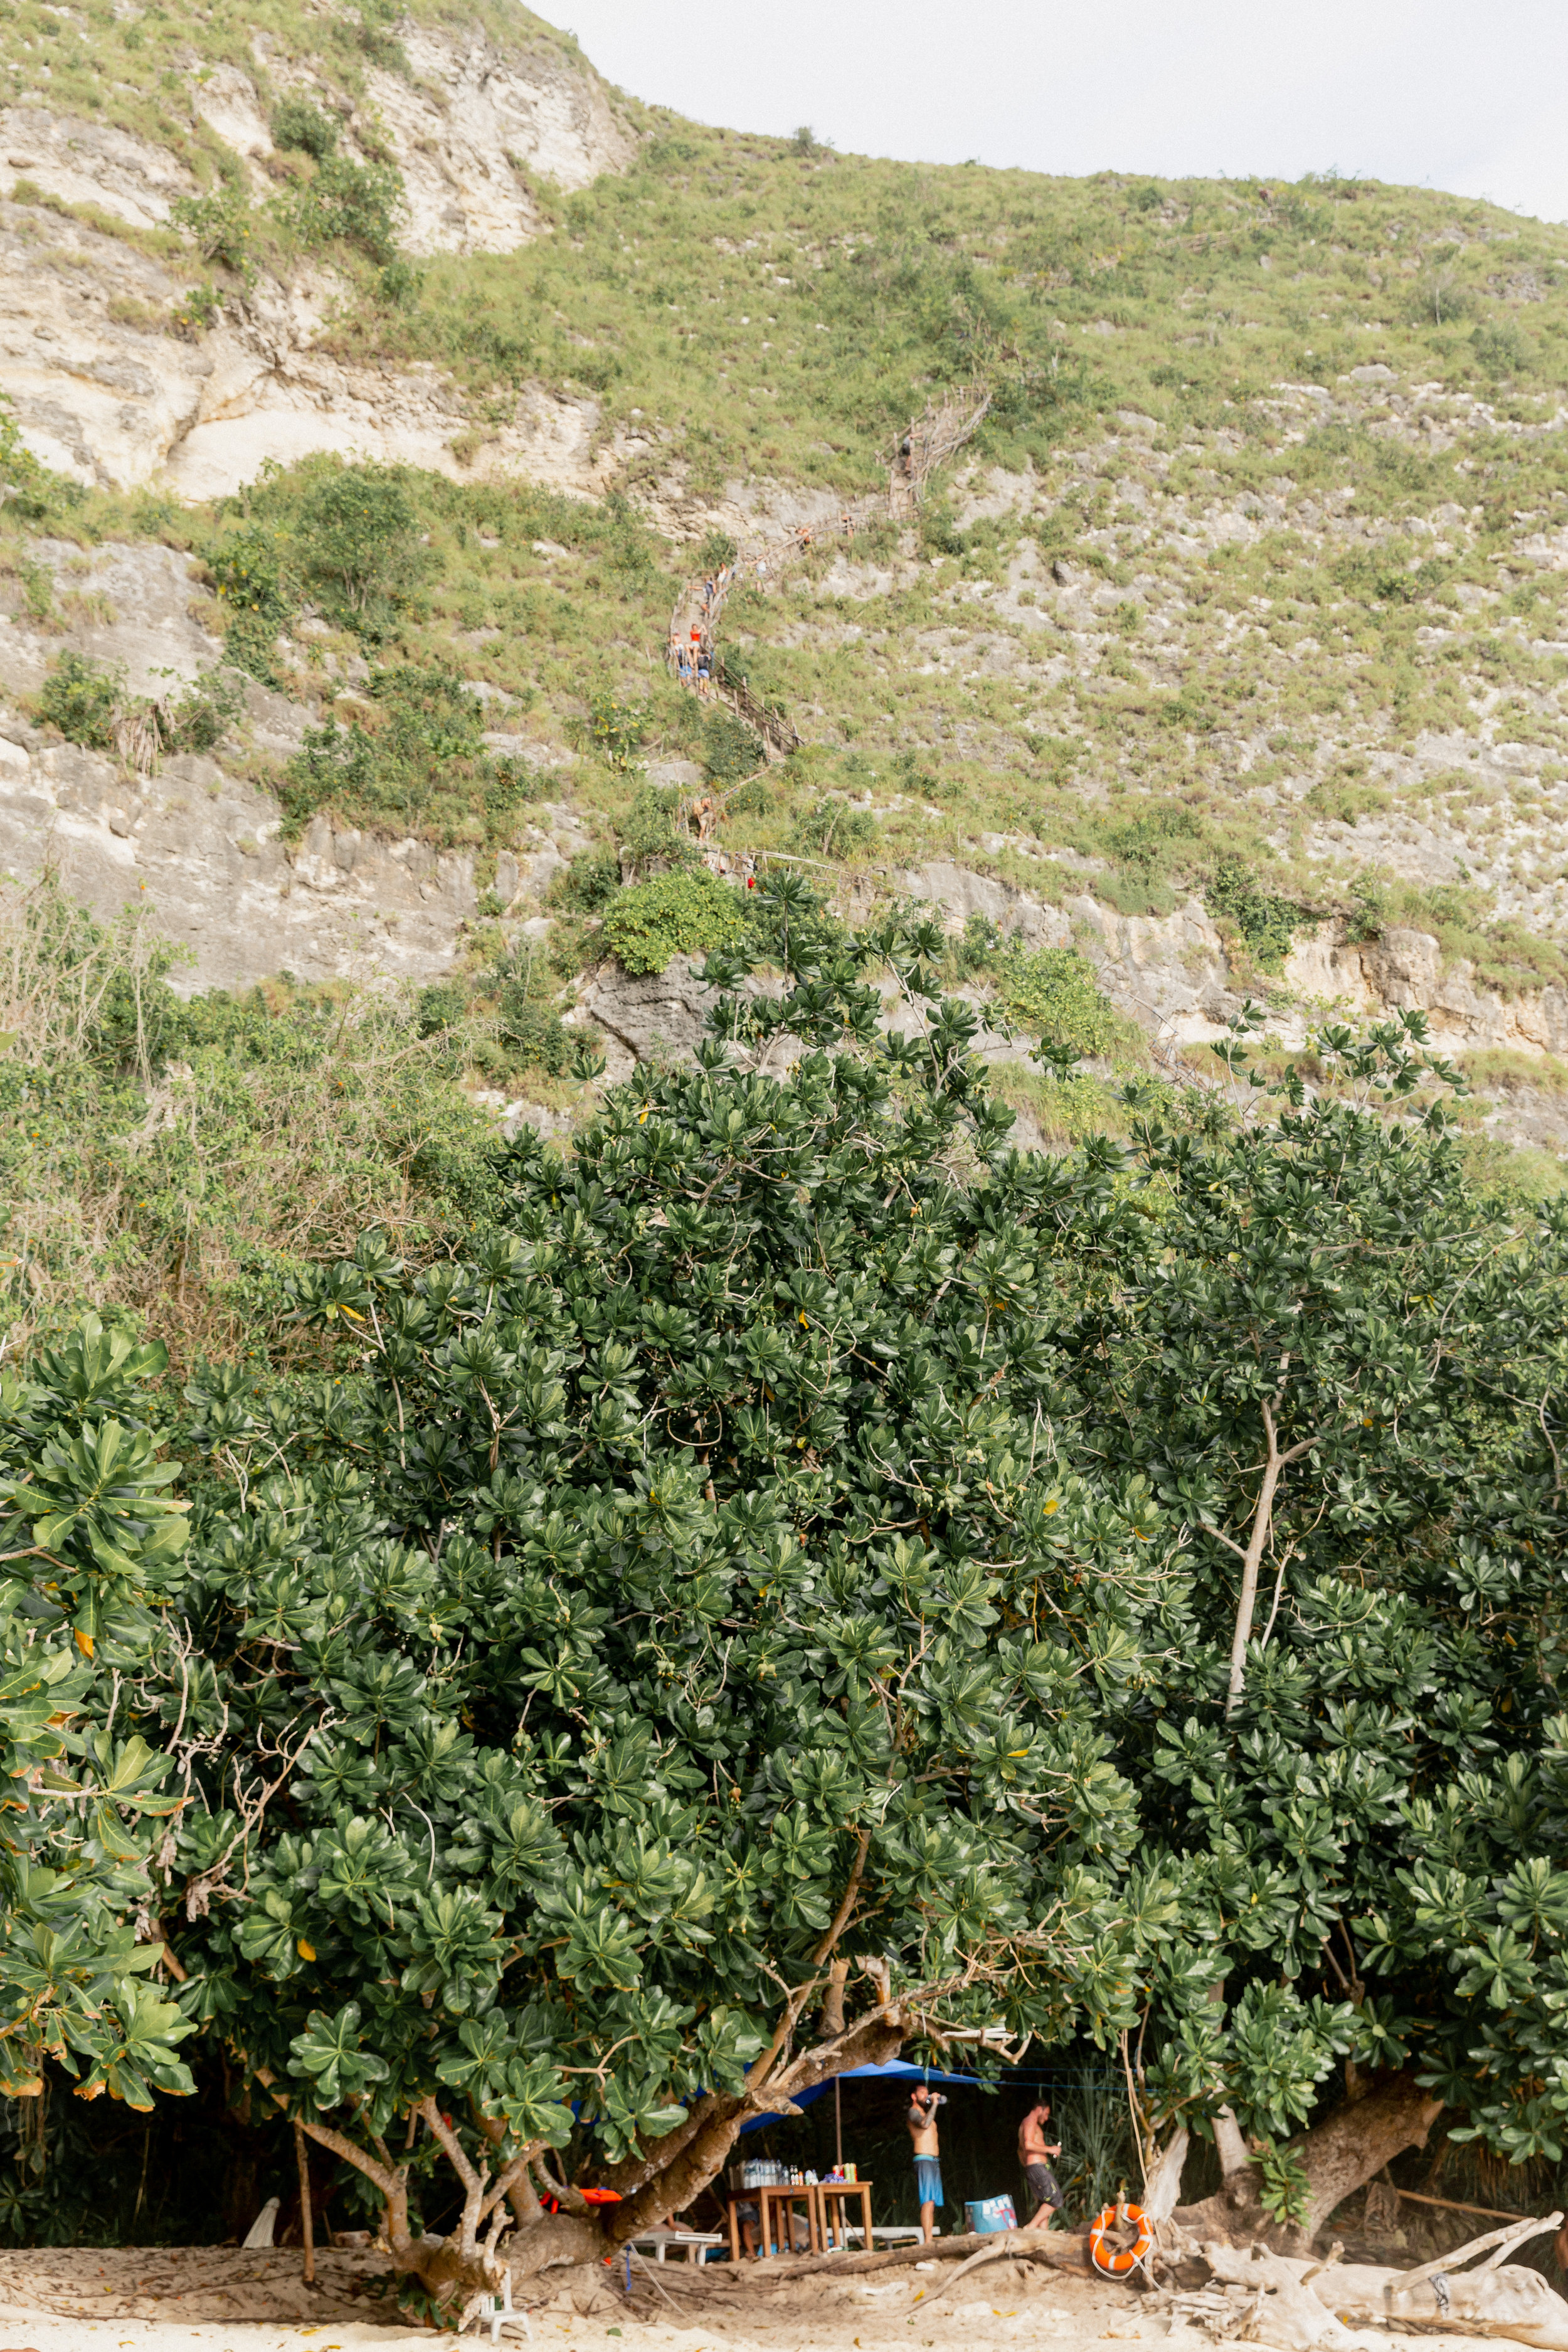
The view from the top of Kelingking beach was so much more impressive in person than any photo I had seen. Looking at the shear drop off took my breath away for a moment, and I thought to myself that there is no way that I will be able to hike down with my fear of heights. I only agreed to hike the trail once I tested how safe the railings were. In the pictures I had seen of the hike, the railings appeared to be made of bamboo sticks tied together with string. However, the railing must have been updated relatively recently because they are now made of wood and are very sturdy. I feel like I was not adequately warned about the difficulty level of this hike when doing research on various travel blogs, so I am here to say that this hike is VERY DIFFICULT. The path is so steep that we ended up using our arms more than our legs. When descending we used our arms to tightly hold the railings and lower our bodies to the next step, and when ascending we used our arms to literally pull ourselves up via the railings.
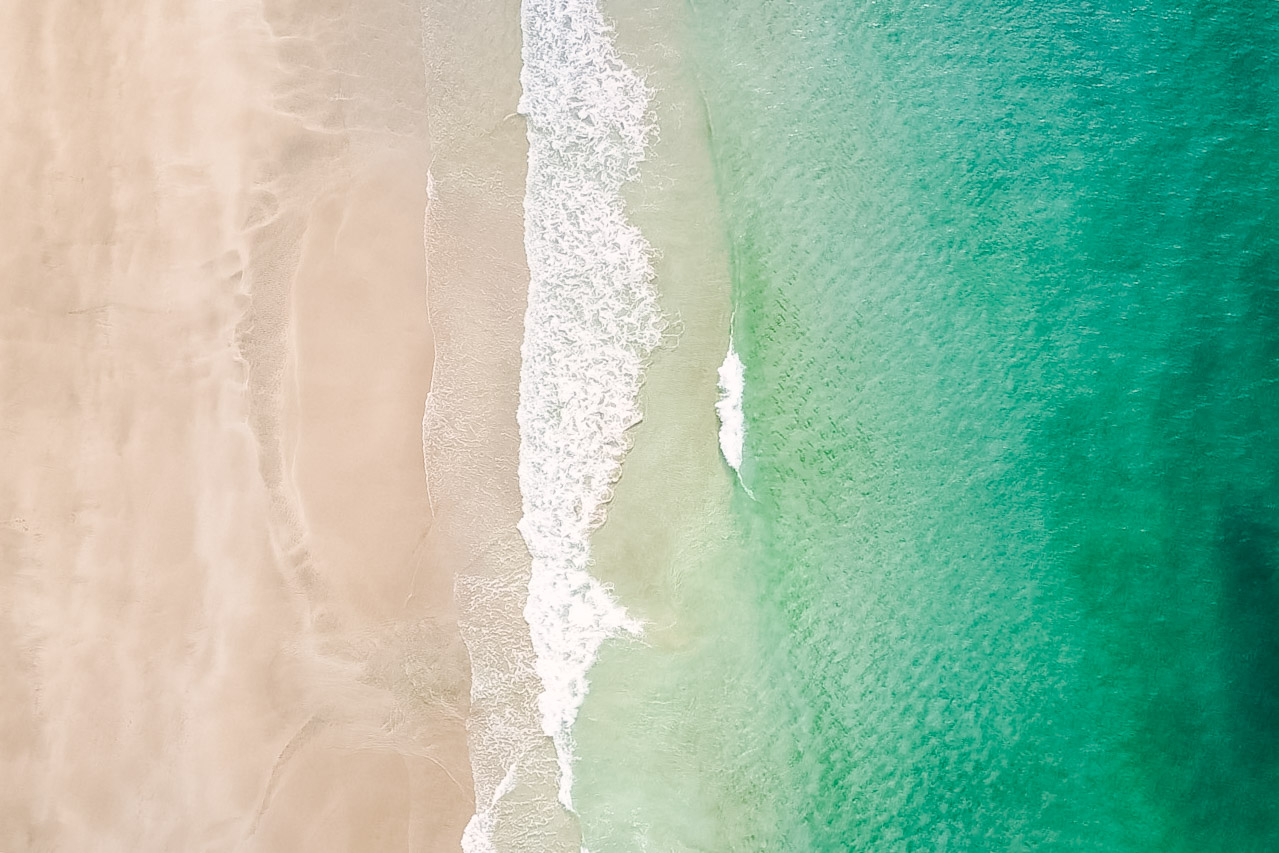
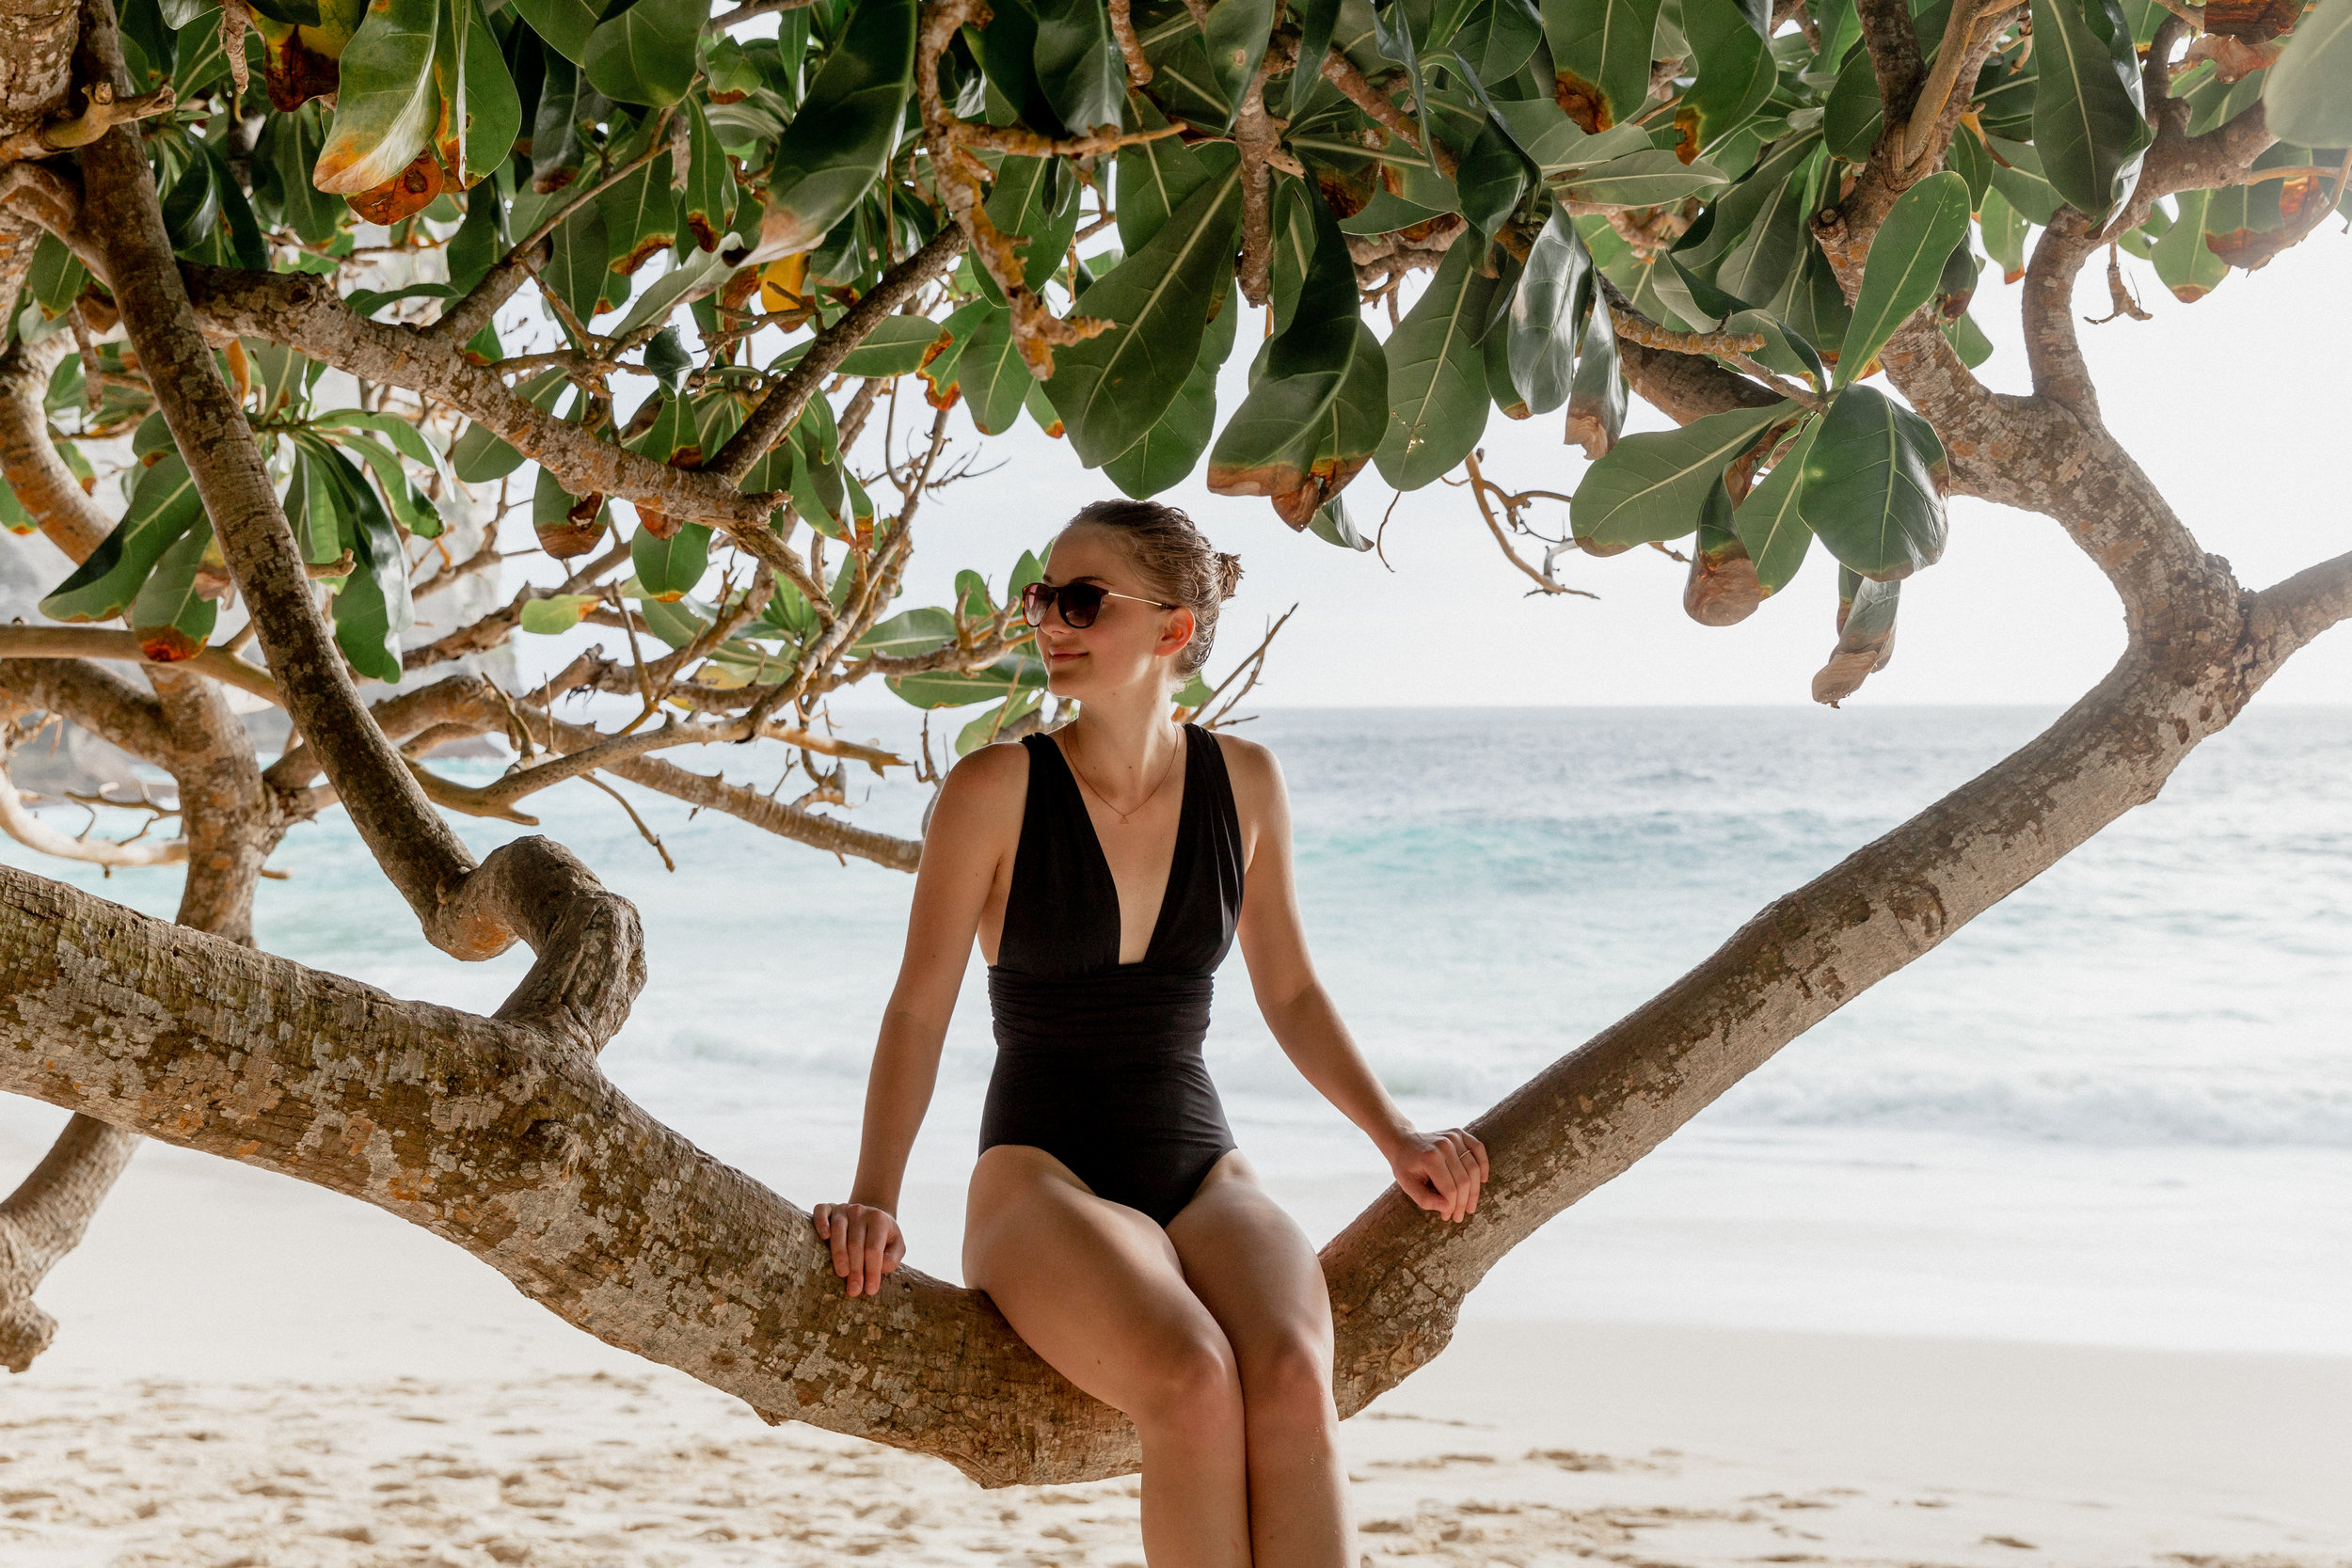
The riptide at the beach here was the strongest I had ever seen, so it was really disappointing when we got to the bottom of the hike, dripping in sweat, and realized that we couldn’t even cool off in the ocean. Besides that though, the beach is beautiful. It has white sand and the ocean is a bright blue. There are a few trees towards the cliff that provide much needed shade as you recover.
I highly recommend that you do not do this hike in the middle of the day when the sun is the highest and the weather is the hottest. We passed many people who were having heat strokes, who needed to drink other hikers’ waters. We unfortunately hiked down during the hottest part of the day, and it was very difficult! We timed it that way though so we could hike back during sunset. Trust me when I say that there was a drastic difference when hiking in cooler weather! It took us 1 hour to hike down in the heat, but only 30 minutes to climb up in the cool weather.
I also highly recommend that you bring LOTS of water. Seriously. Load your bag up with water and be sure to hydrate before hiking down and before hiking up.
We hiked barefoot, and I highly recommend it. There are many sections along the path where the “steps” are just small cutouts on a giant rock, which were difficult to step in with shoes. Having the sure footing of being barefoot made me feel much safer.


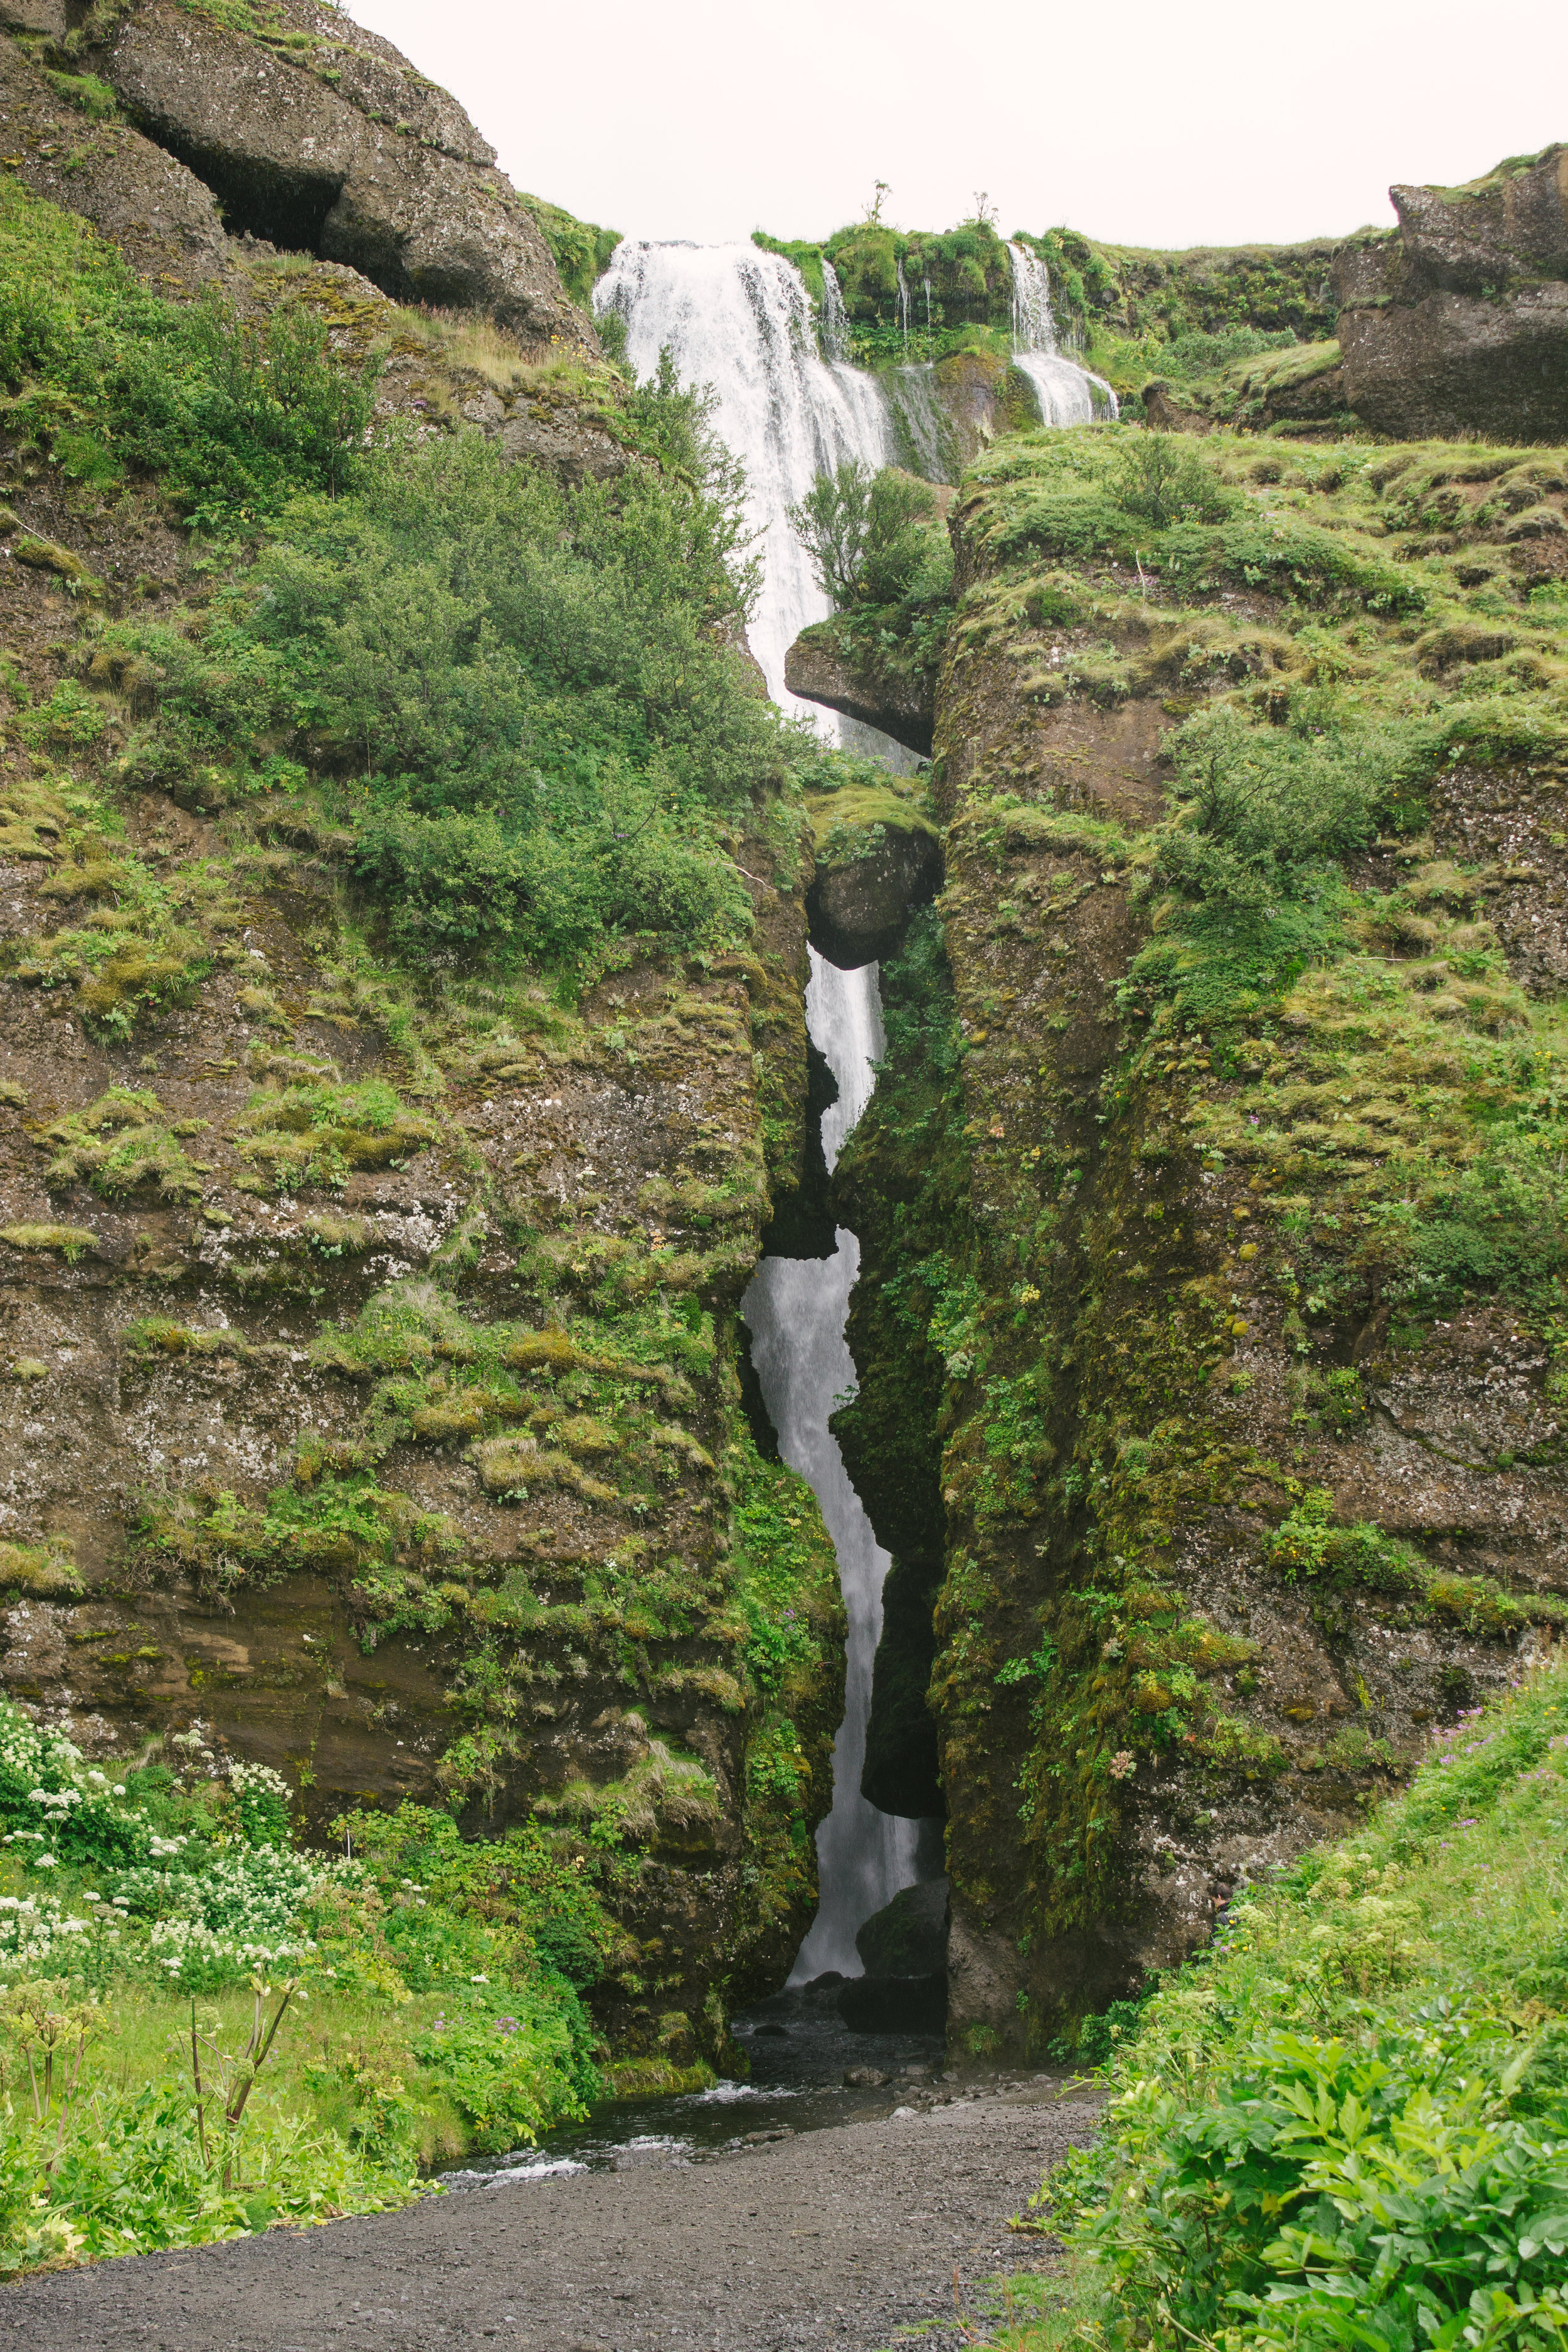
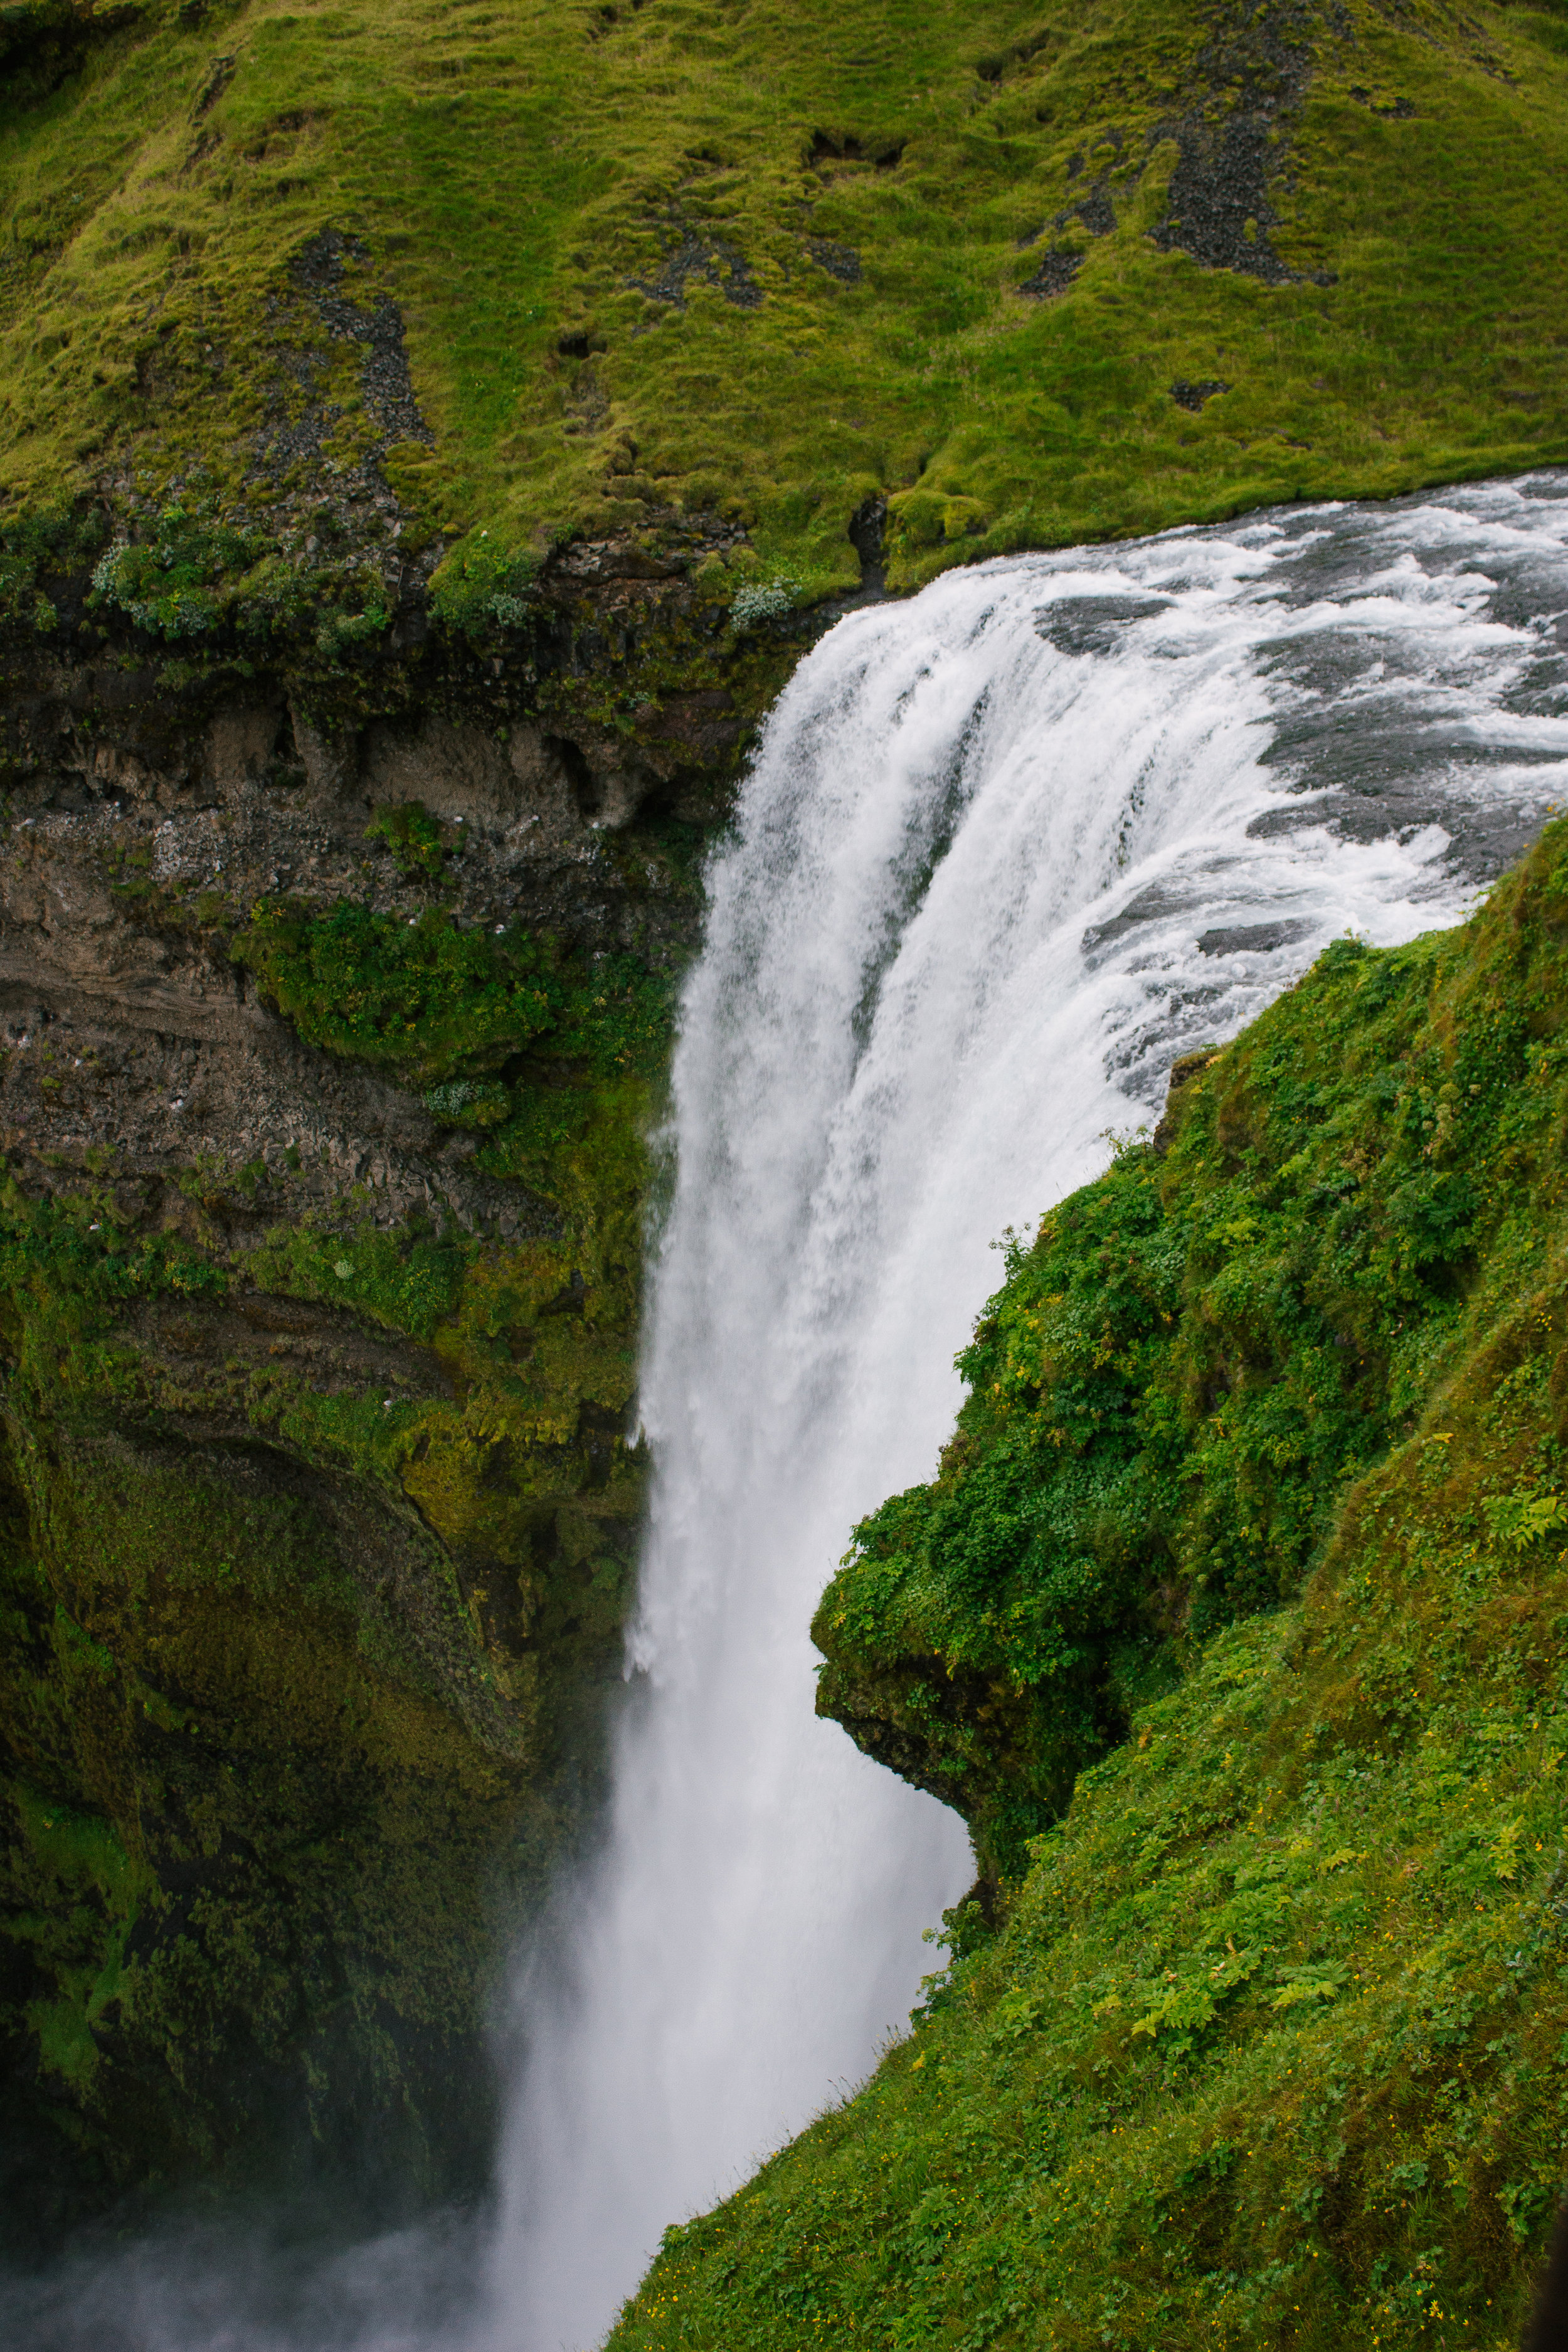
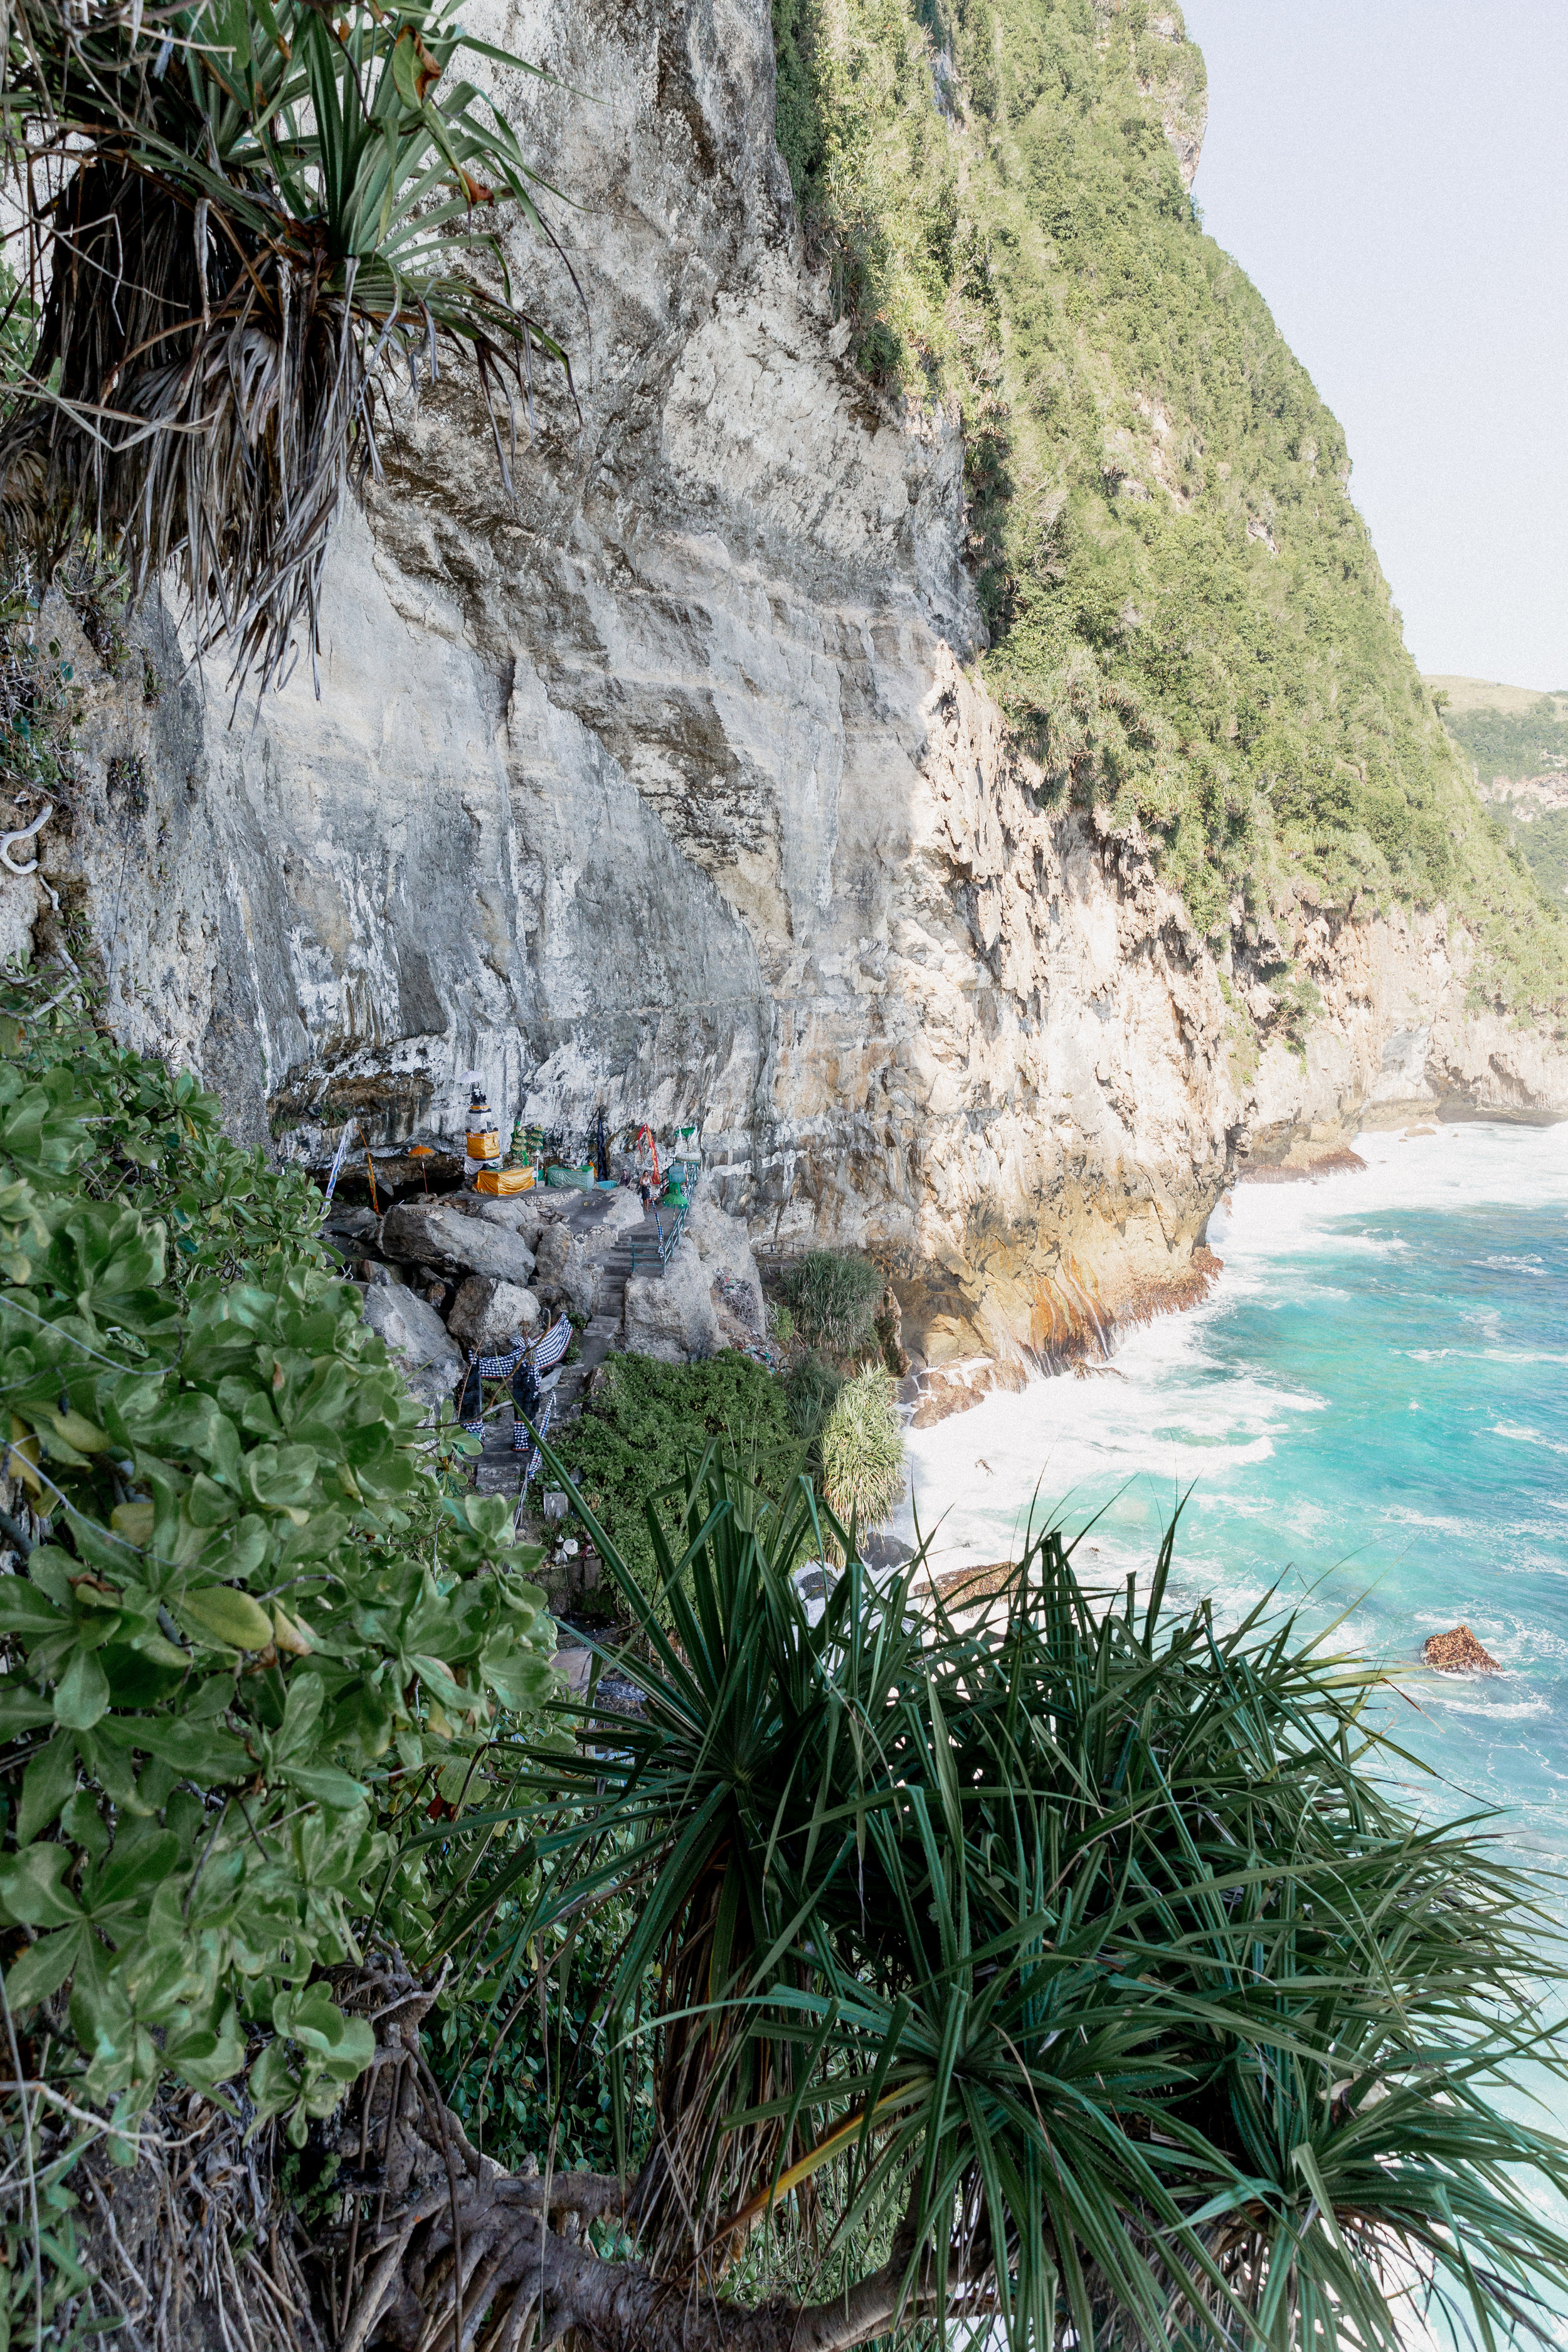
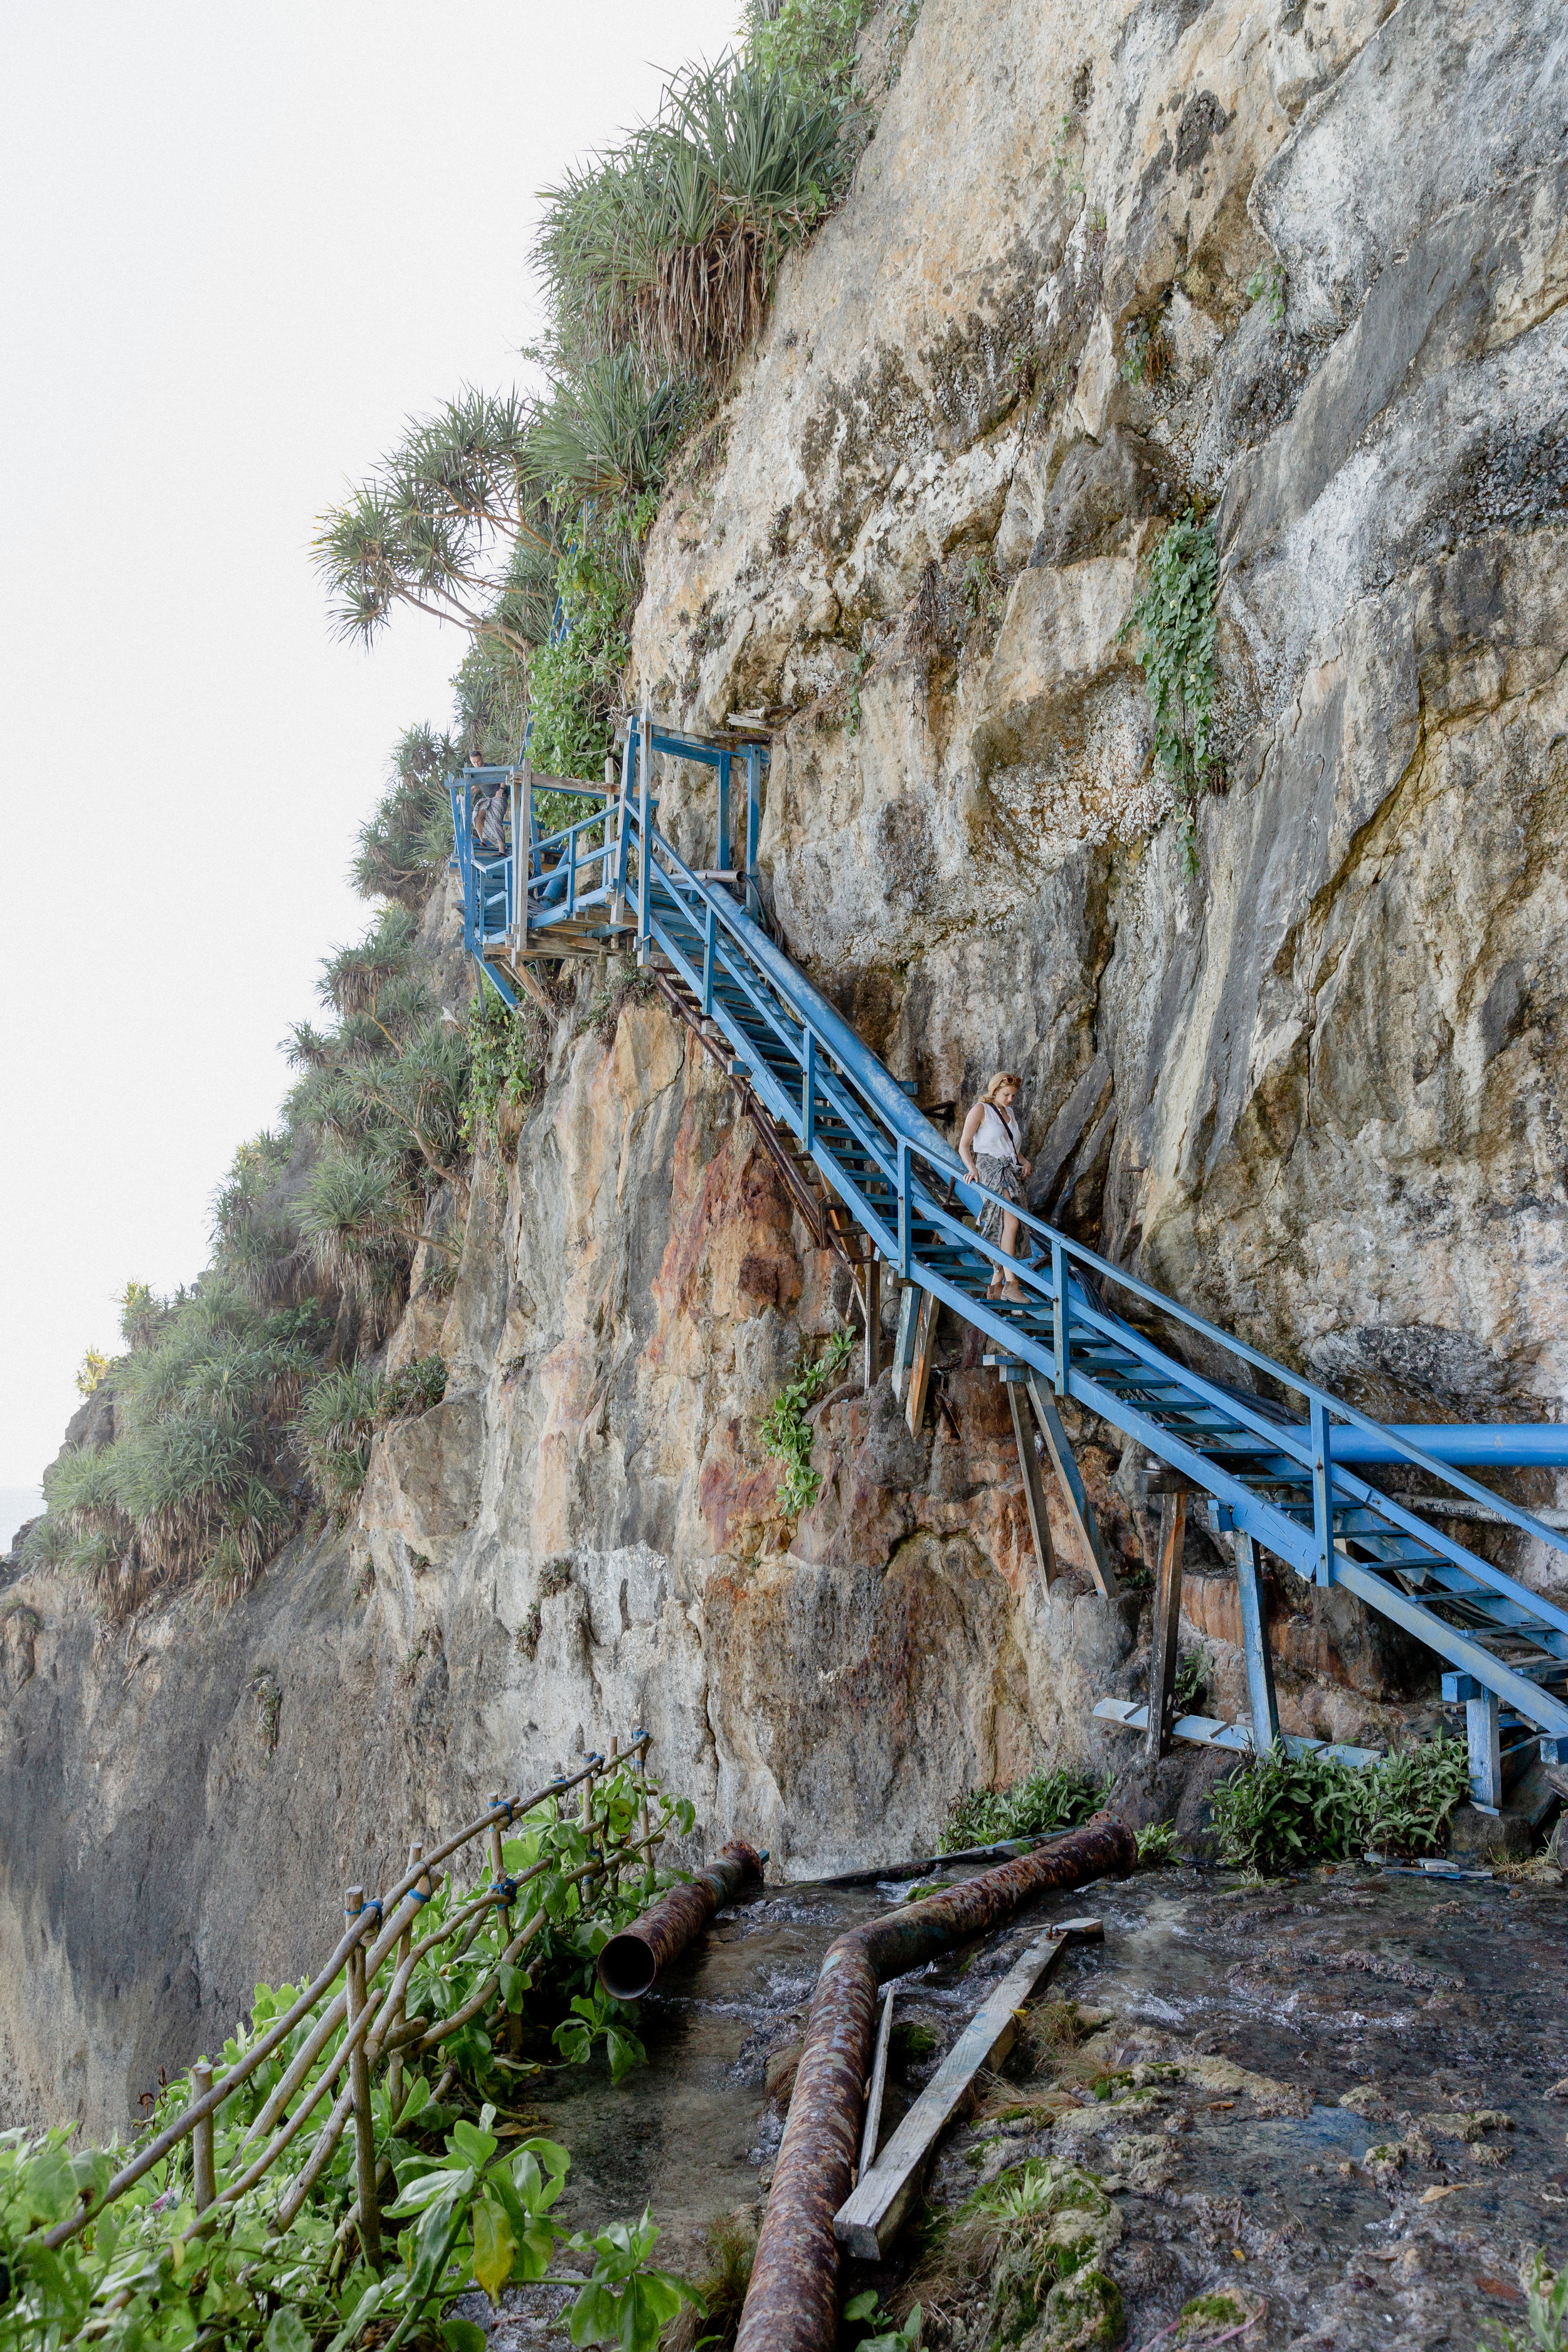
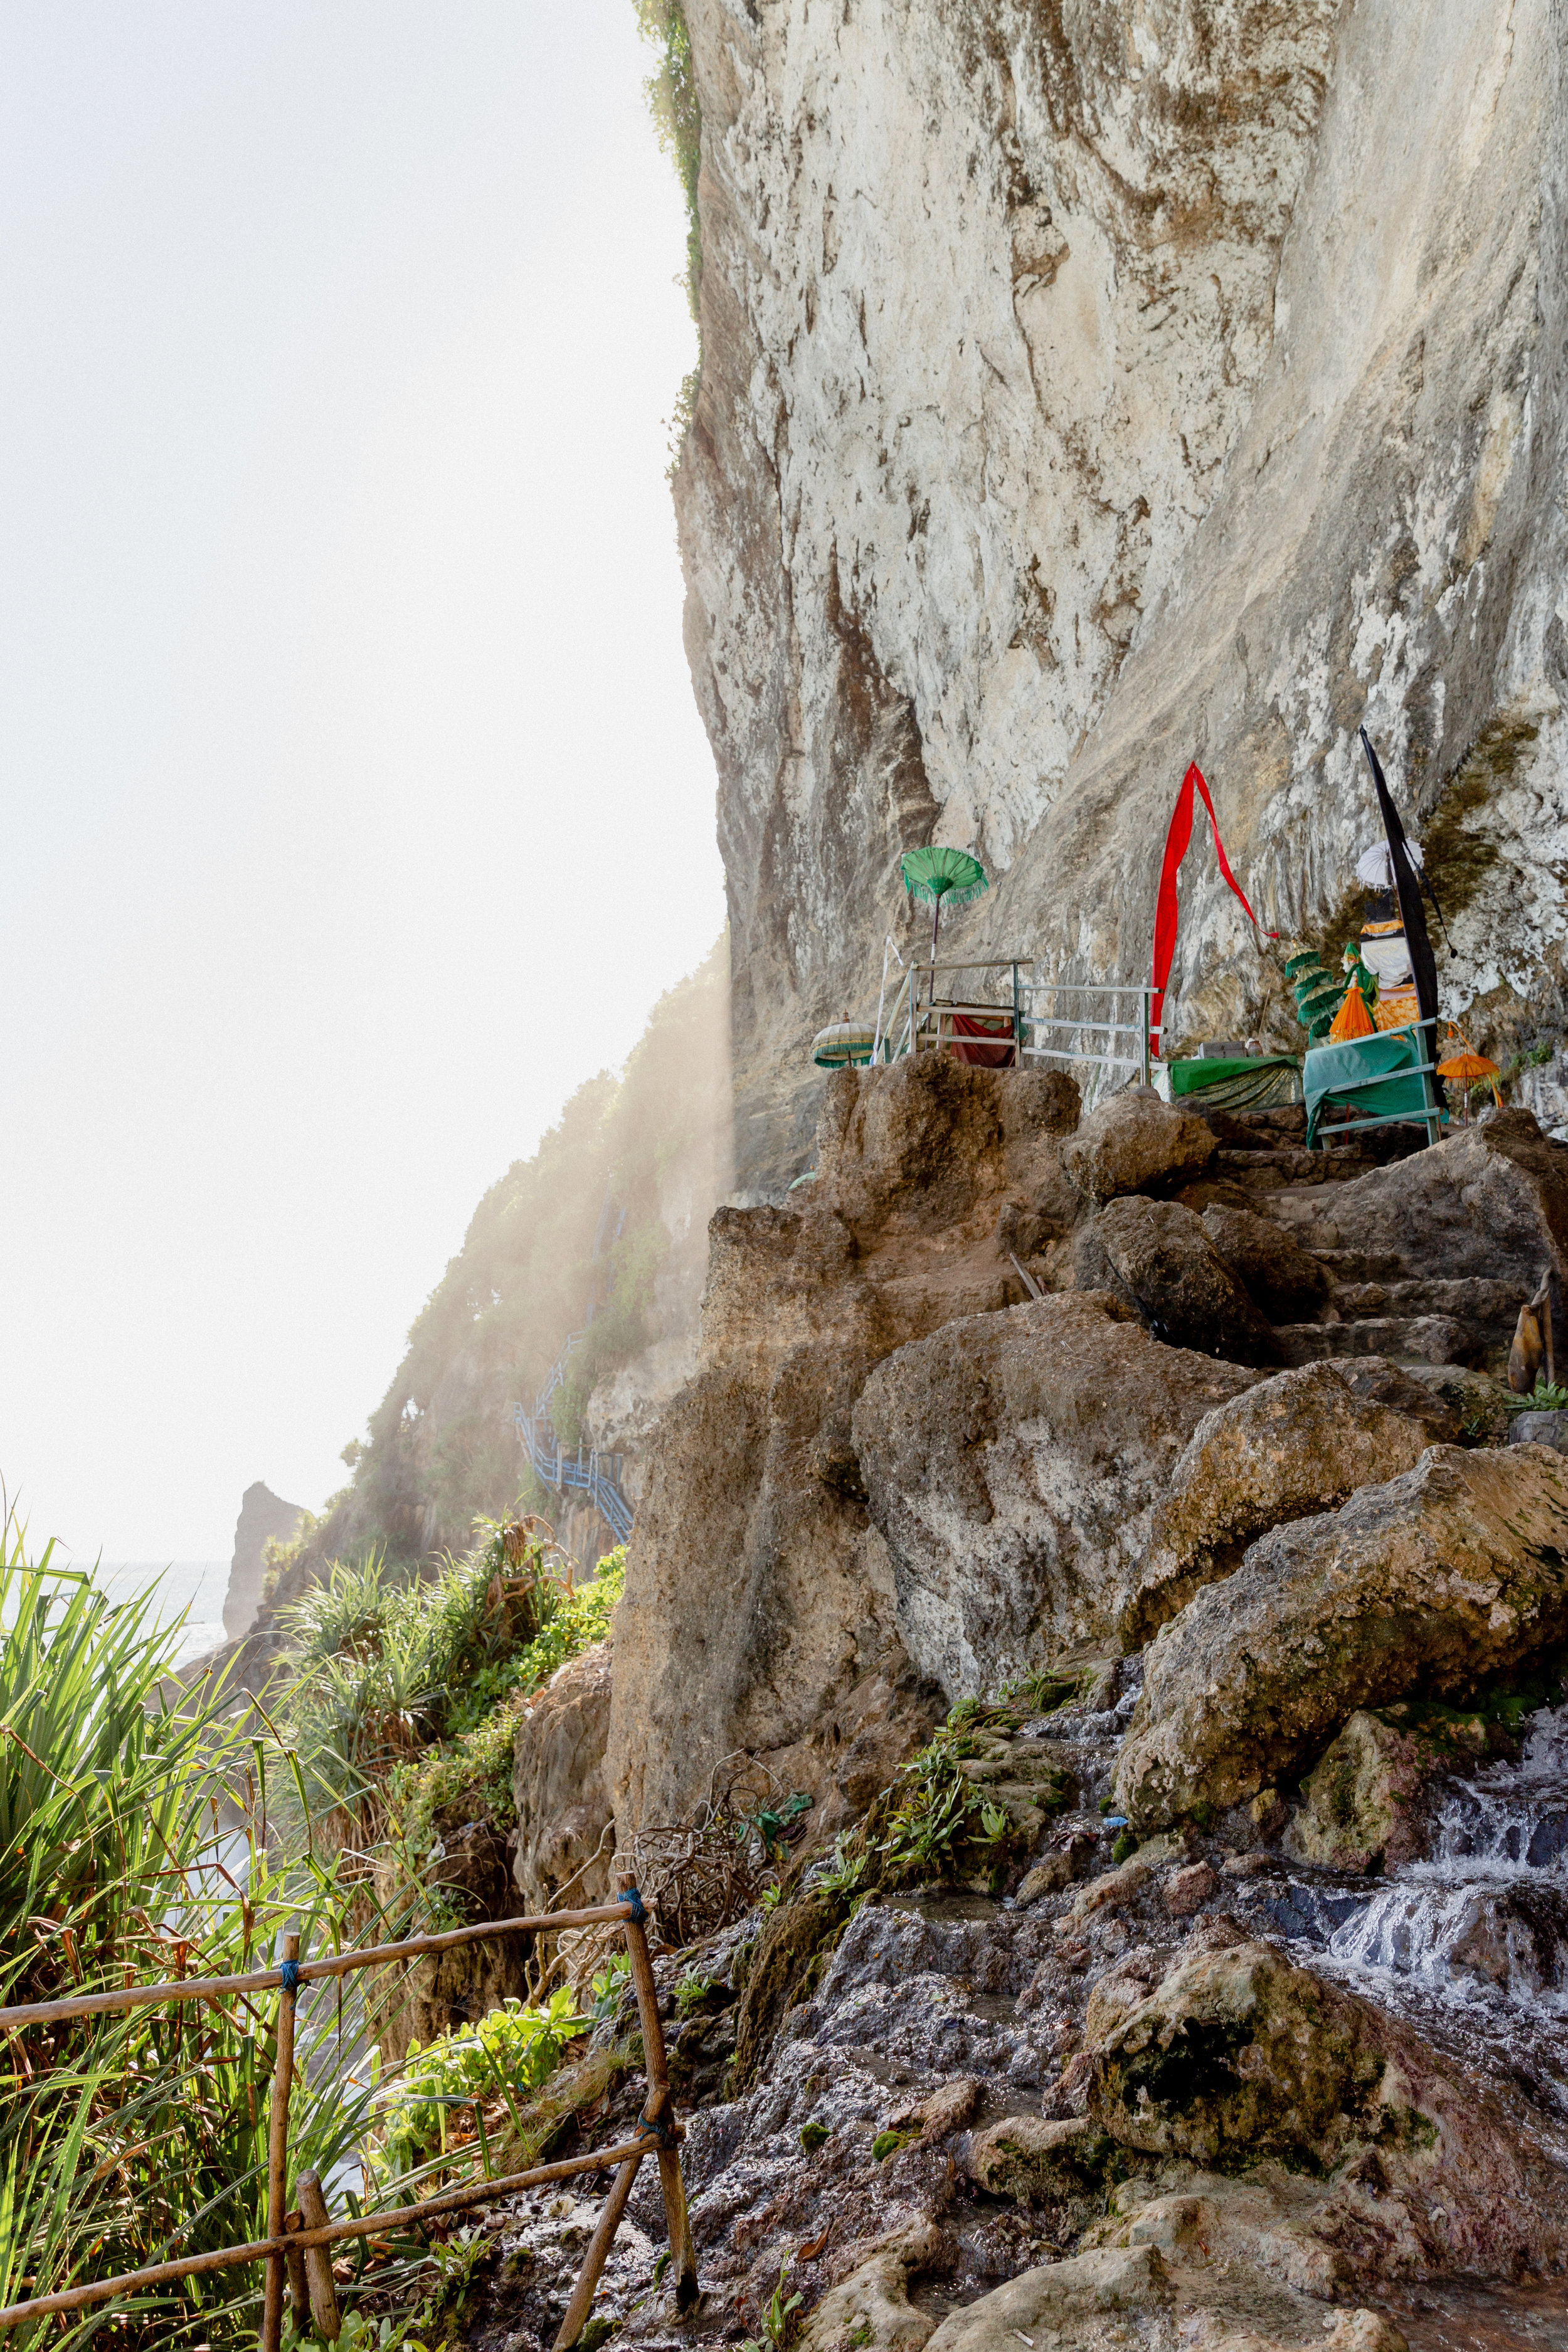
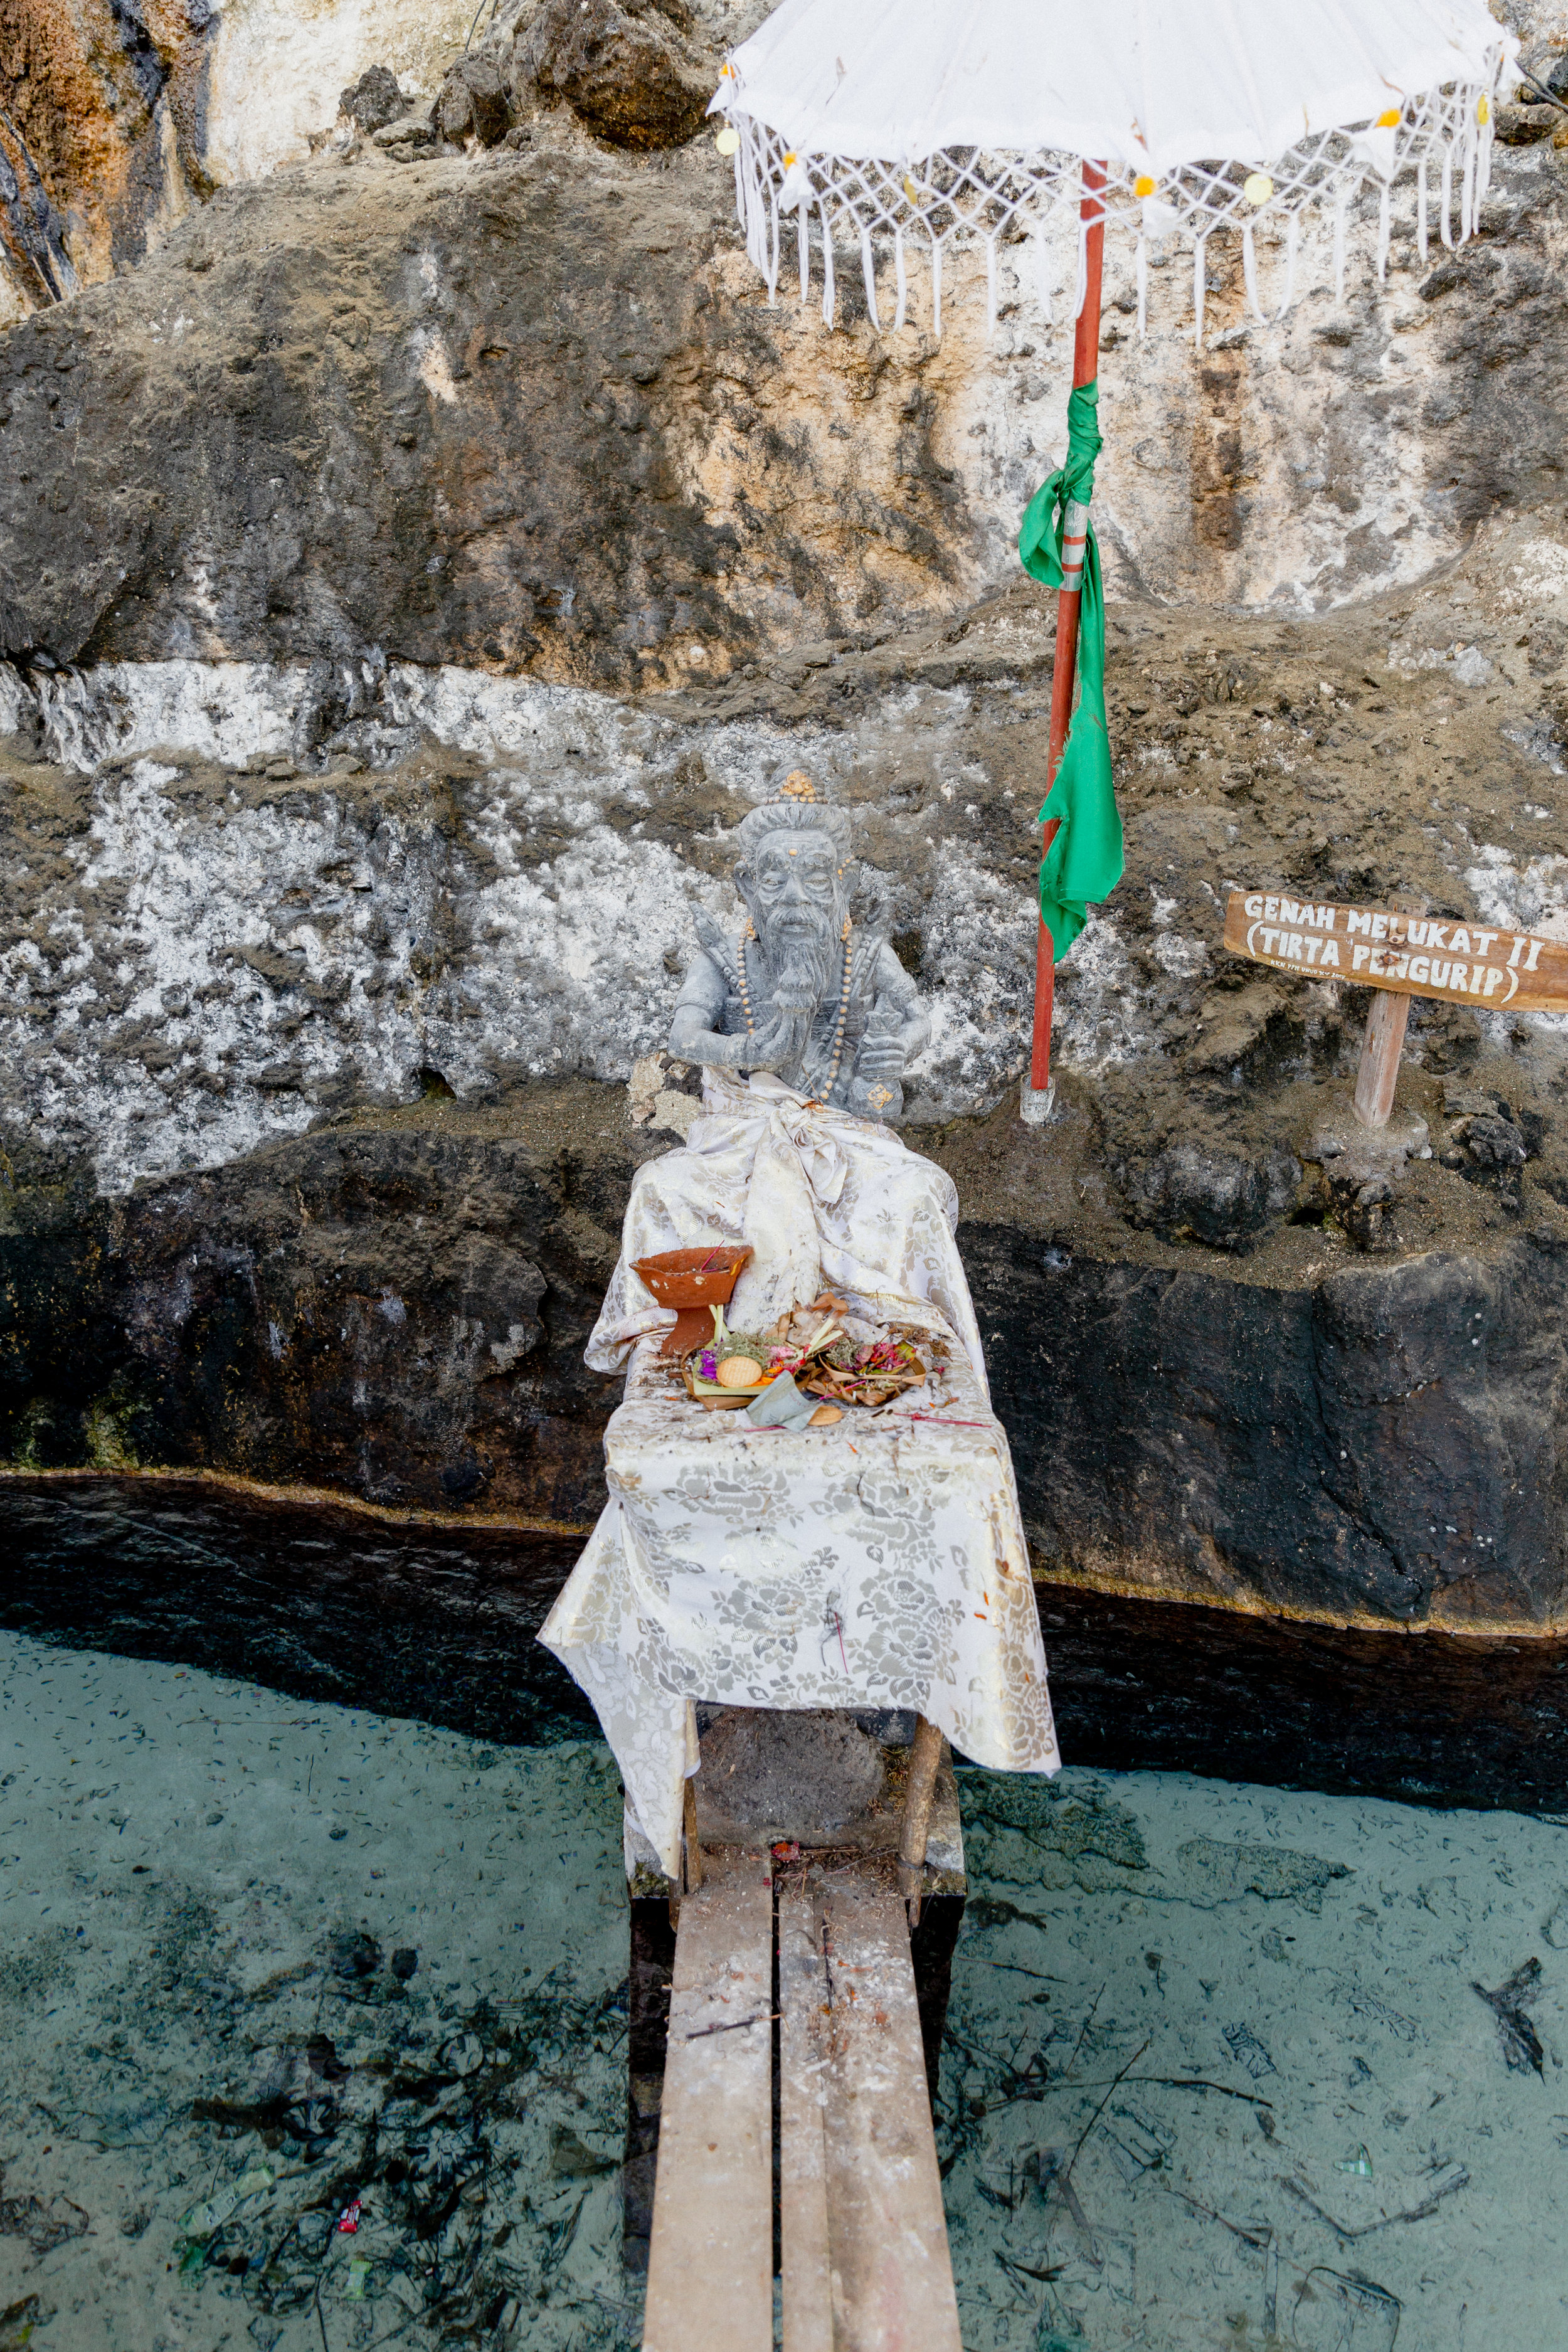
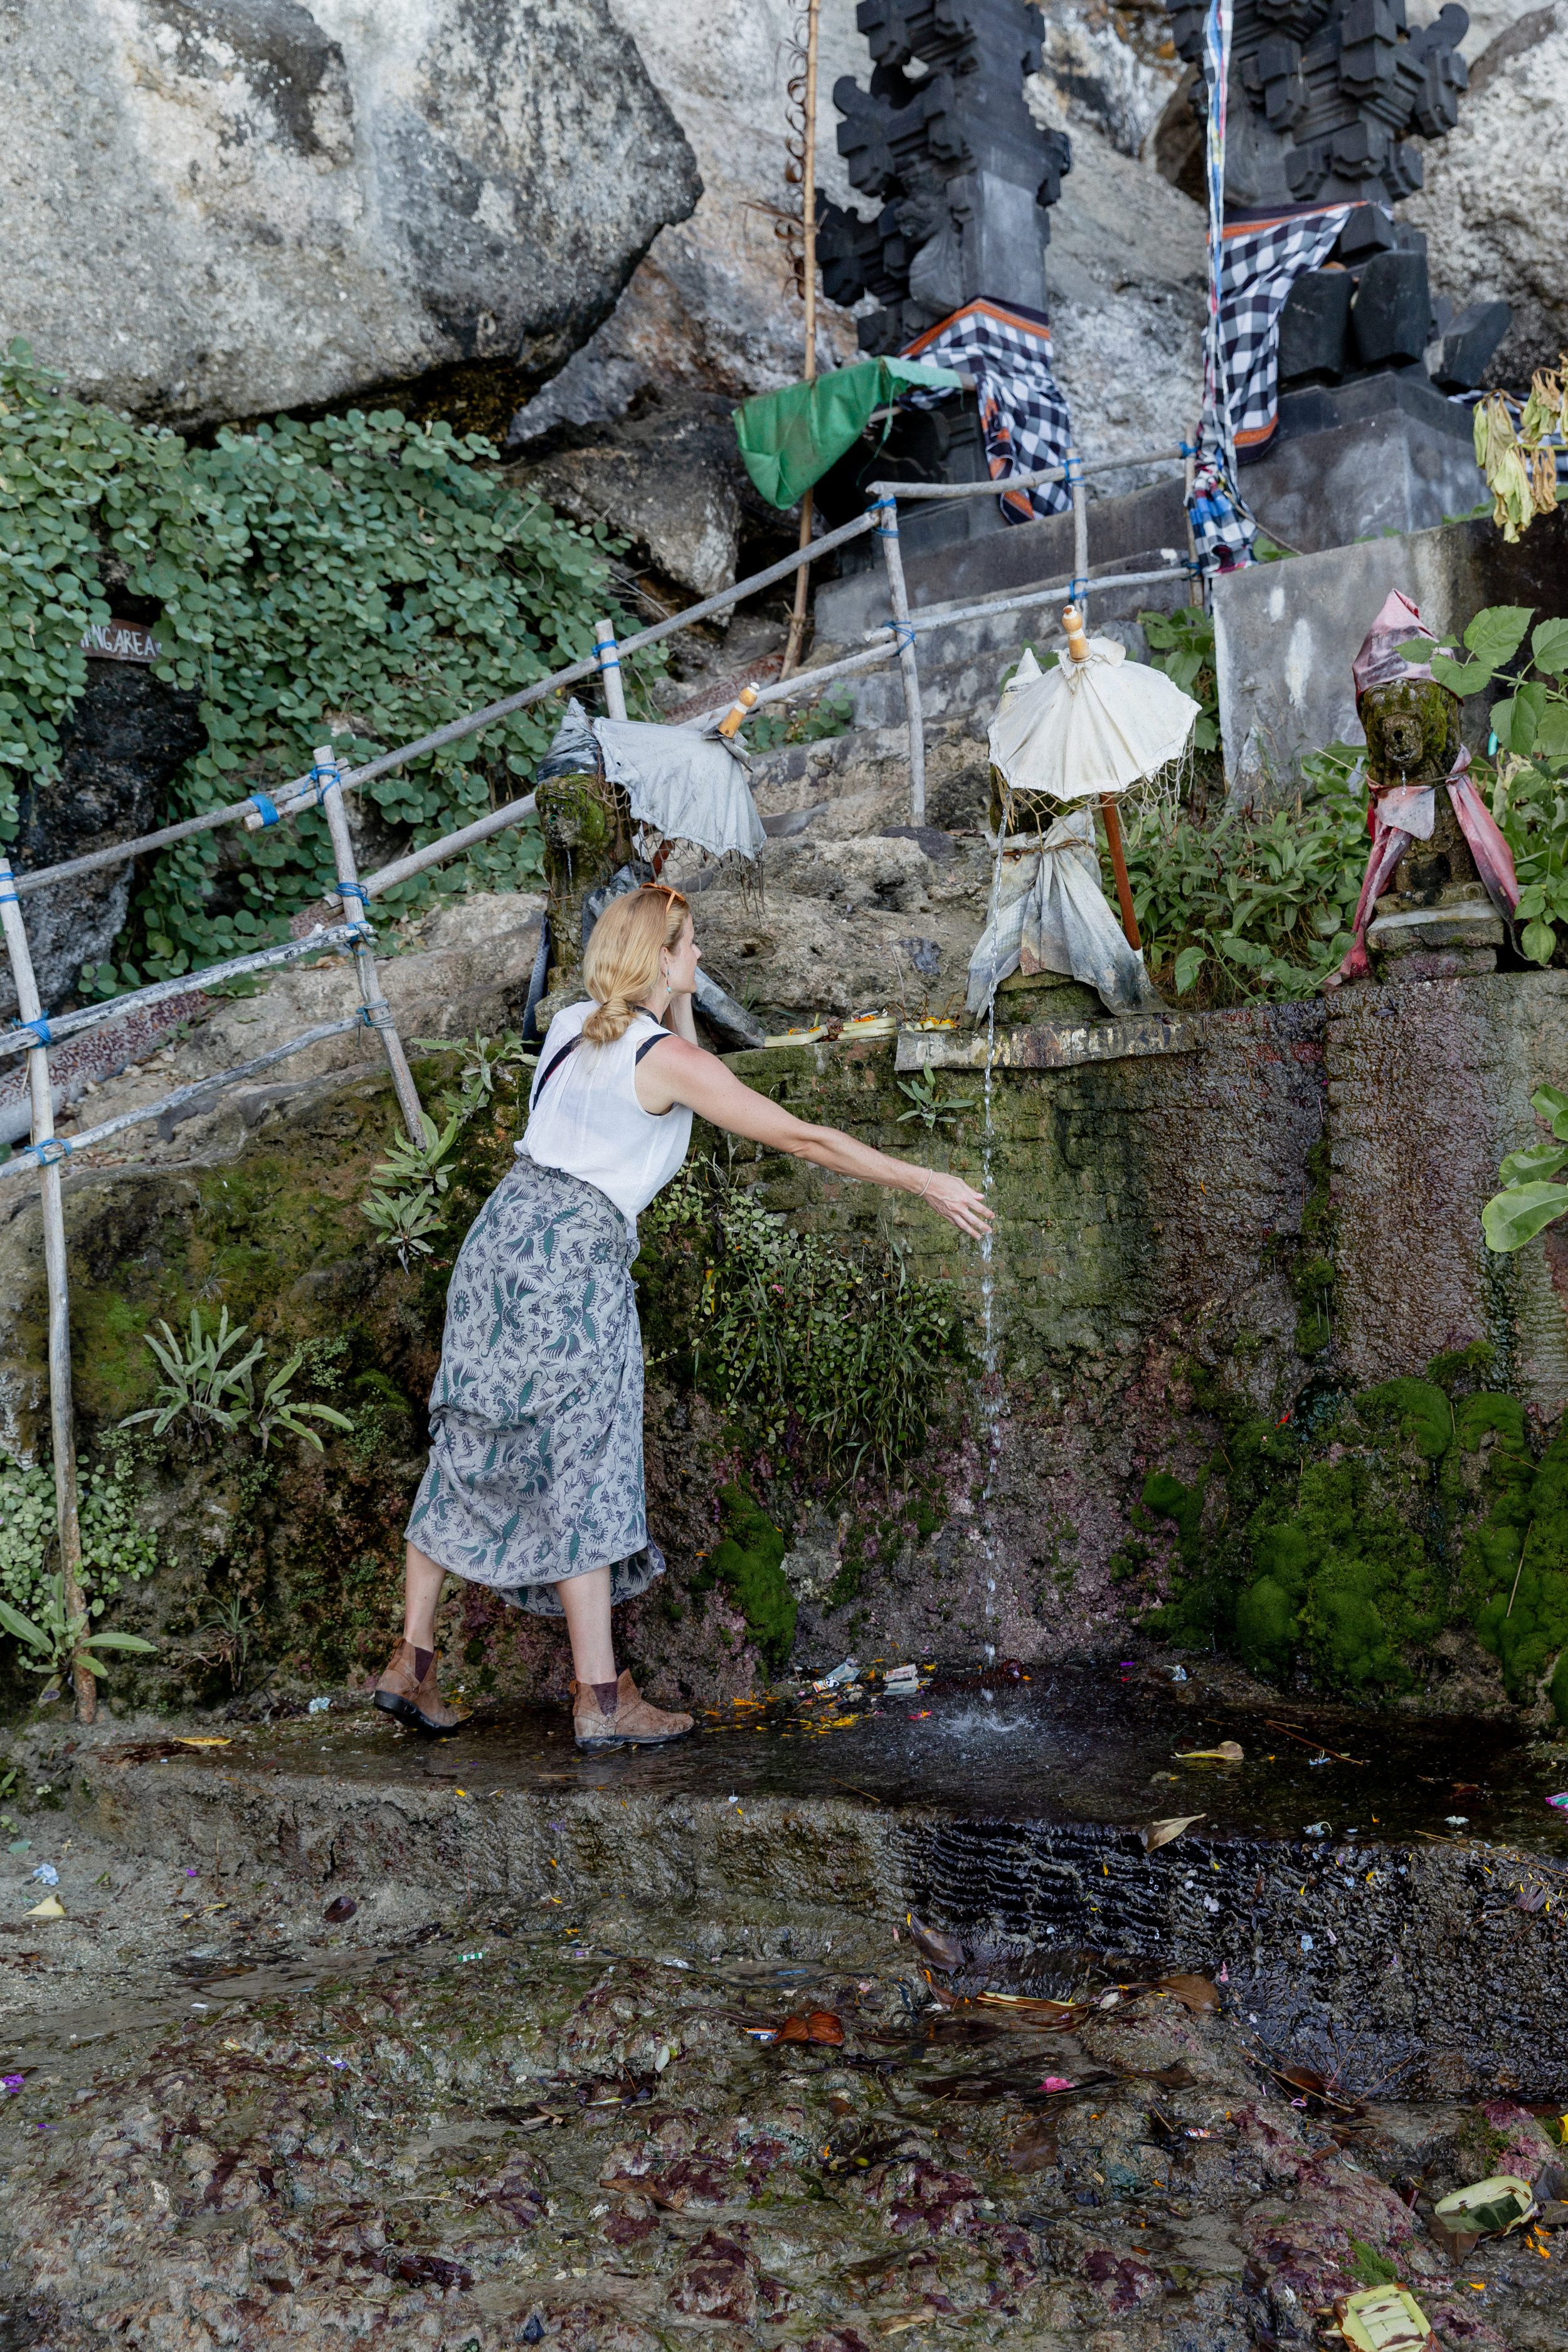
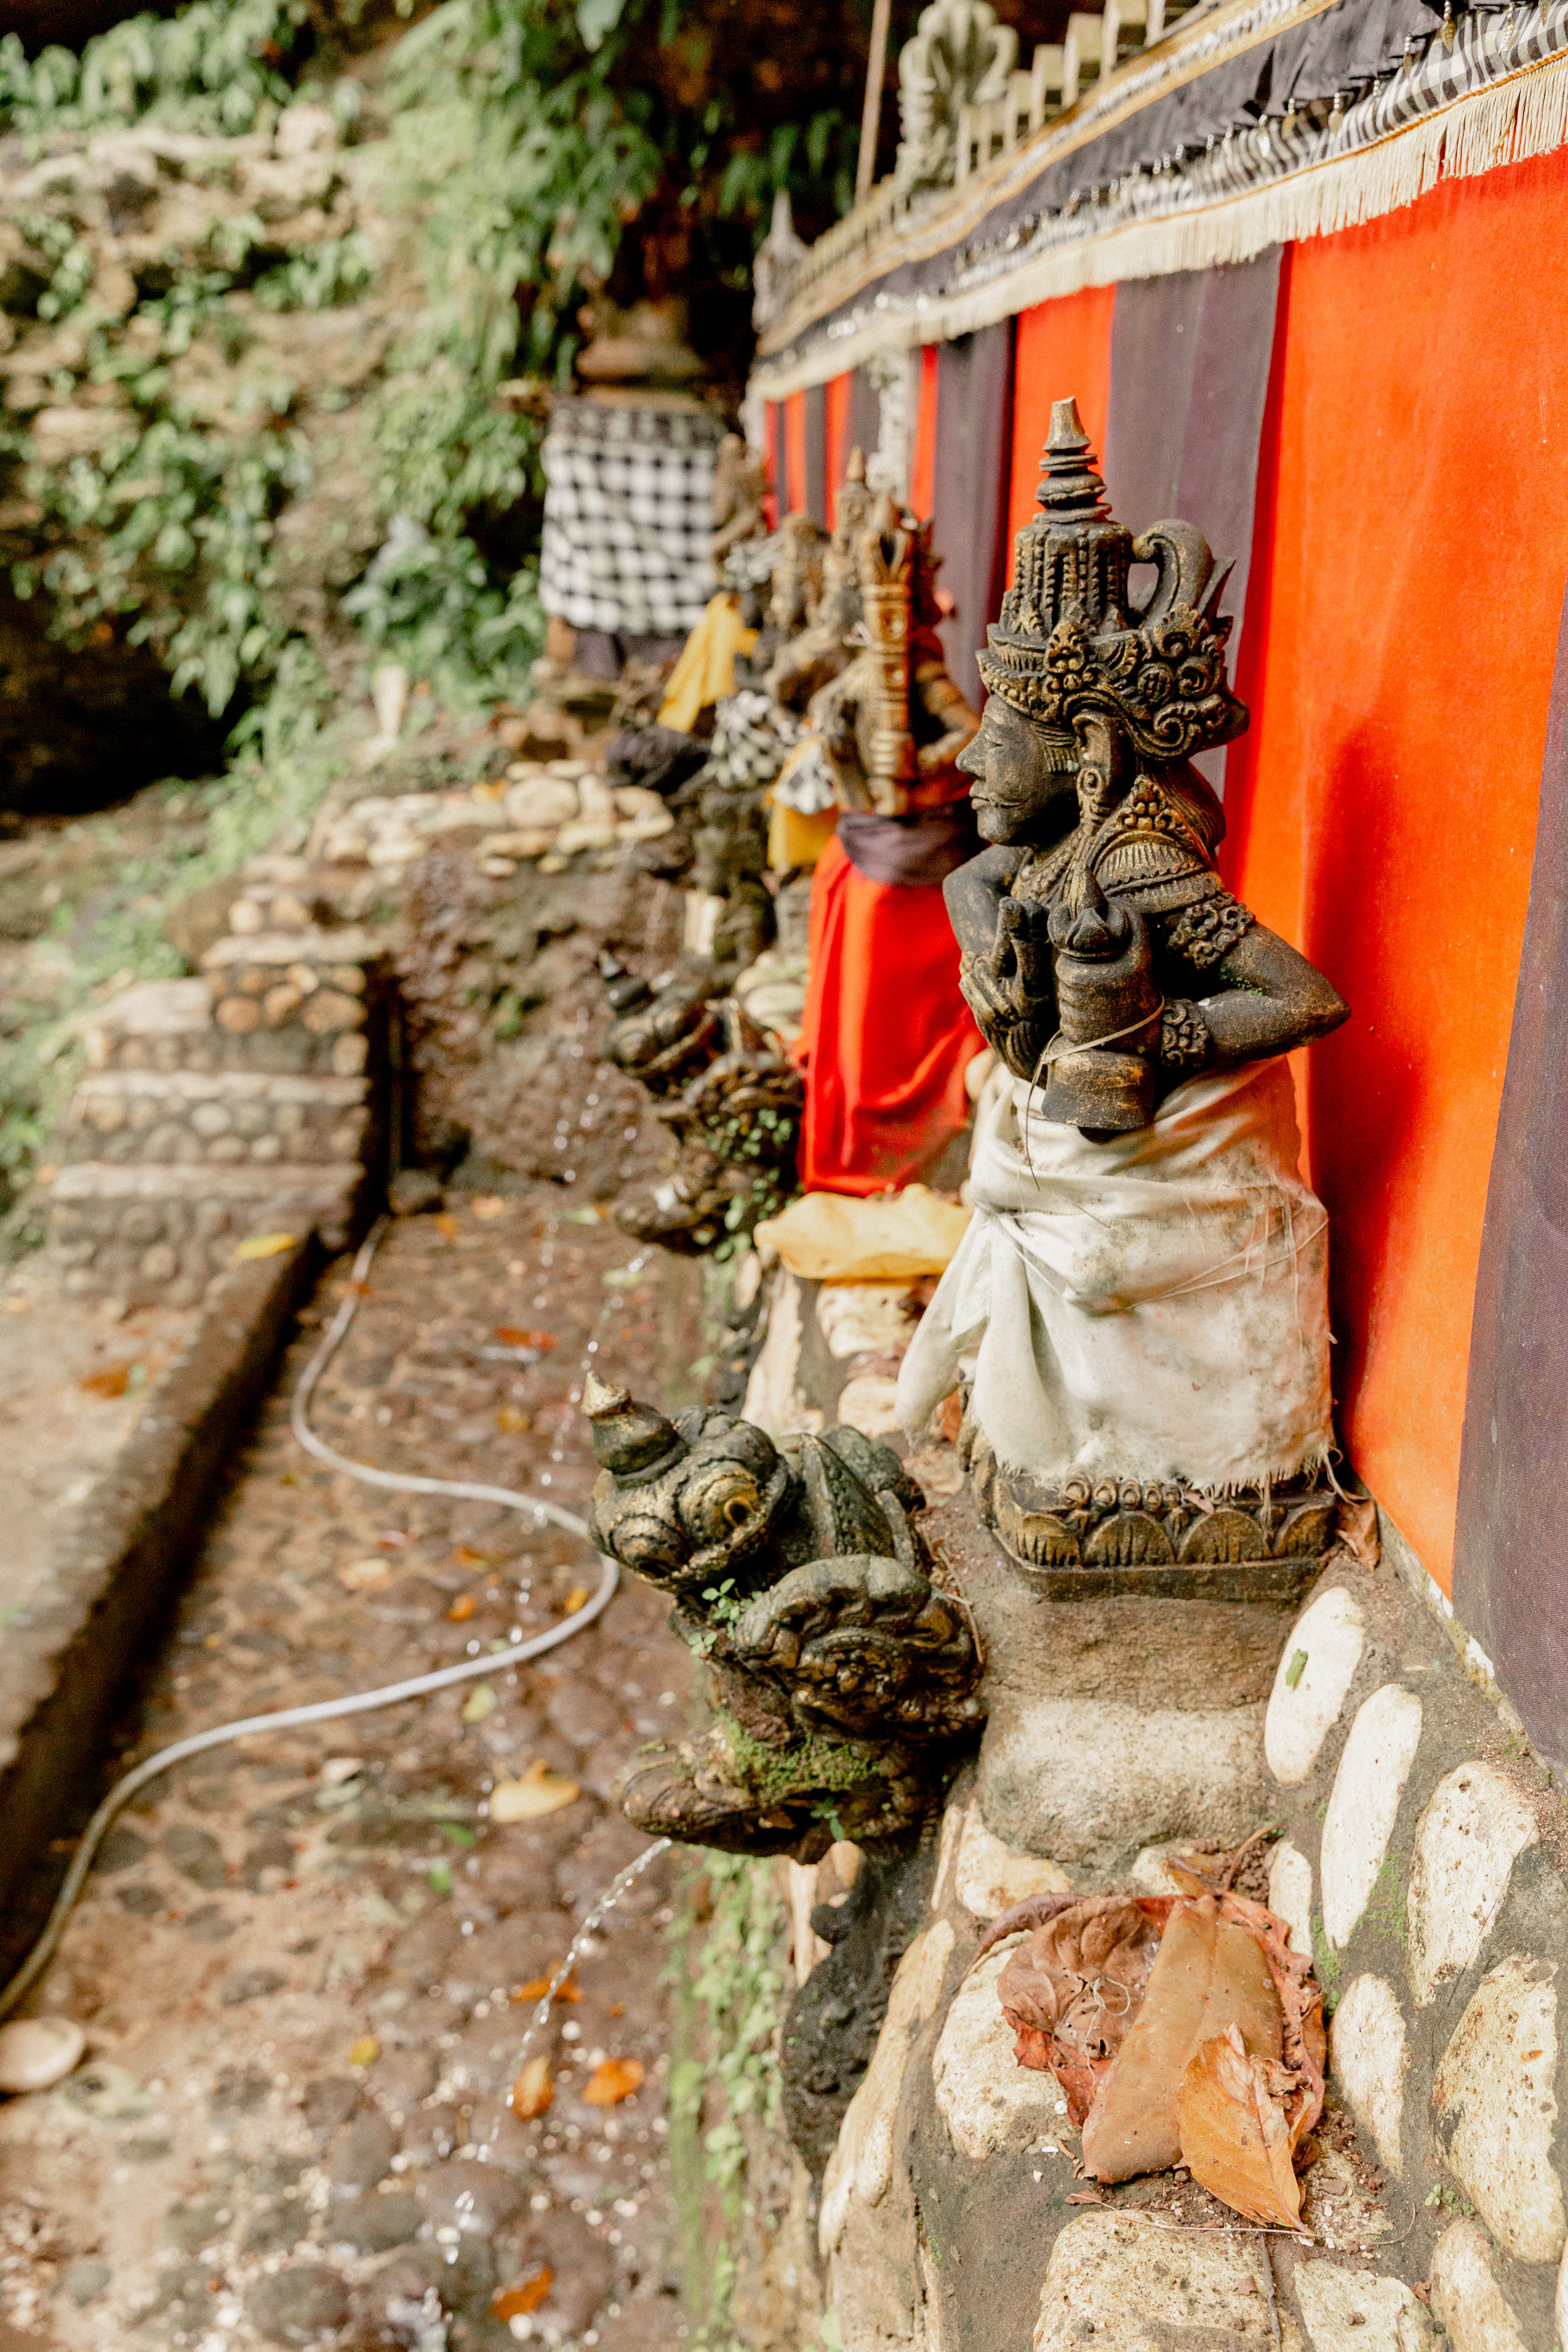
Peguyangan Waterfall
This was my favorite part of our time on Nusa Penida! To get to the waterfall you hike down these beautifully bright blue colored stairs situated on the side of the cliff face. It is a little steep, so hiking back up can be difficult, but the view the entire time is stunning. This hike doesn’t seem to be well known because there were very few people there with us despite being there in the middle of the day. The hike technically leads to a shrine, so they will let you borrow a sarong at the top to cover your legs. There is a small shrine at the bottom and a gentle waterfall that leads to some man made pools built into the rock face.


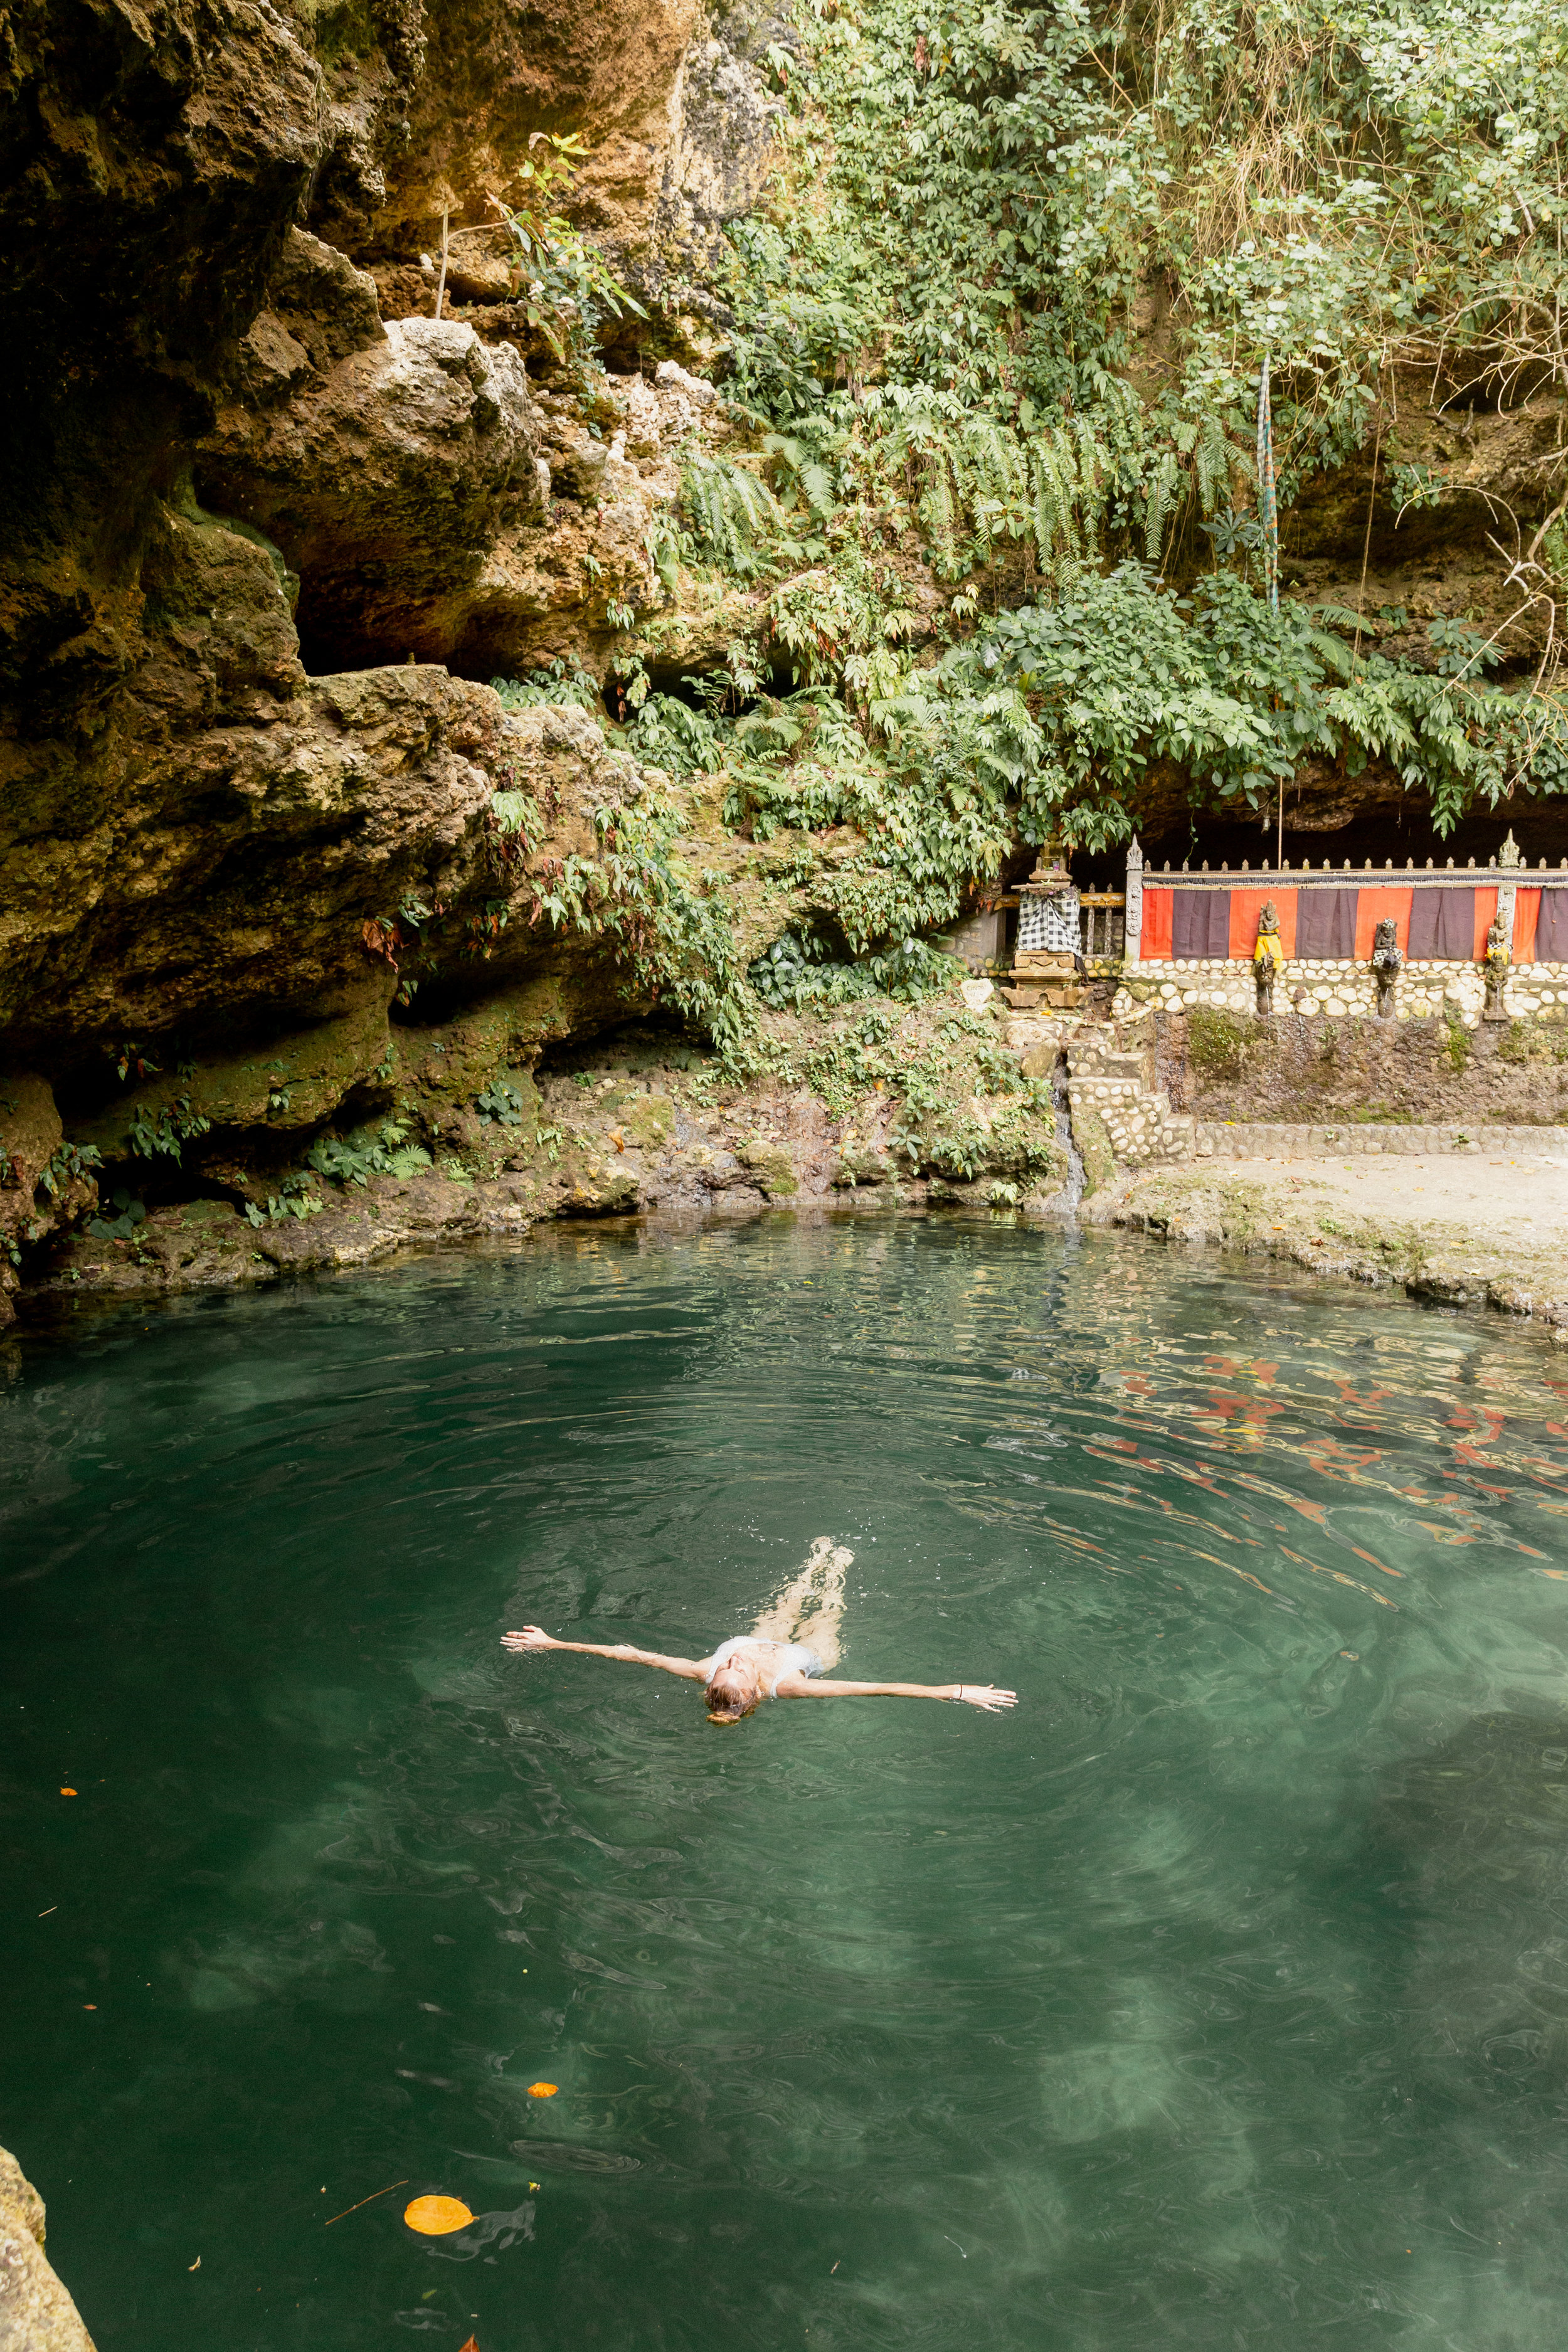
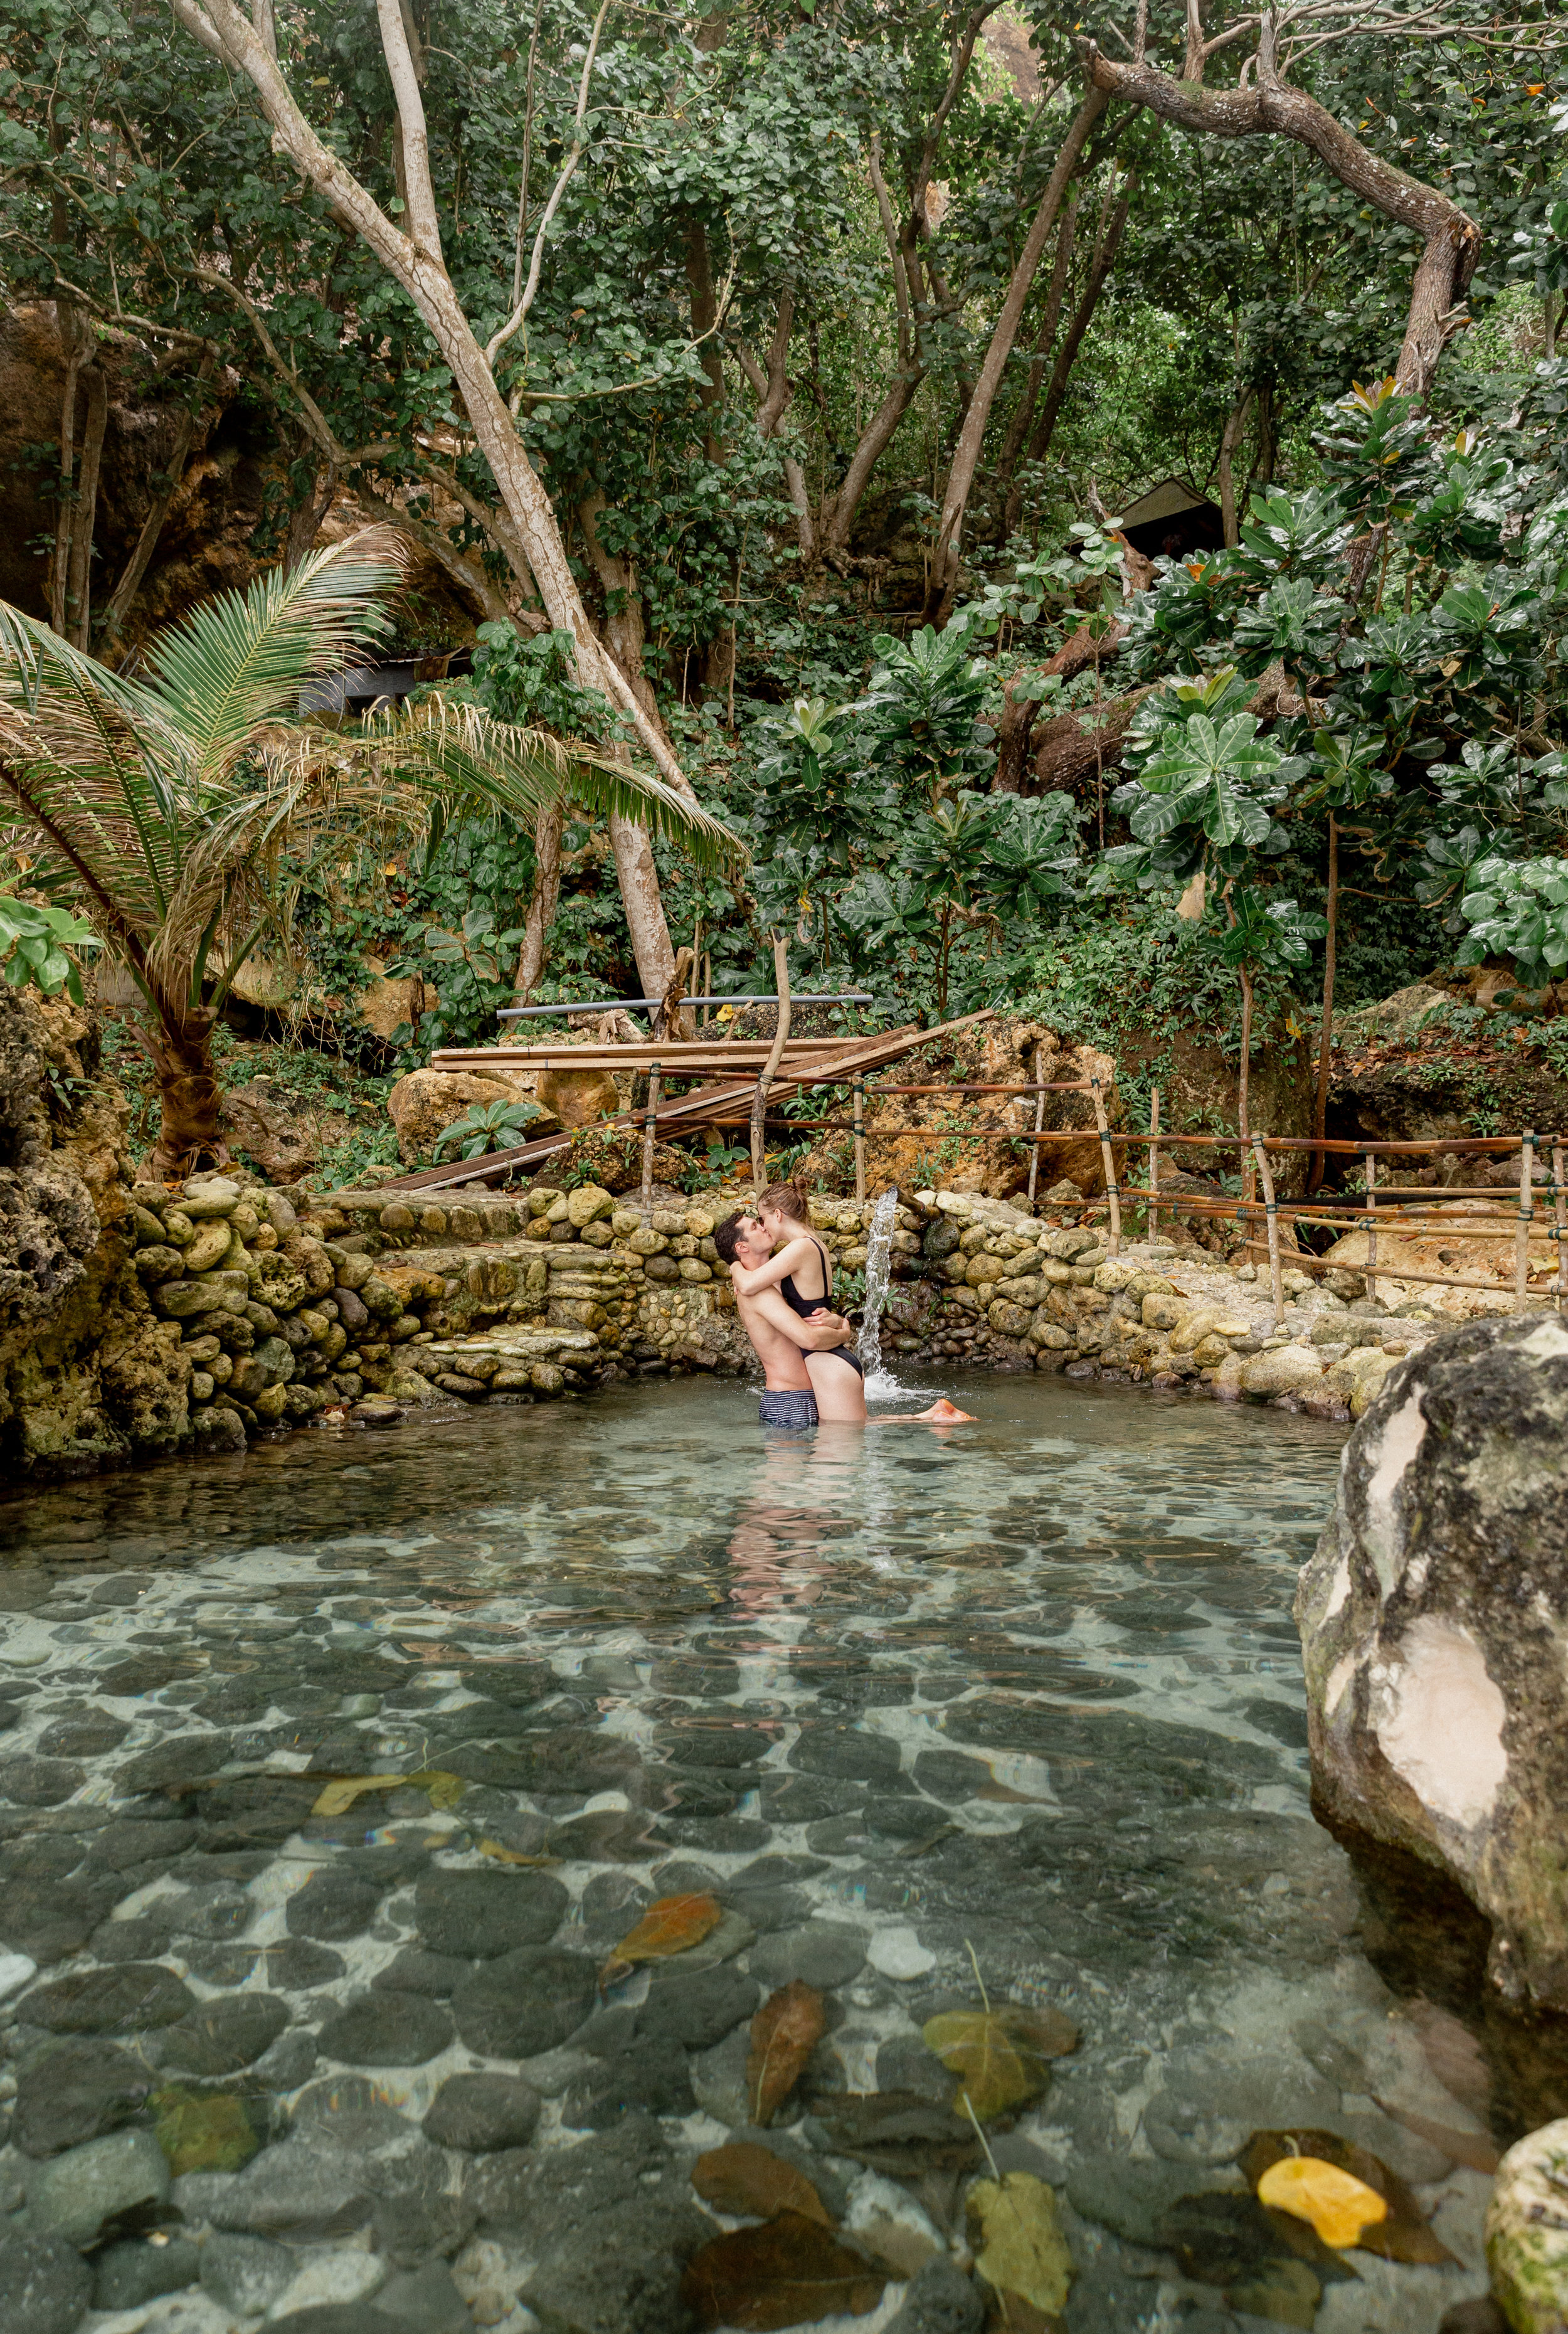
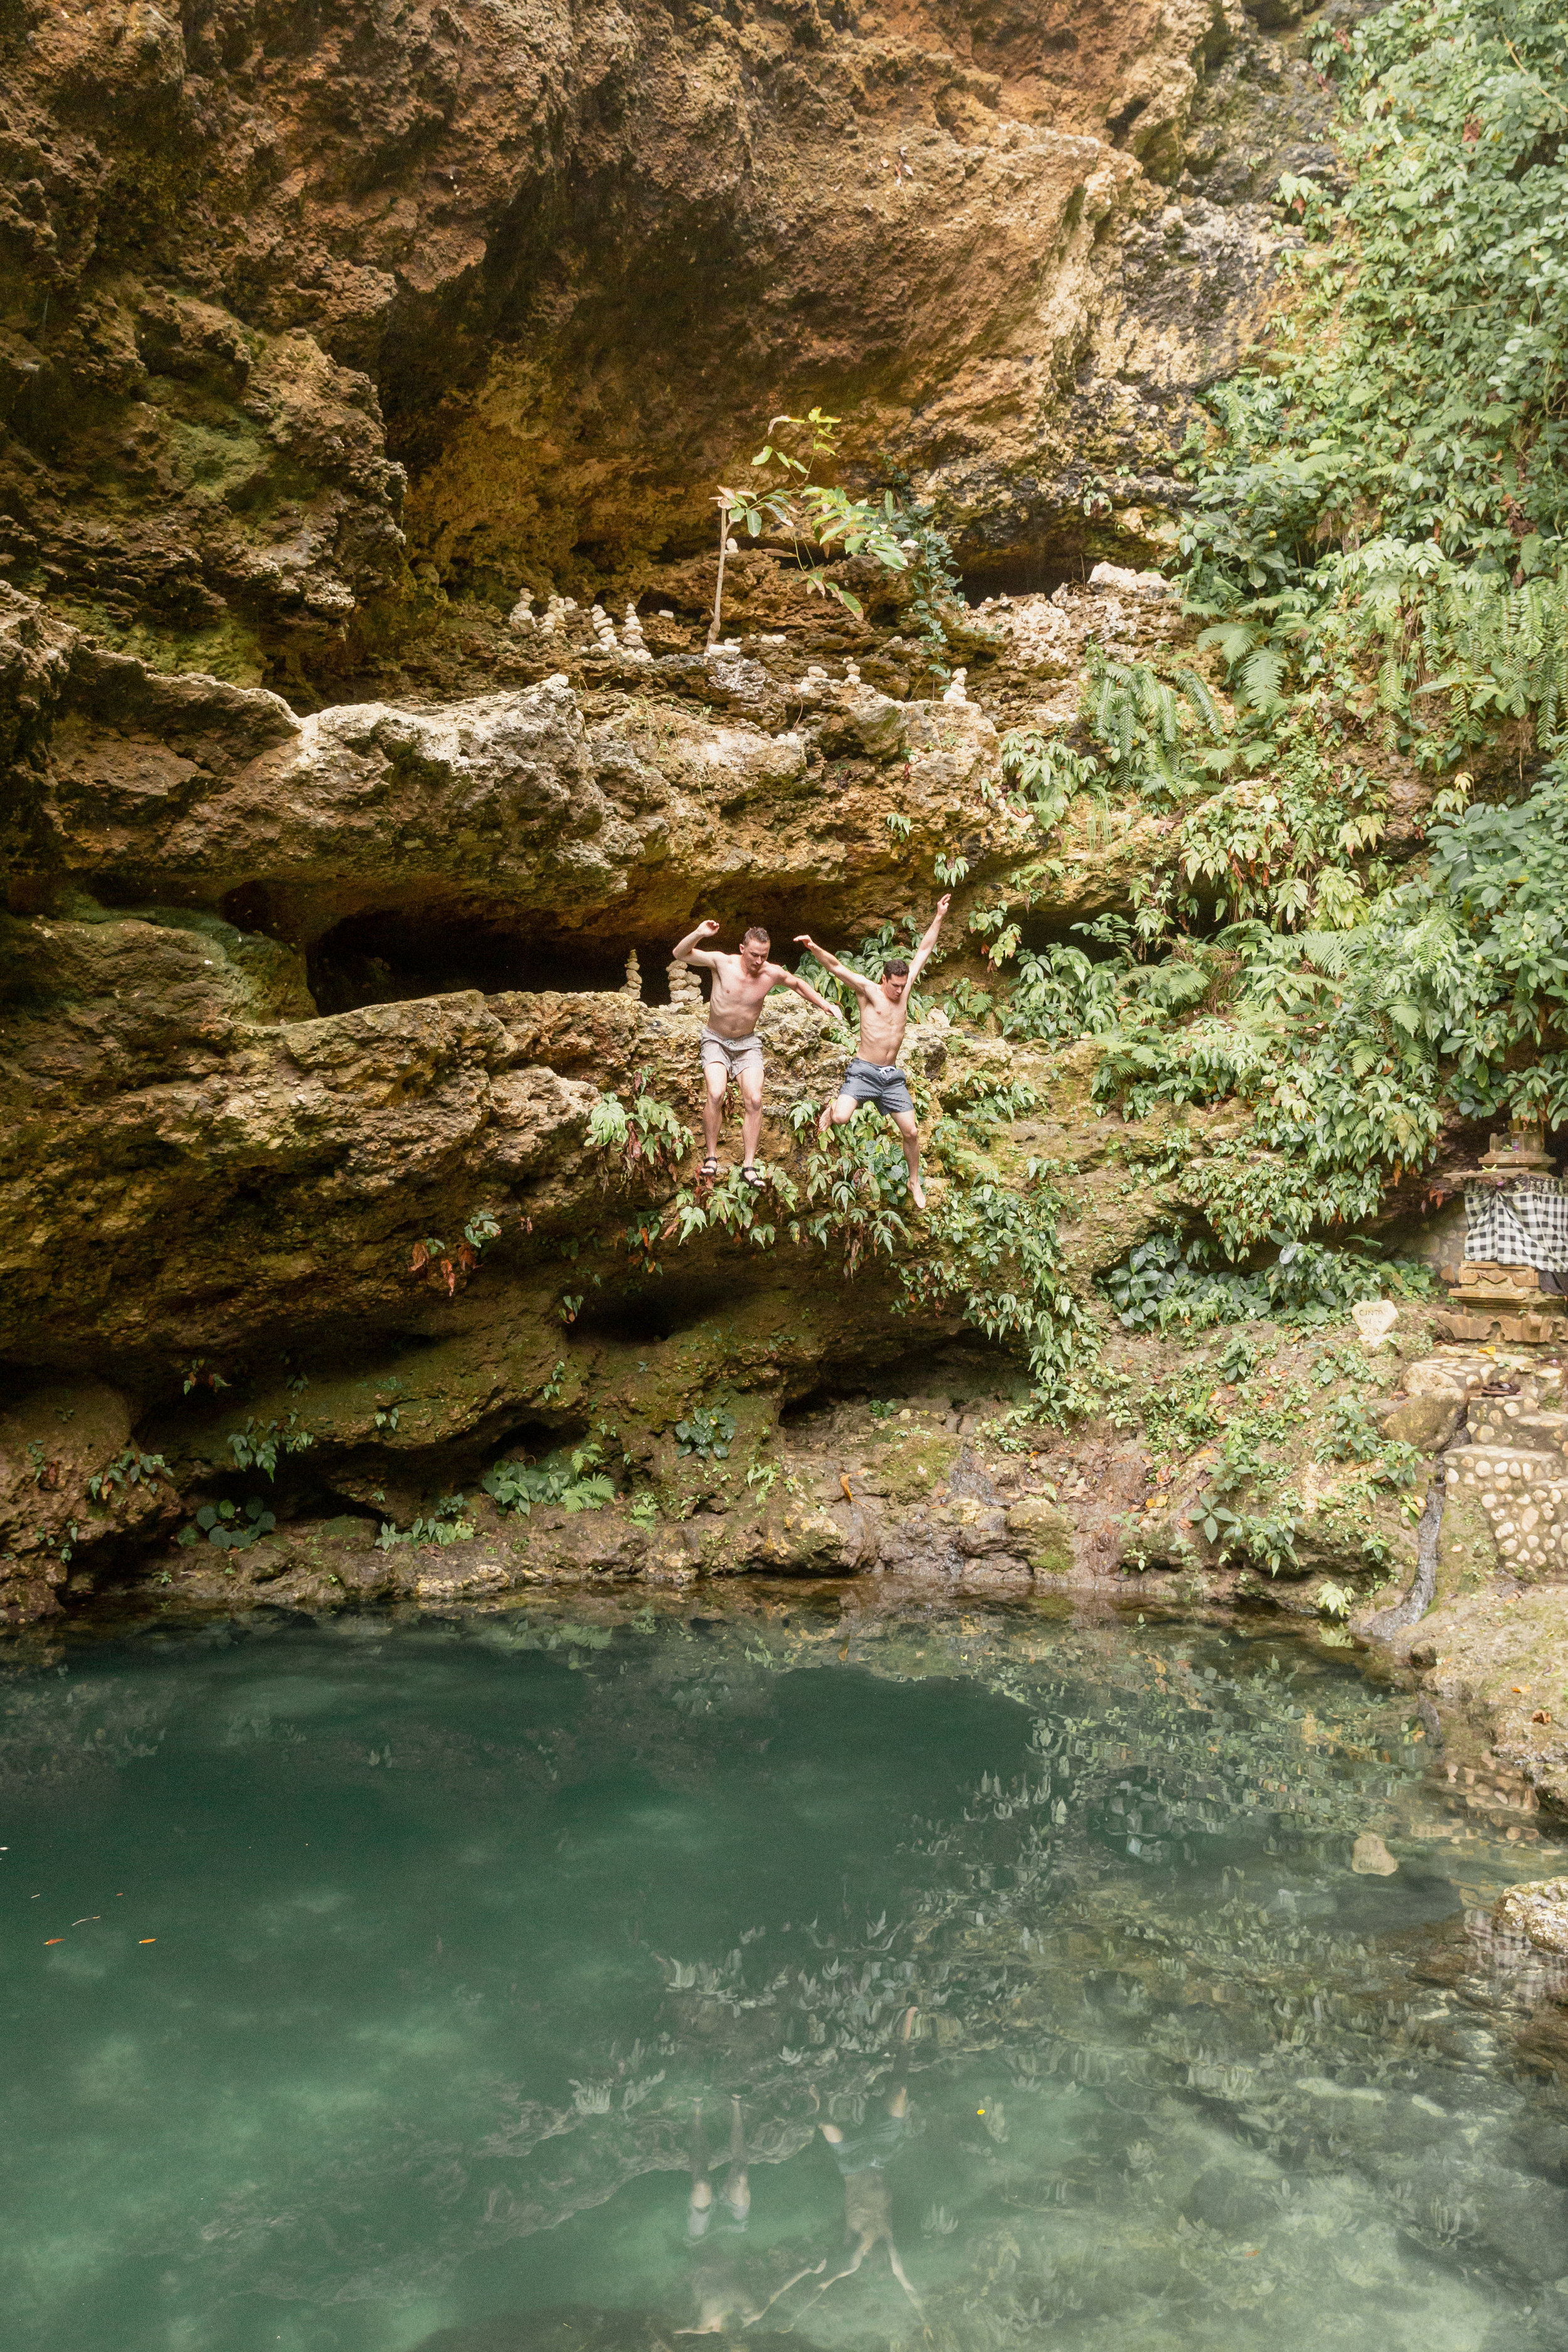
Tembeling Natural Swimming Hole
To get to this swimming hole, the locals will drive you down on the back of their scooters. The path is very narrow, steep, and winds through the jungle. The journey down is a little sketchy, but I was comforted knowing that these locals drive this path frequently and are very skilled with driving scooters. There are two swimming holes at the bottom, one of which is right next to the ocean. This isn’t a popular location, so it was relaxing being able to enjoy the water by ourselves.
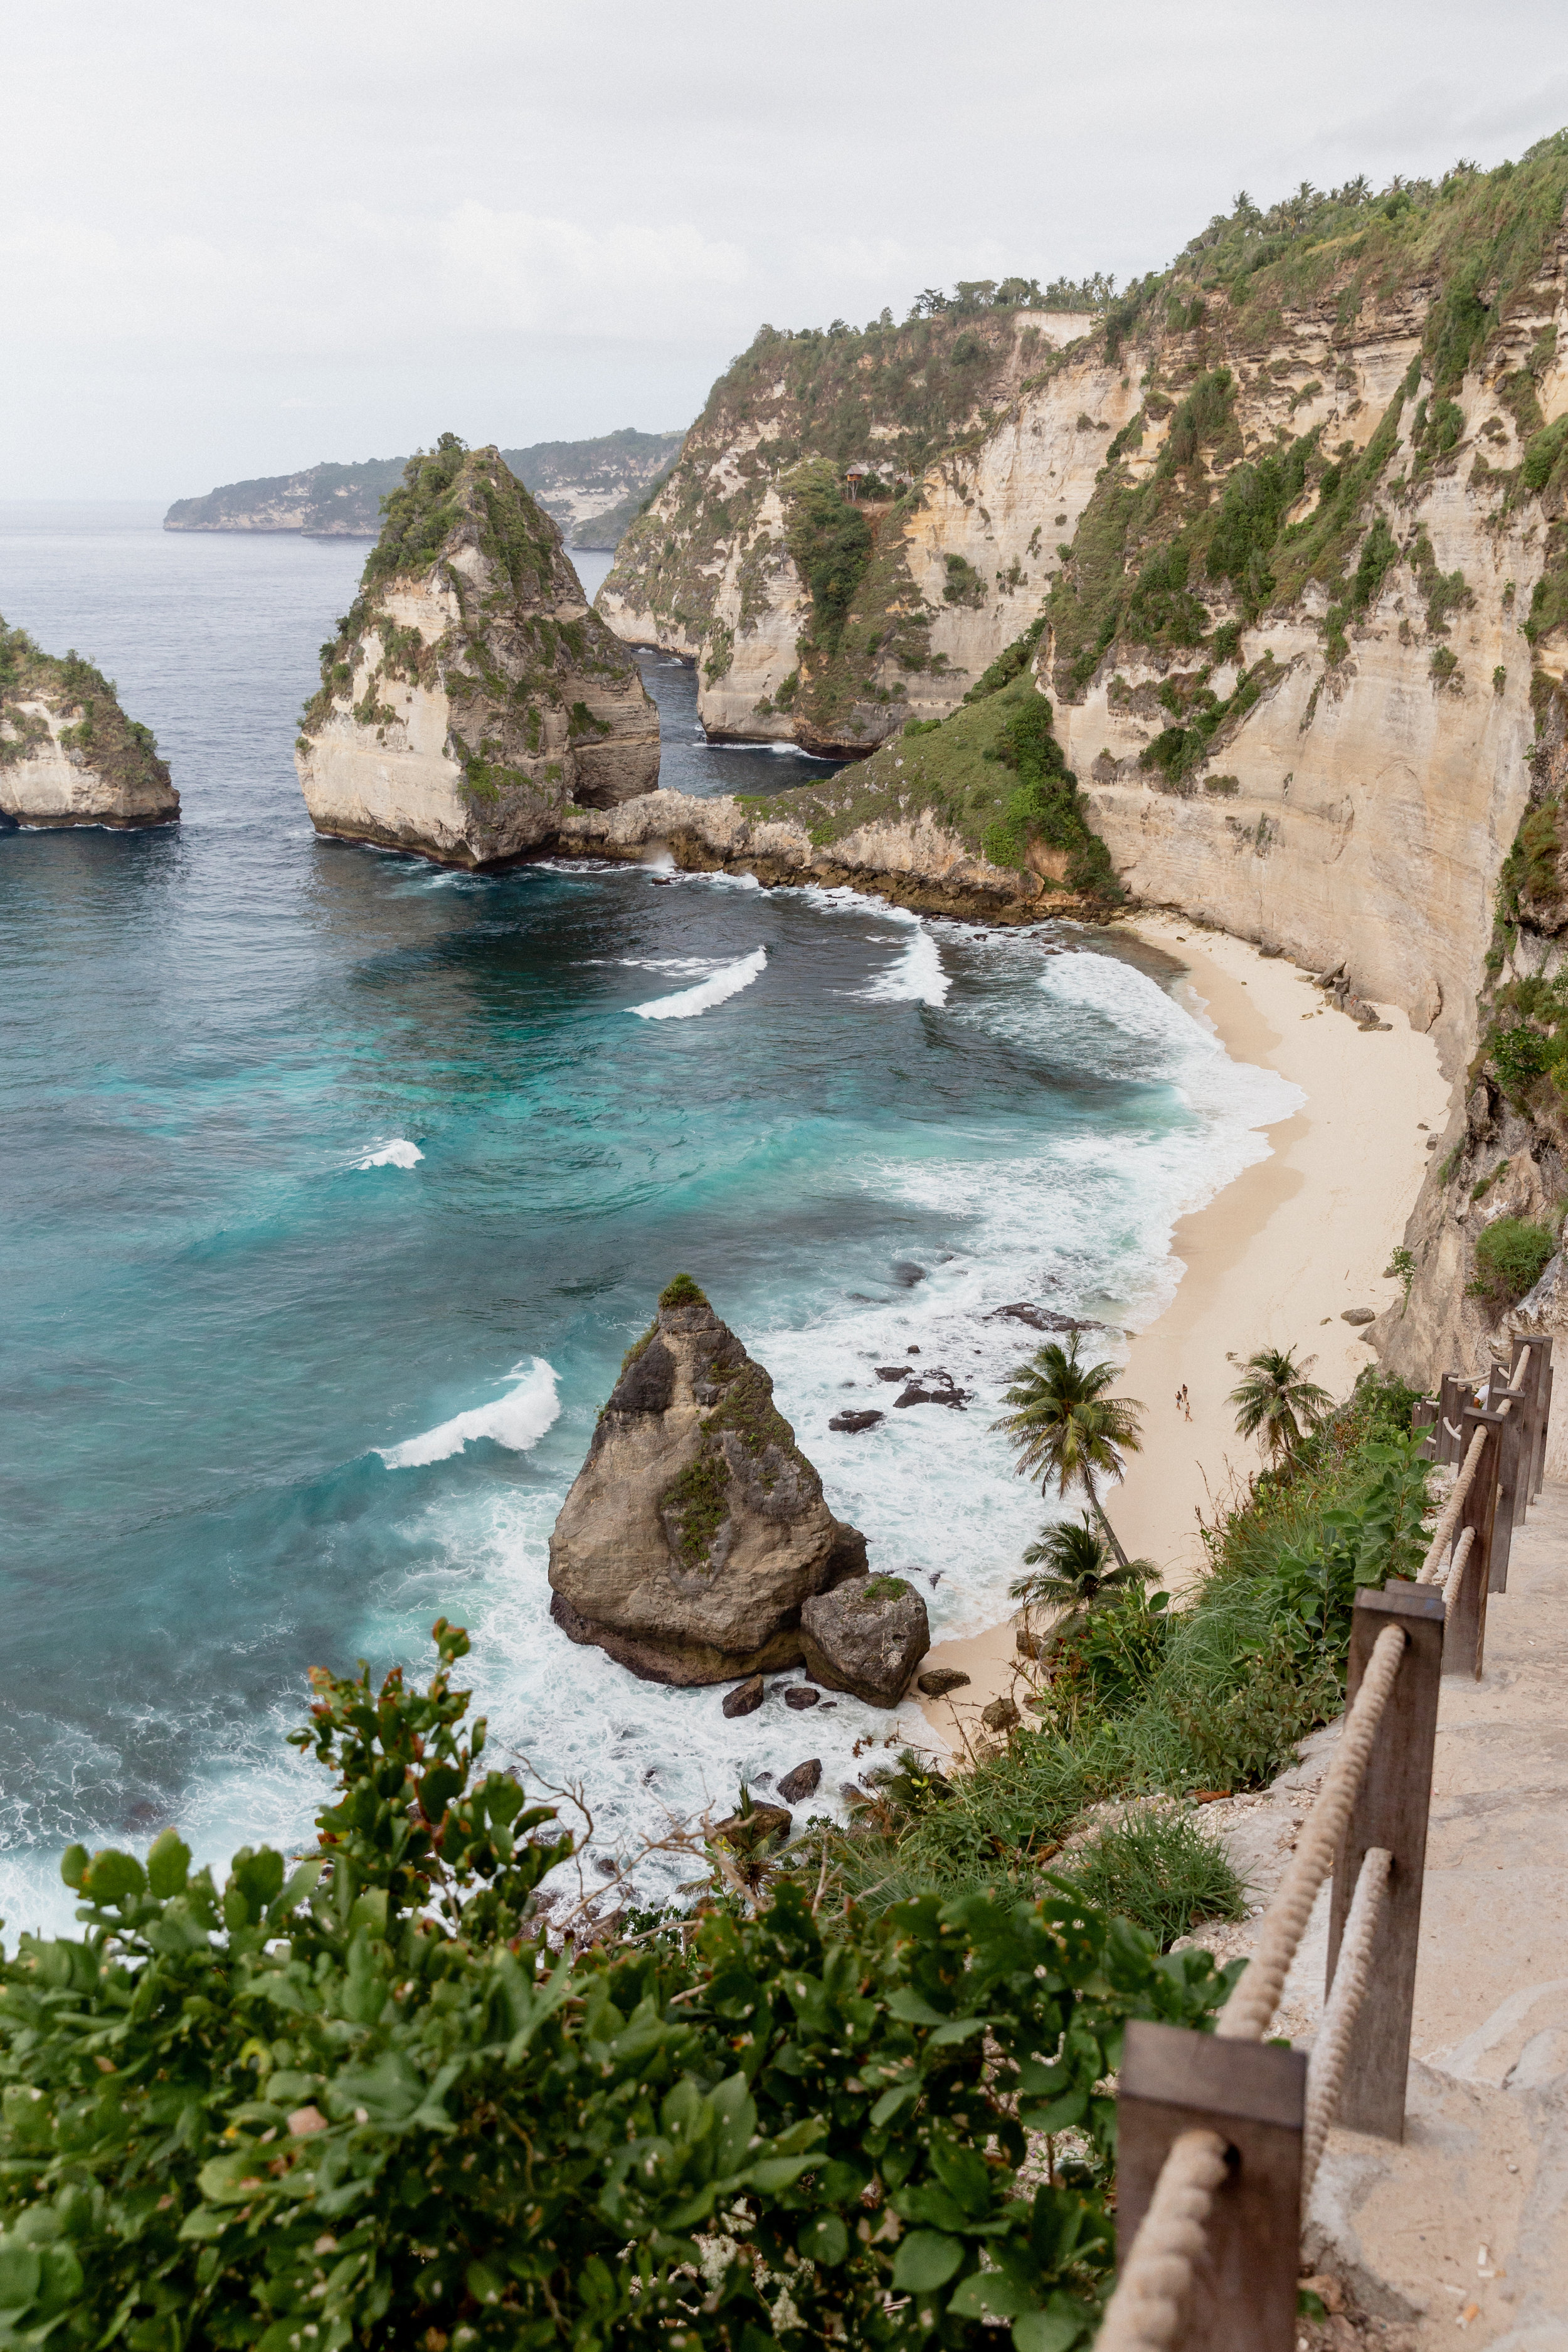
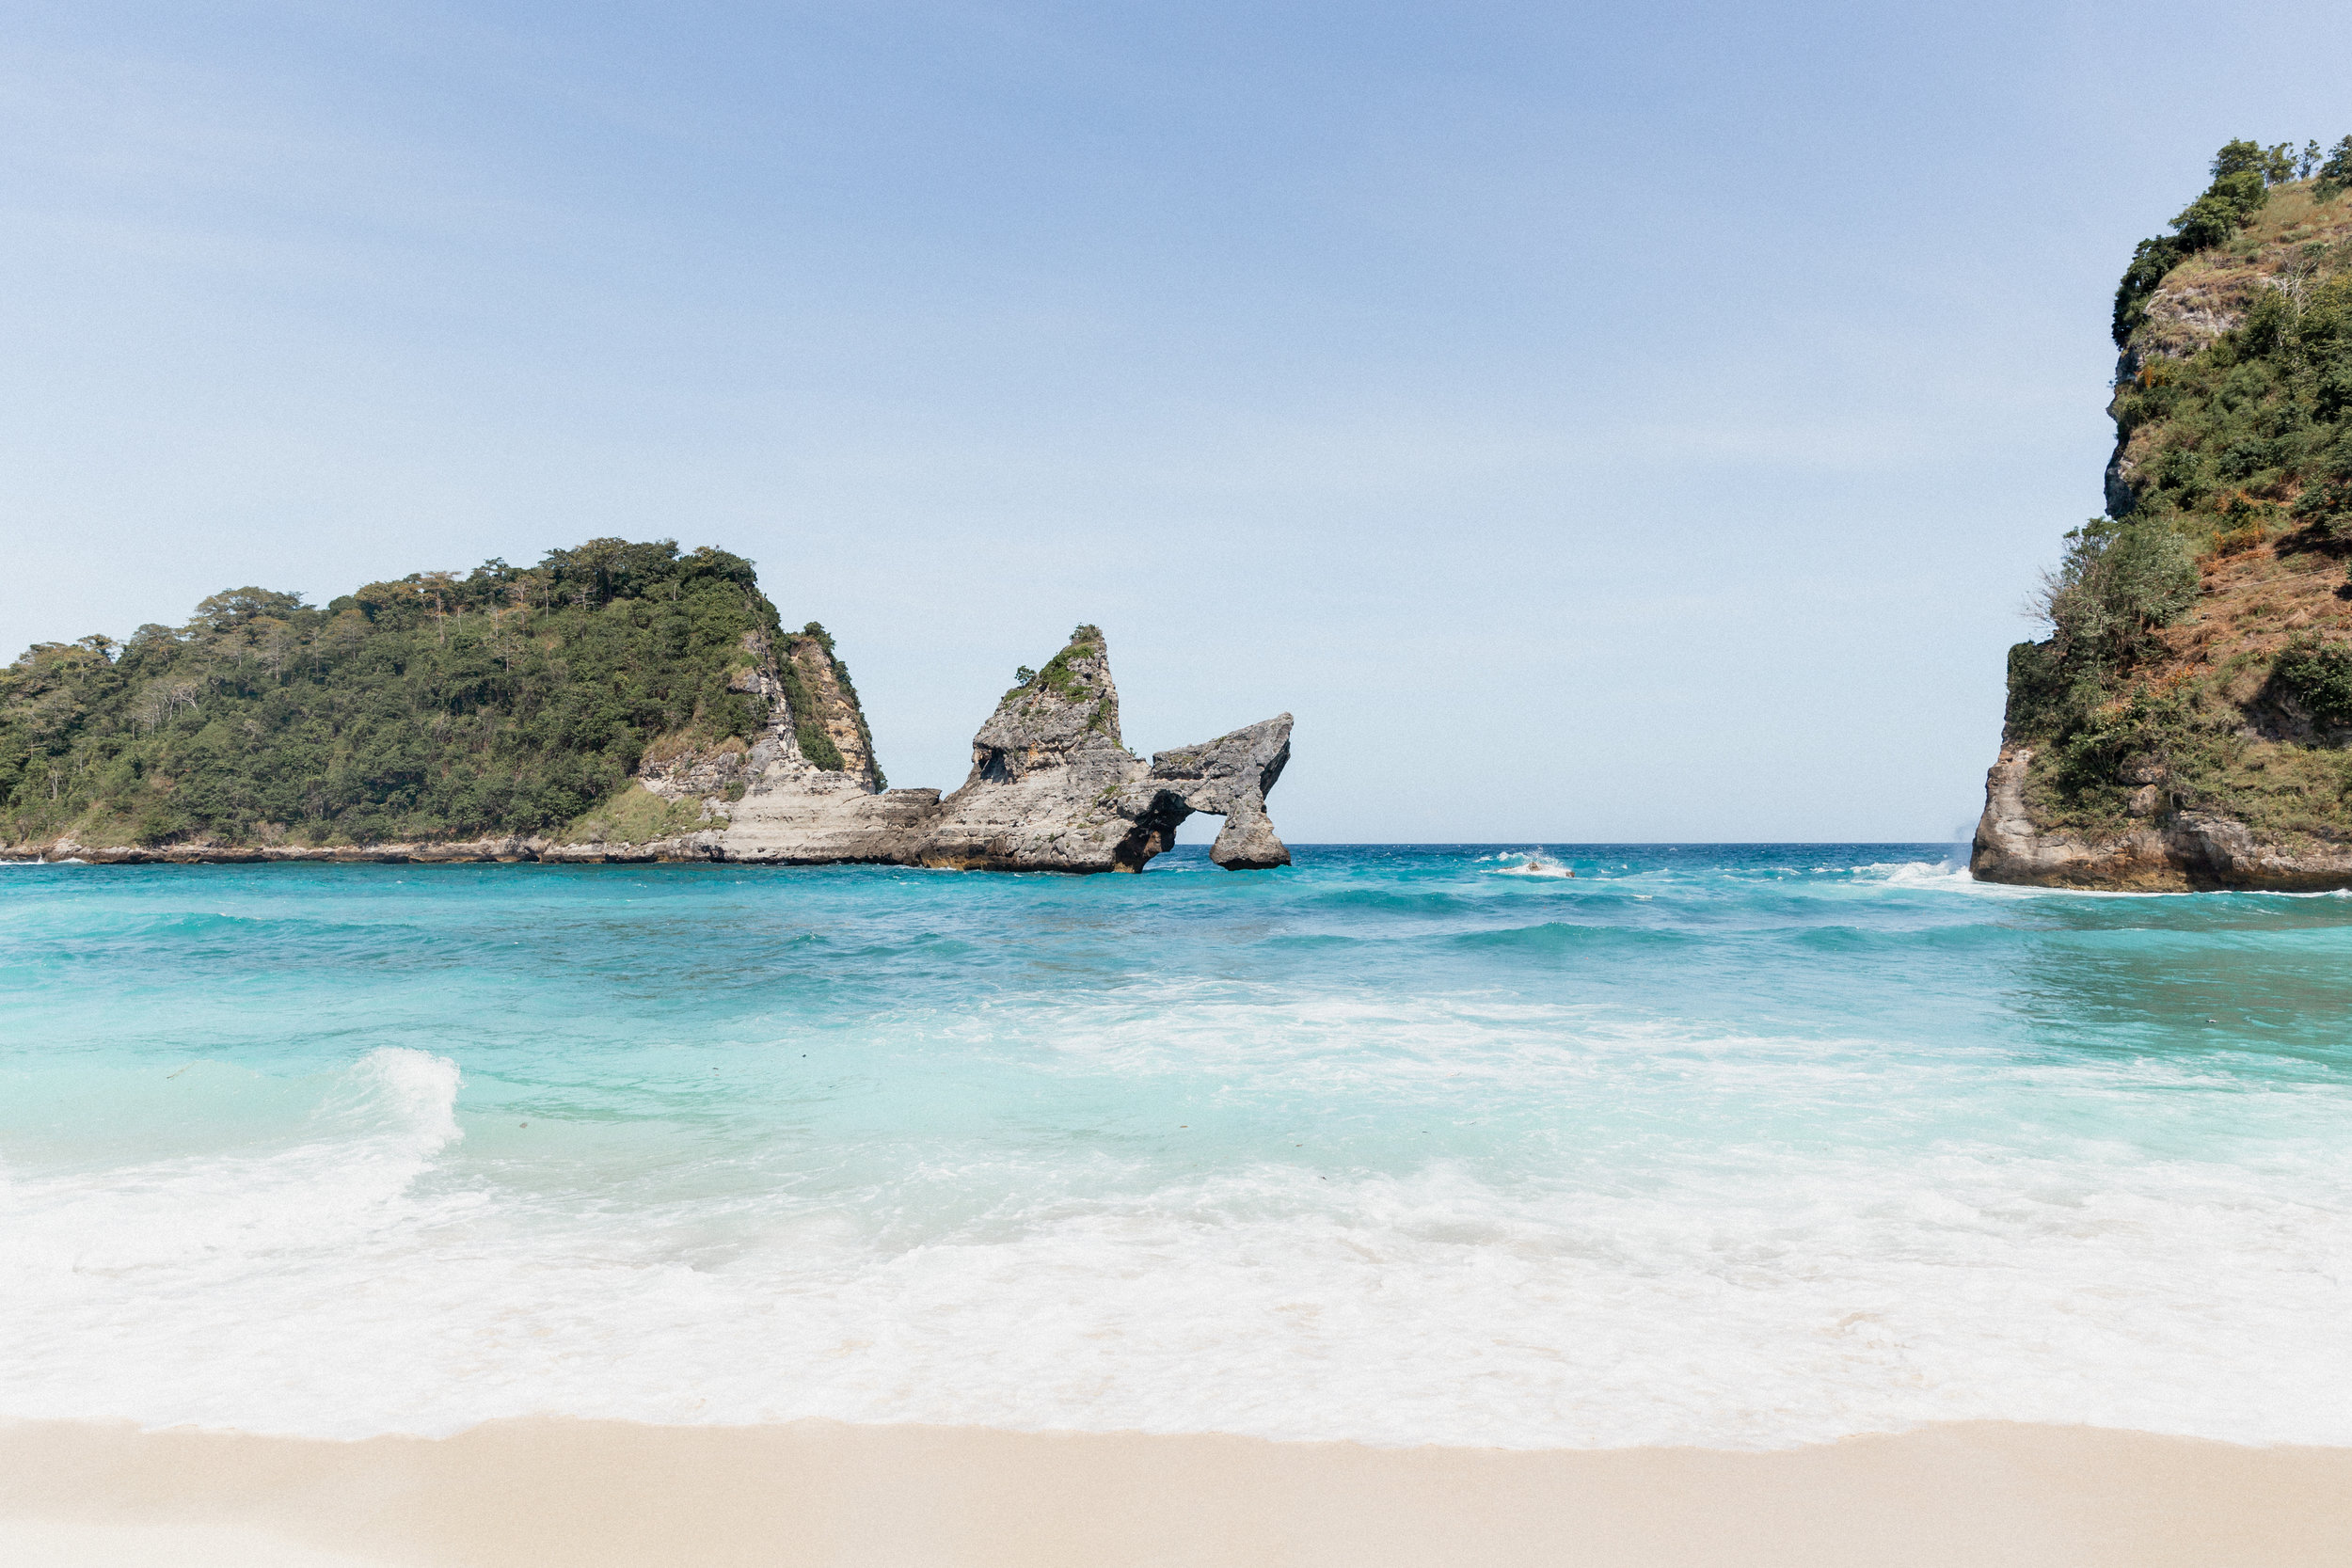
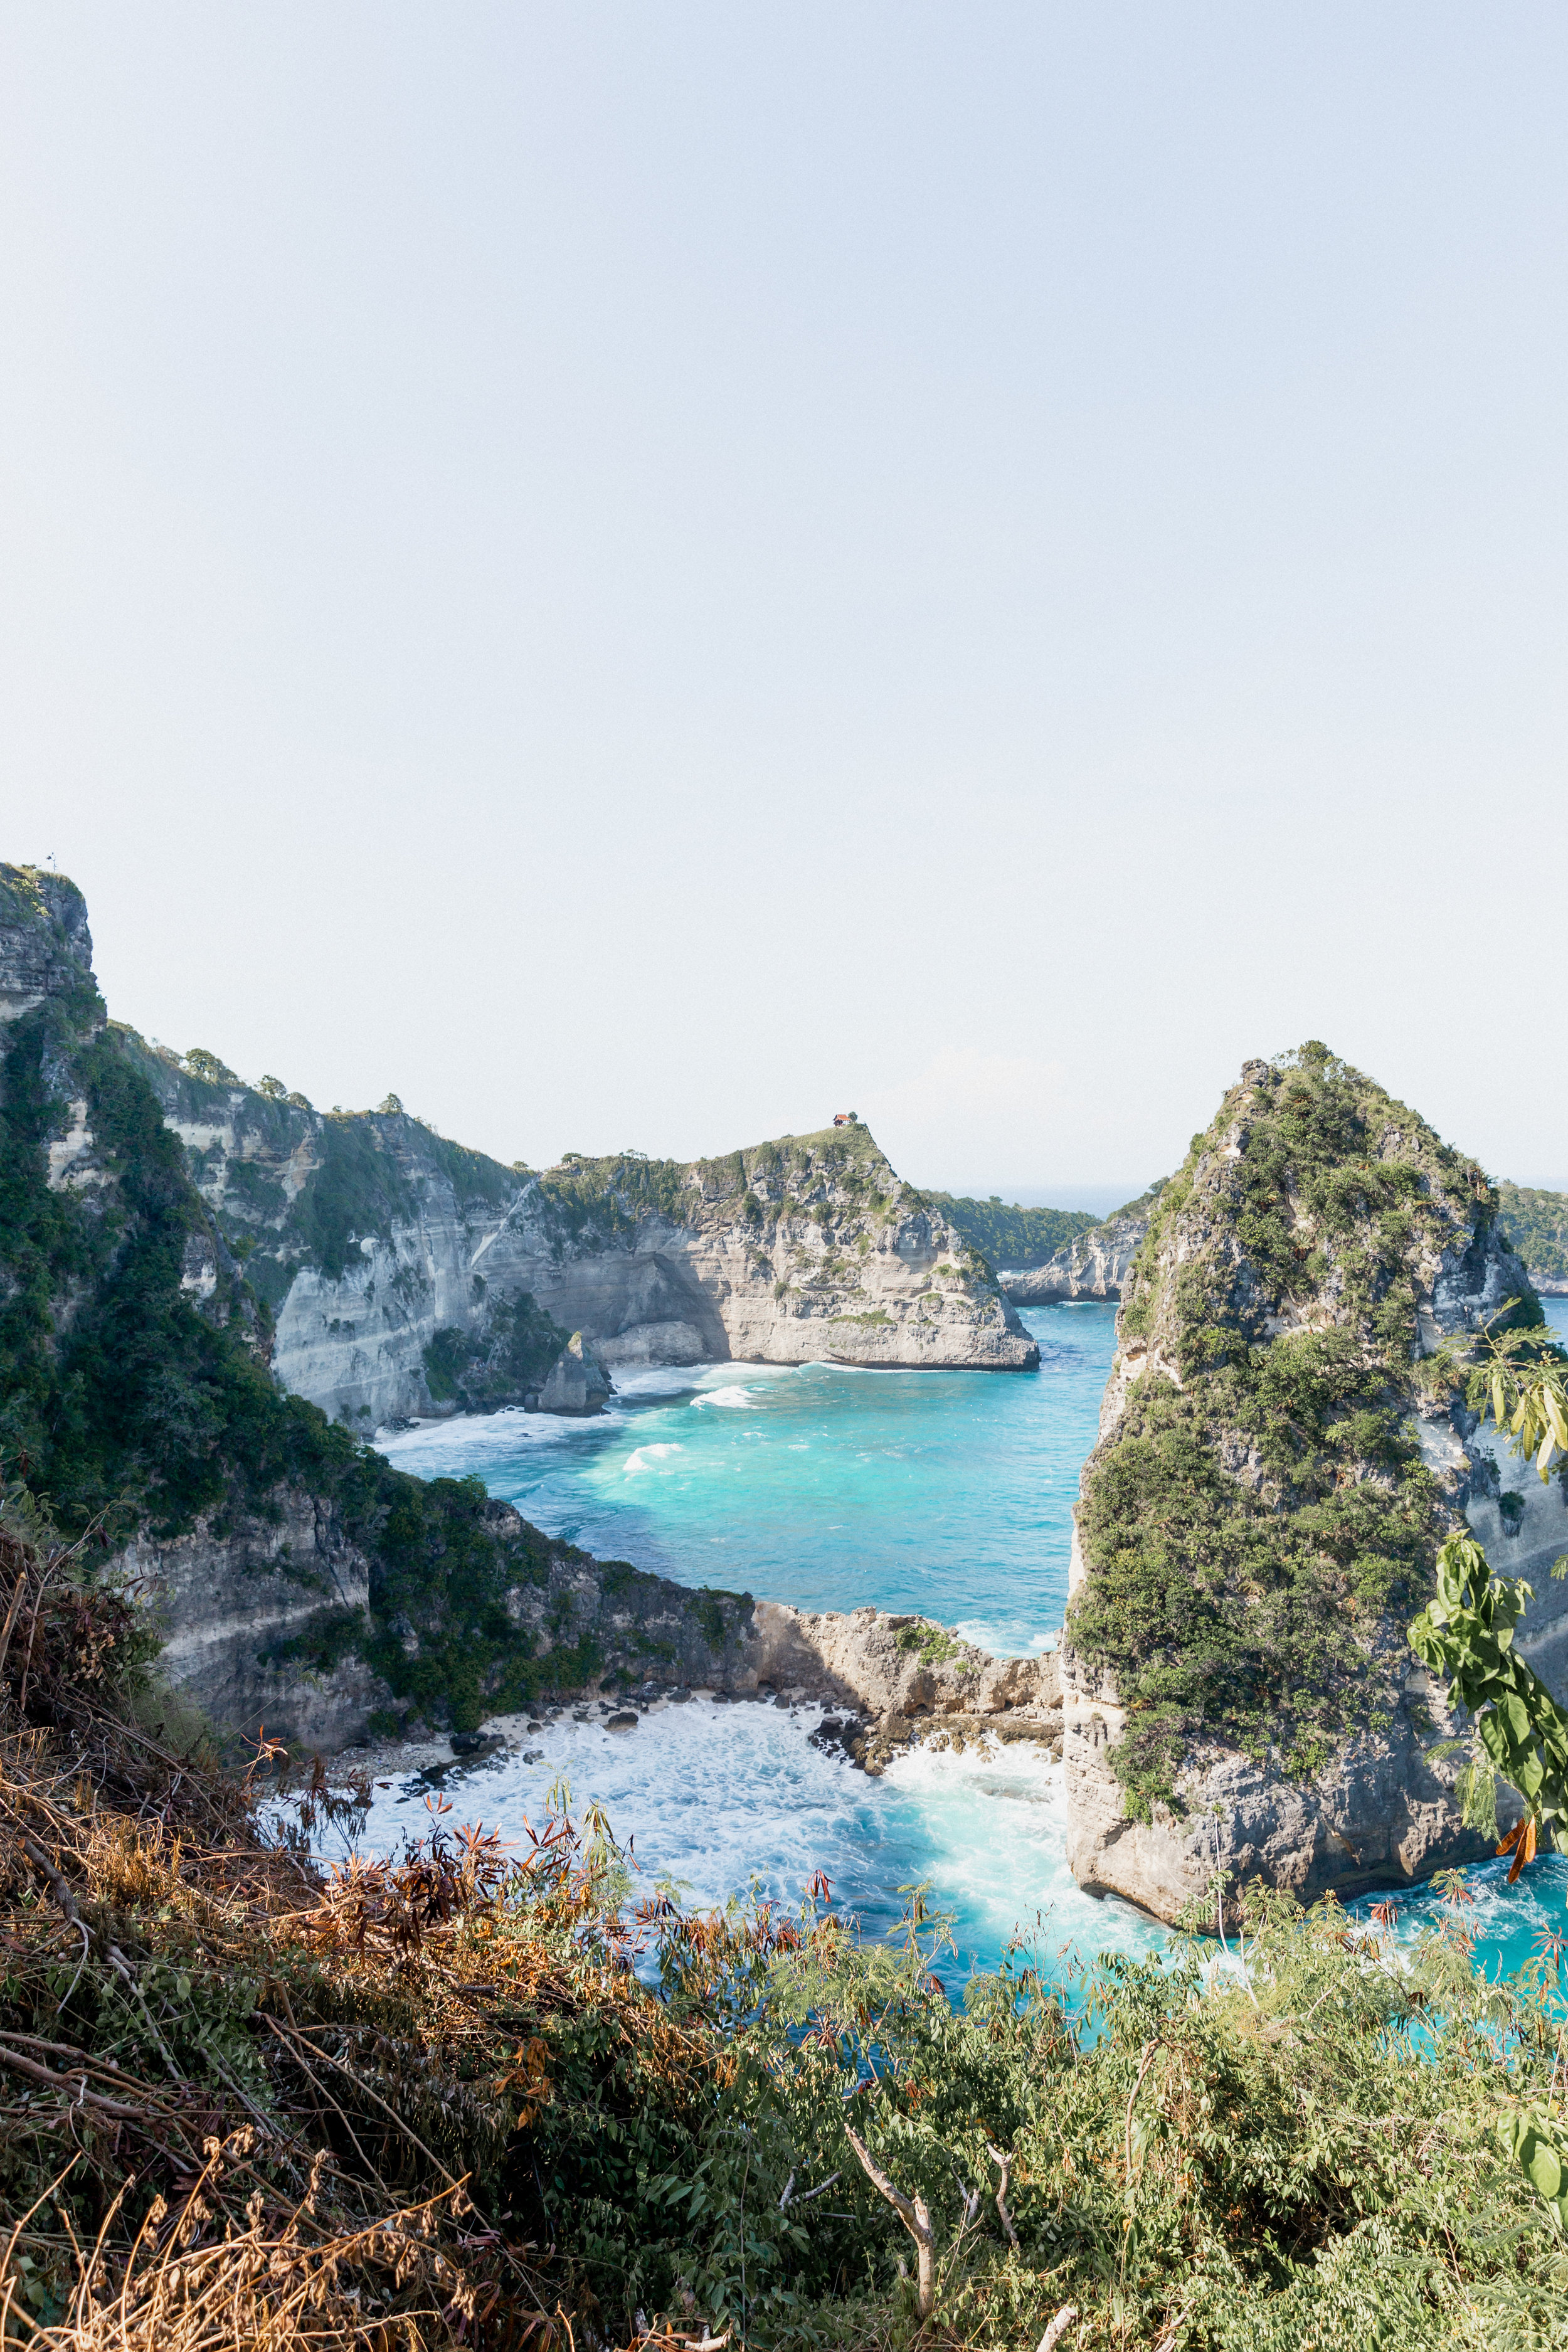
Diamond Beach
Diamond Beach was absolutely stunning! The water was a beautiful turquoise blue and the rock formations truly looked like upside down diamonds with their smooth sides and sharp edges. The stairwell going down to the beach is carved out of the rocky cliff. Surprisingly, we found the path to be sketchier than Kelingking because some of the steps are extremely narrow and without a railing. We could only stay here for a short time because the beach basically becomes nonexistent during high tide.

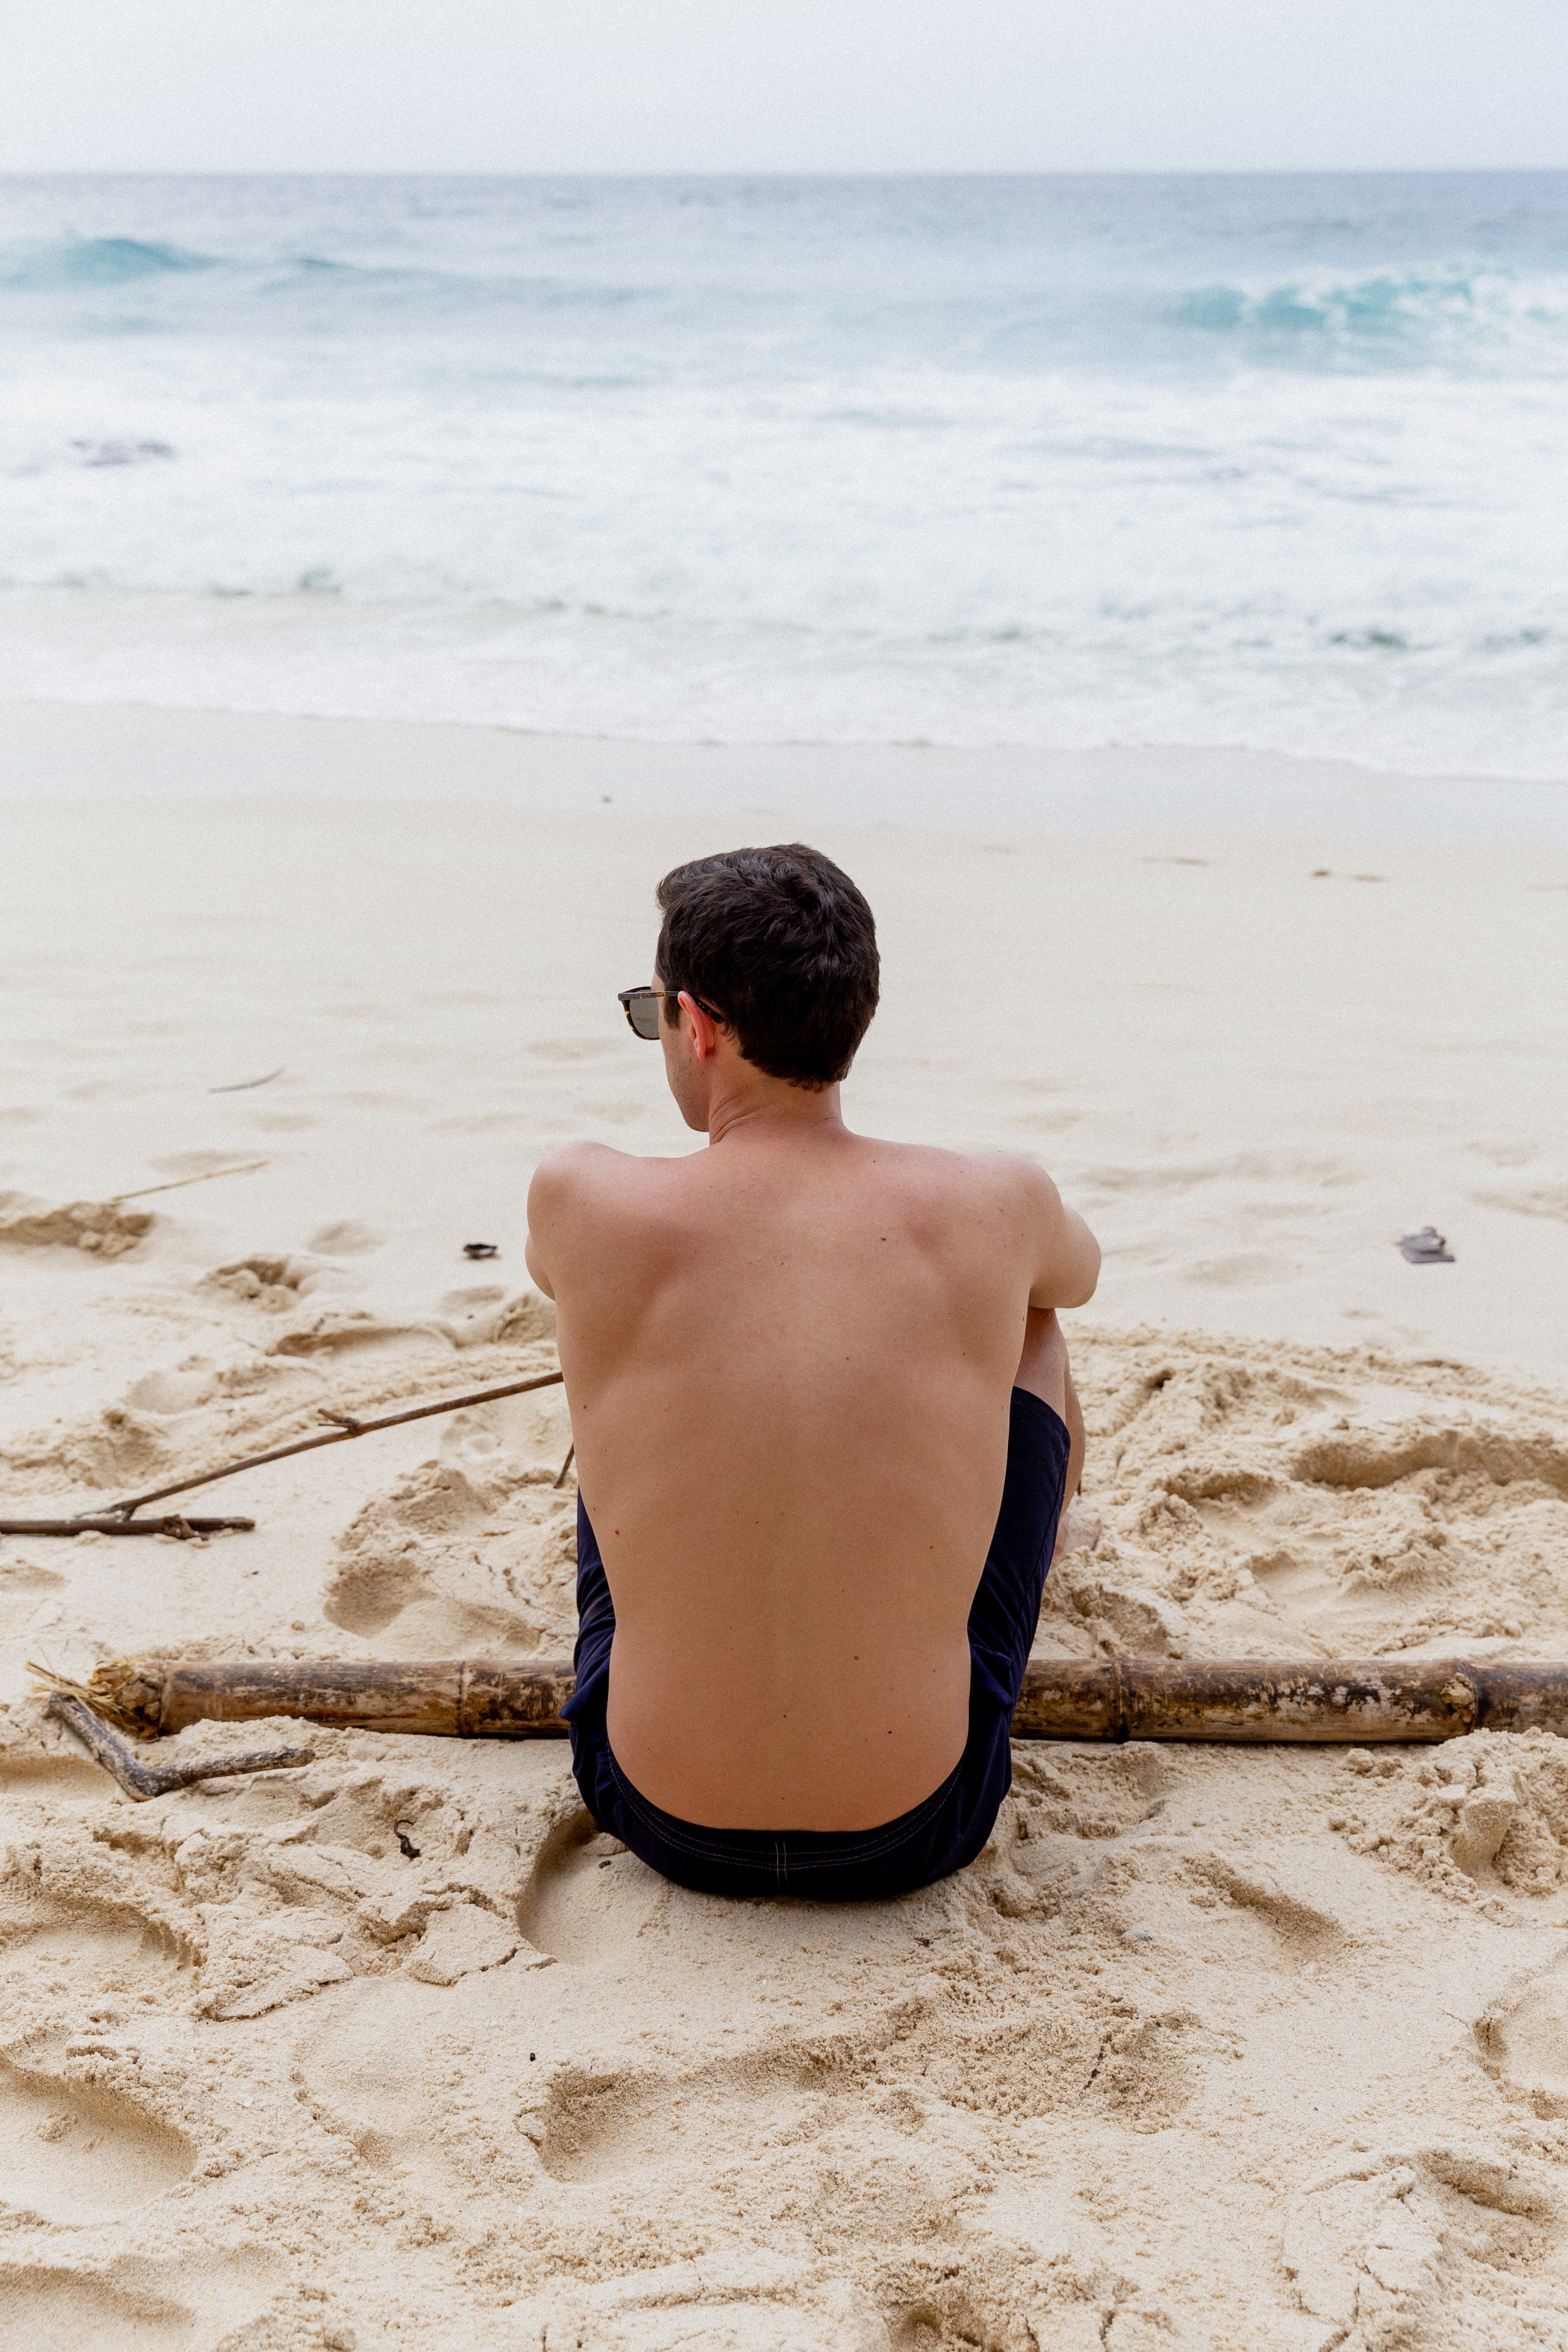
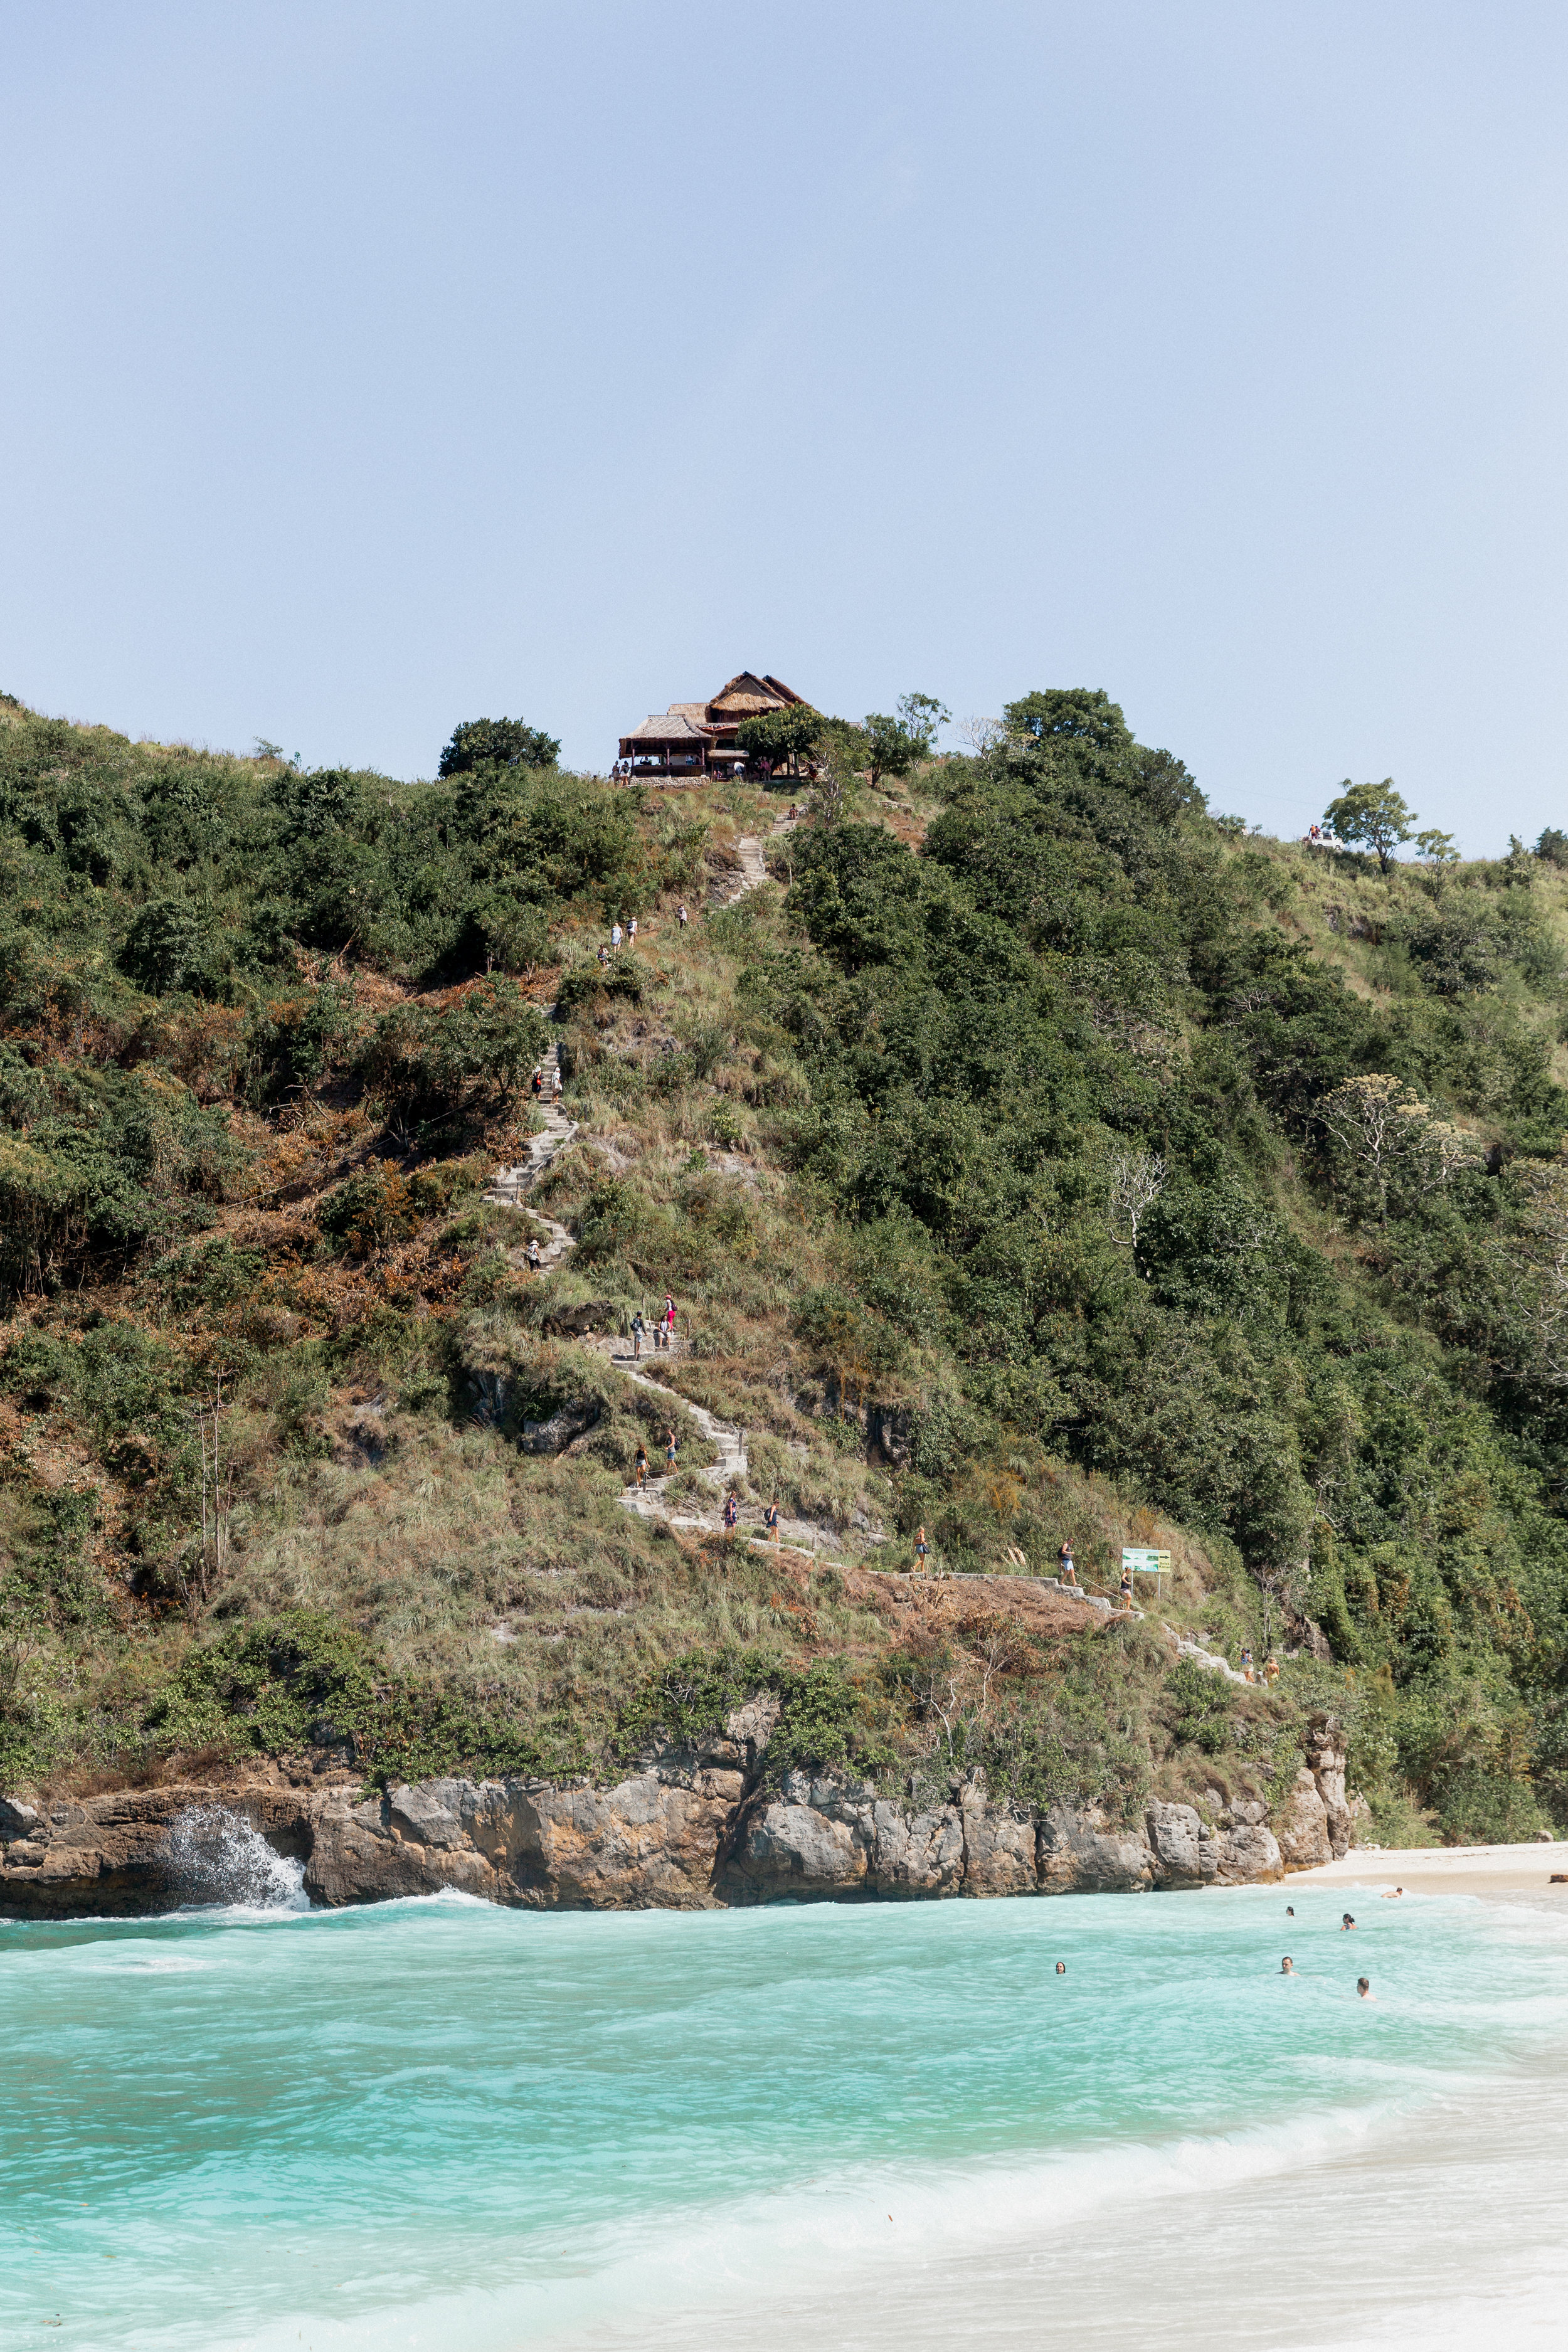
Atuh Beach
Atuh Beach is located next to Diamond Beach. It was the only beach in Nusa Penida that didn’t have a strong riptide, so we were finally able to swim in the ocean! There are beach chairs or beanbags for rent, as well as food and drinks available for purchase. It was a perfect place to relax and recover from all the hiking we had done so far.
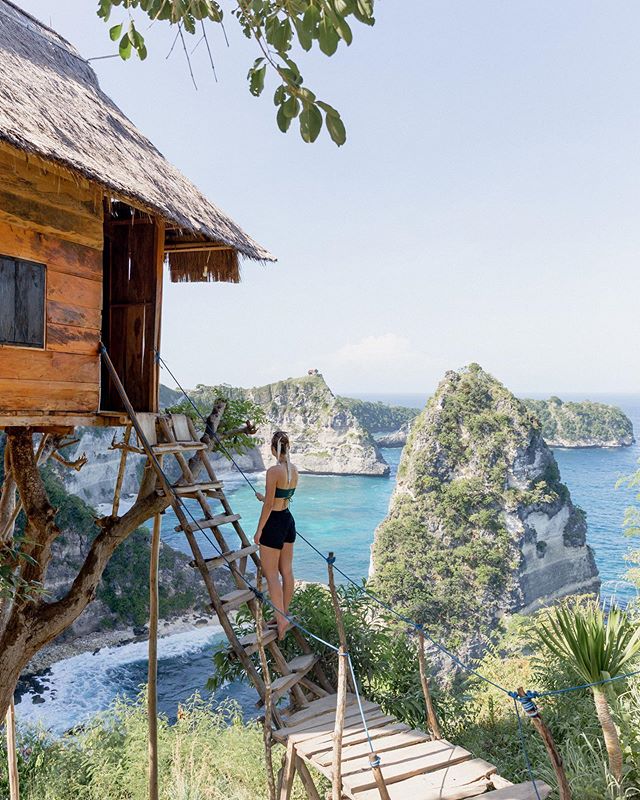
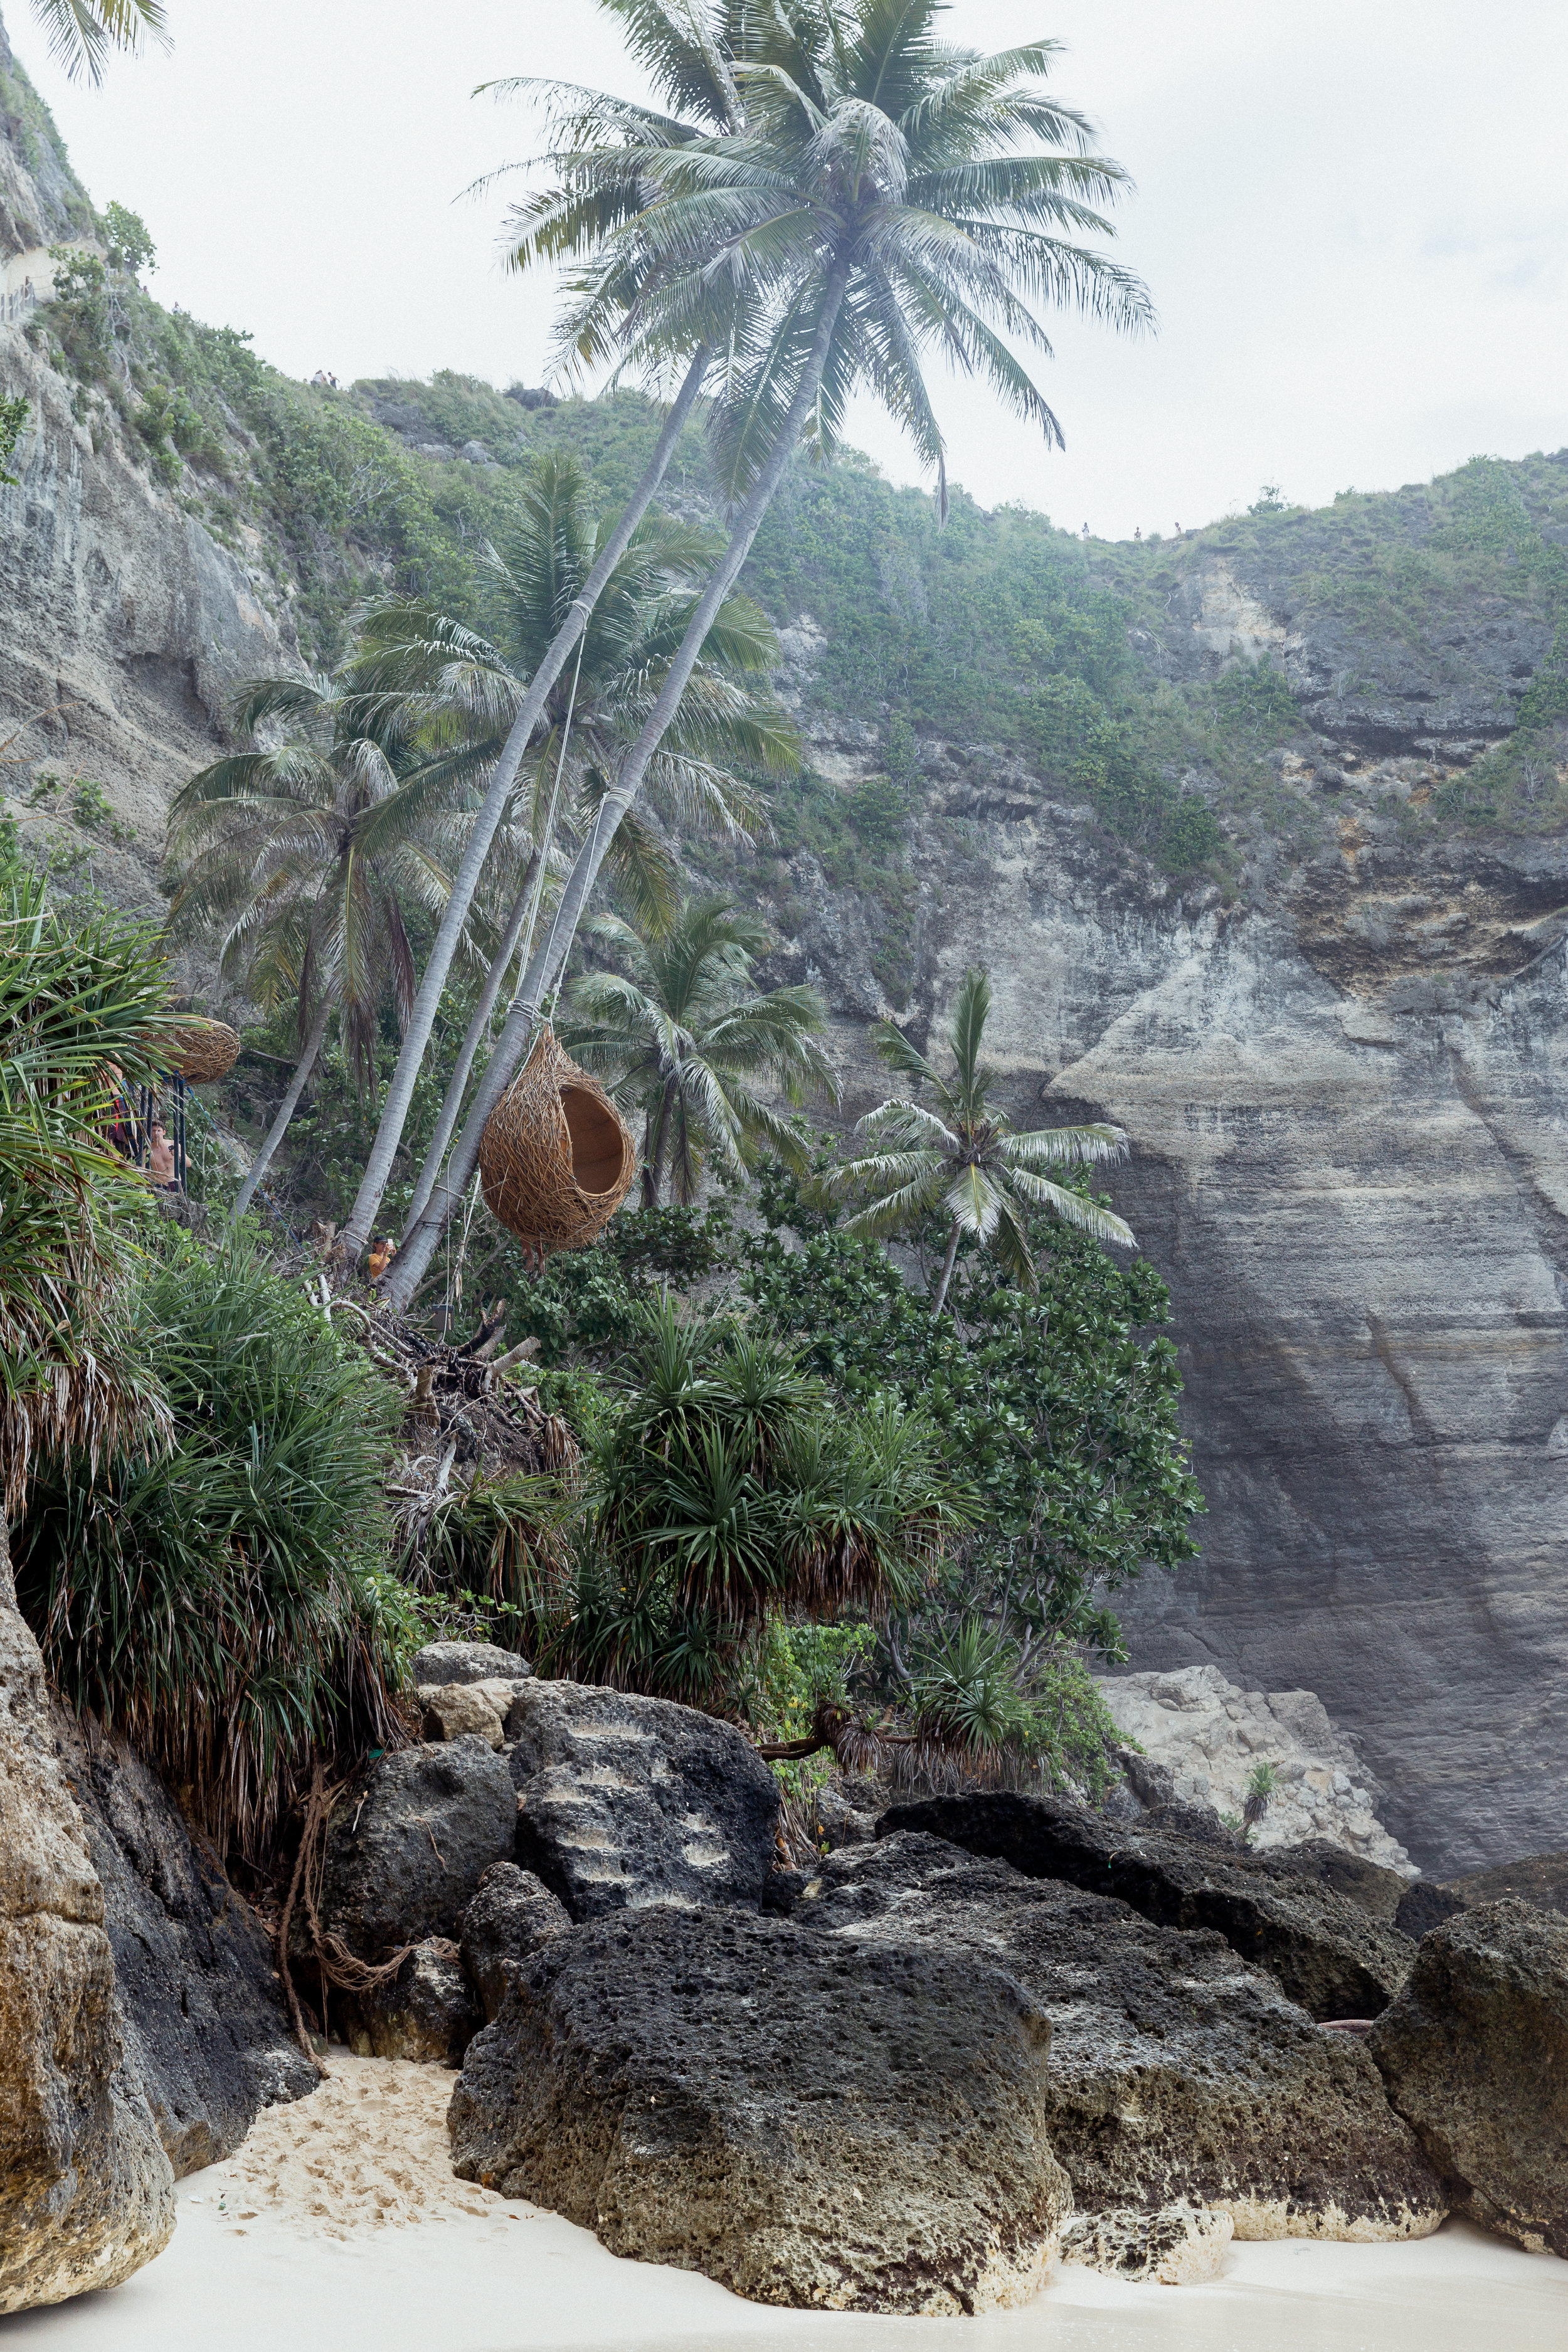
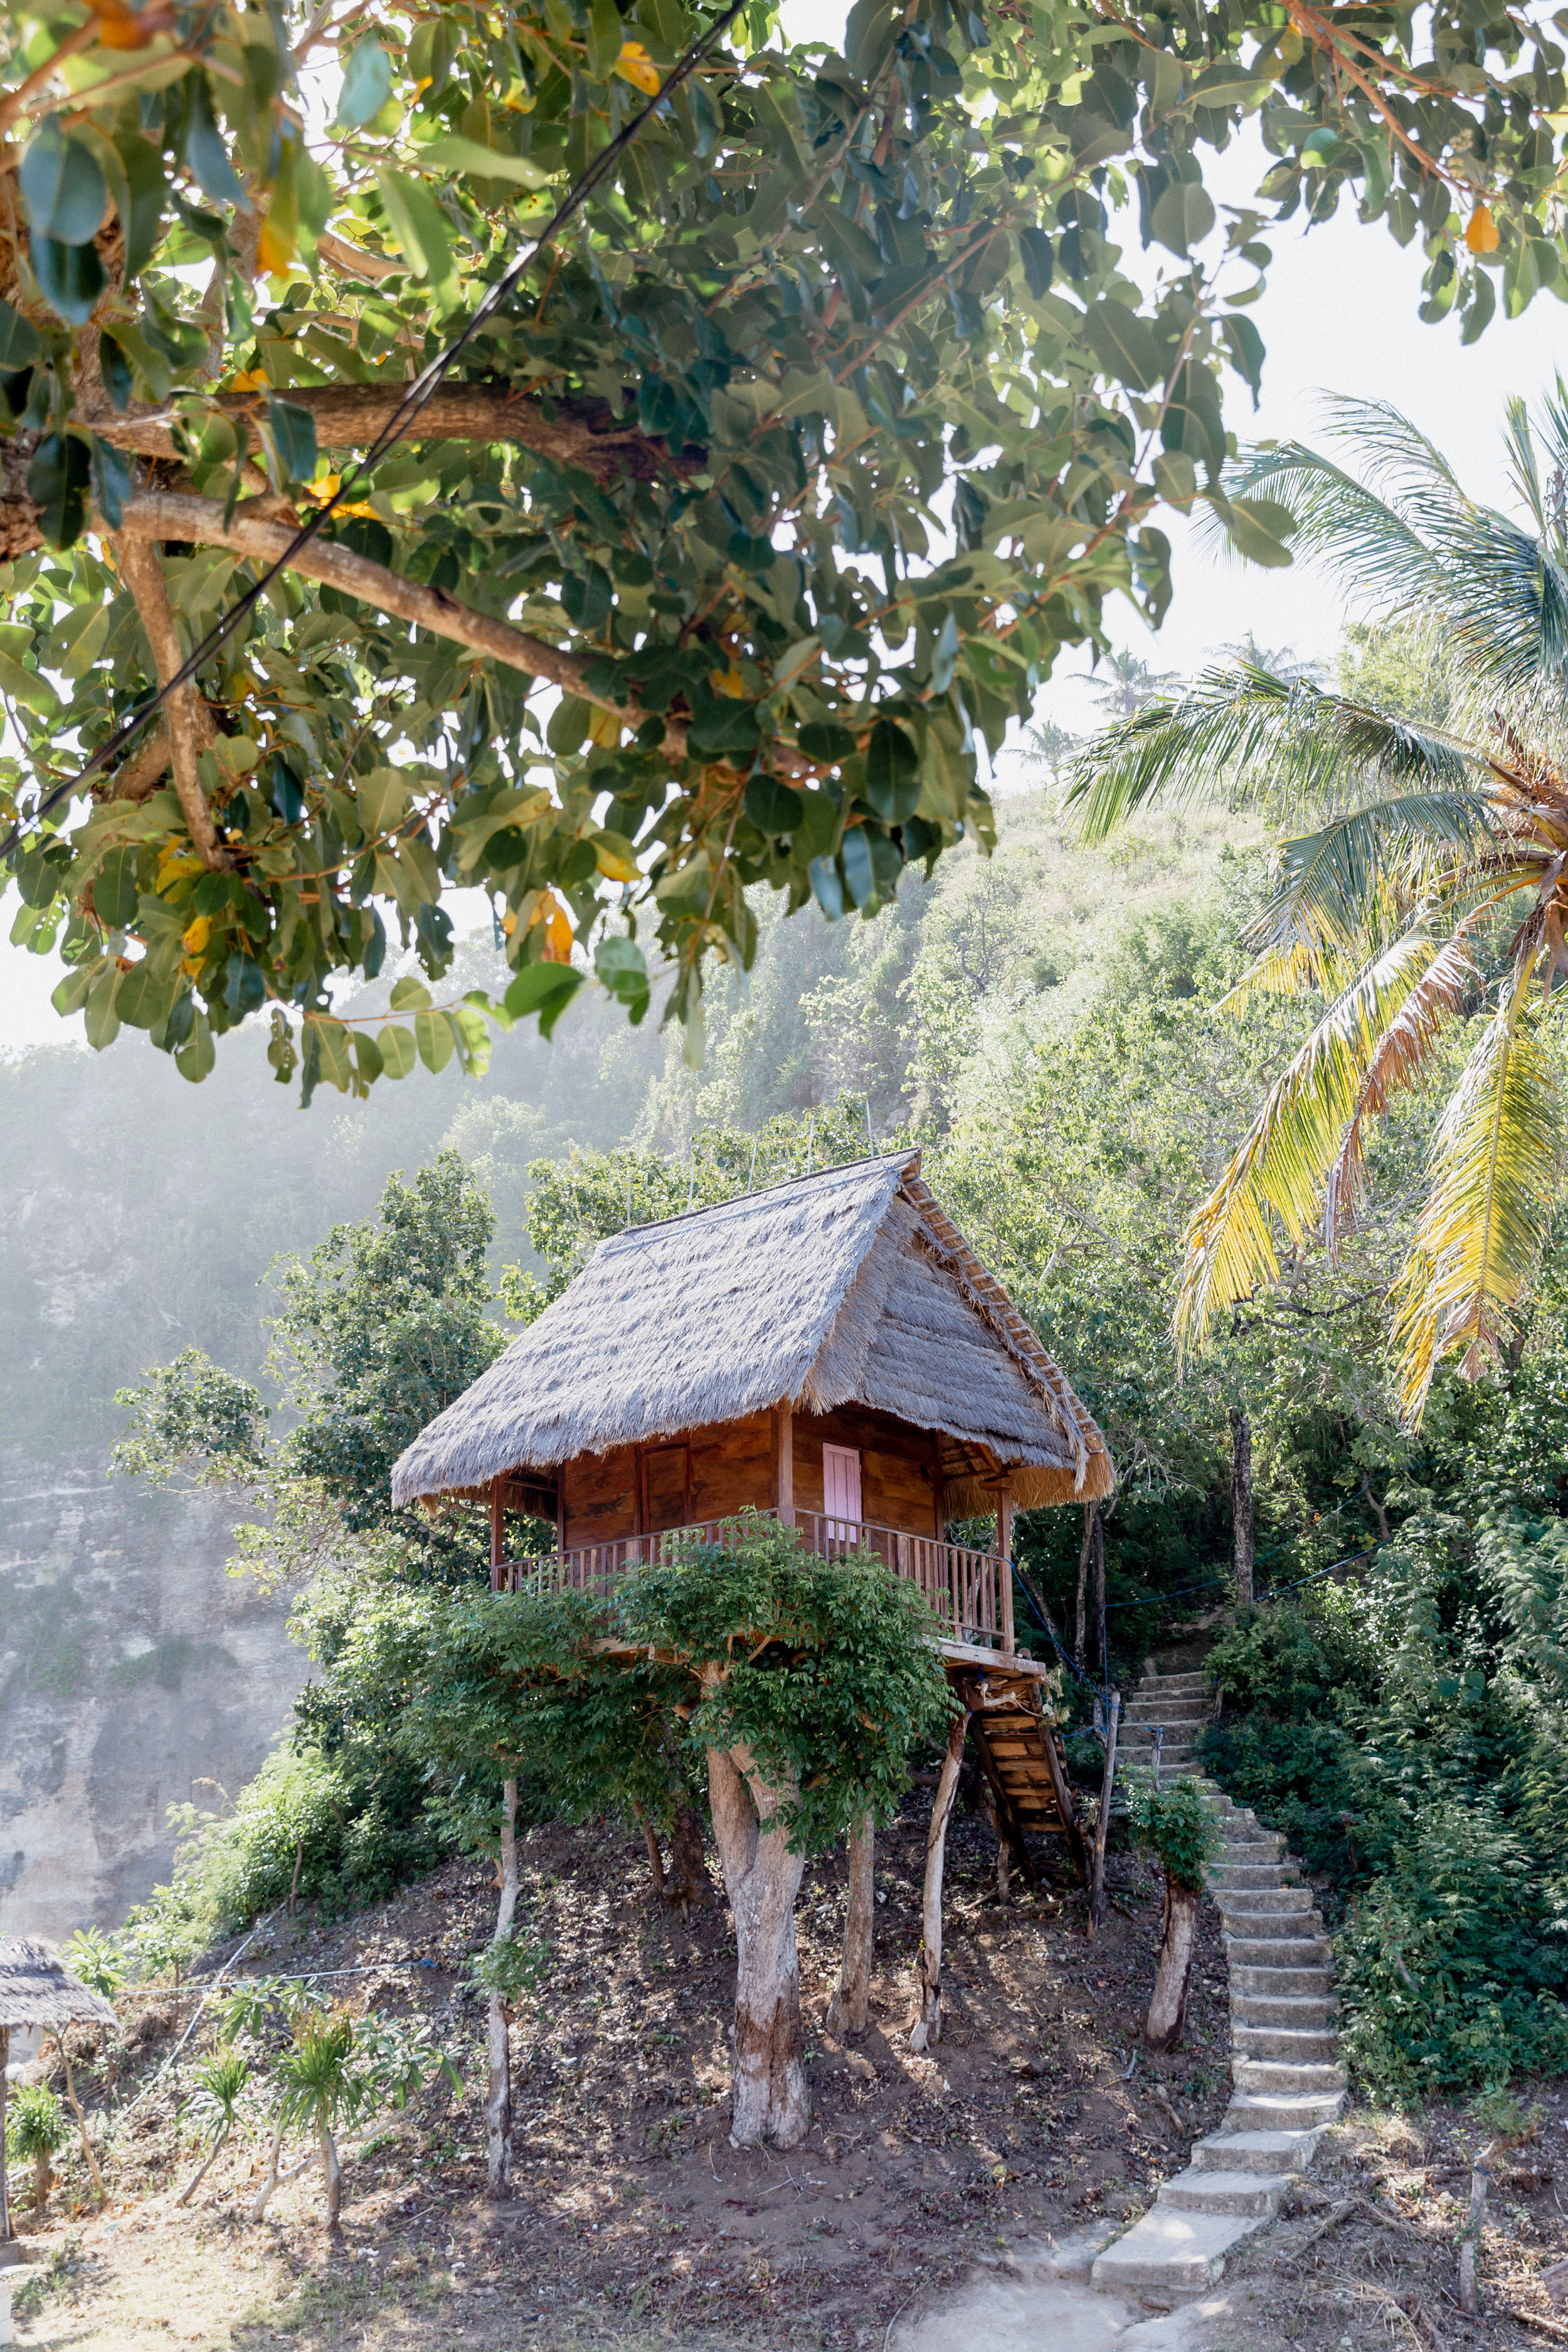
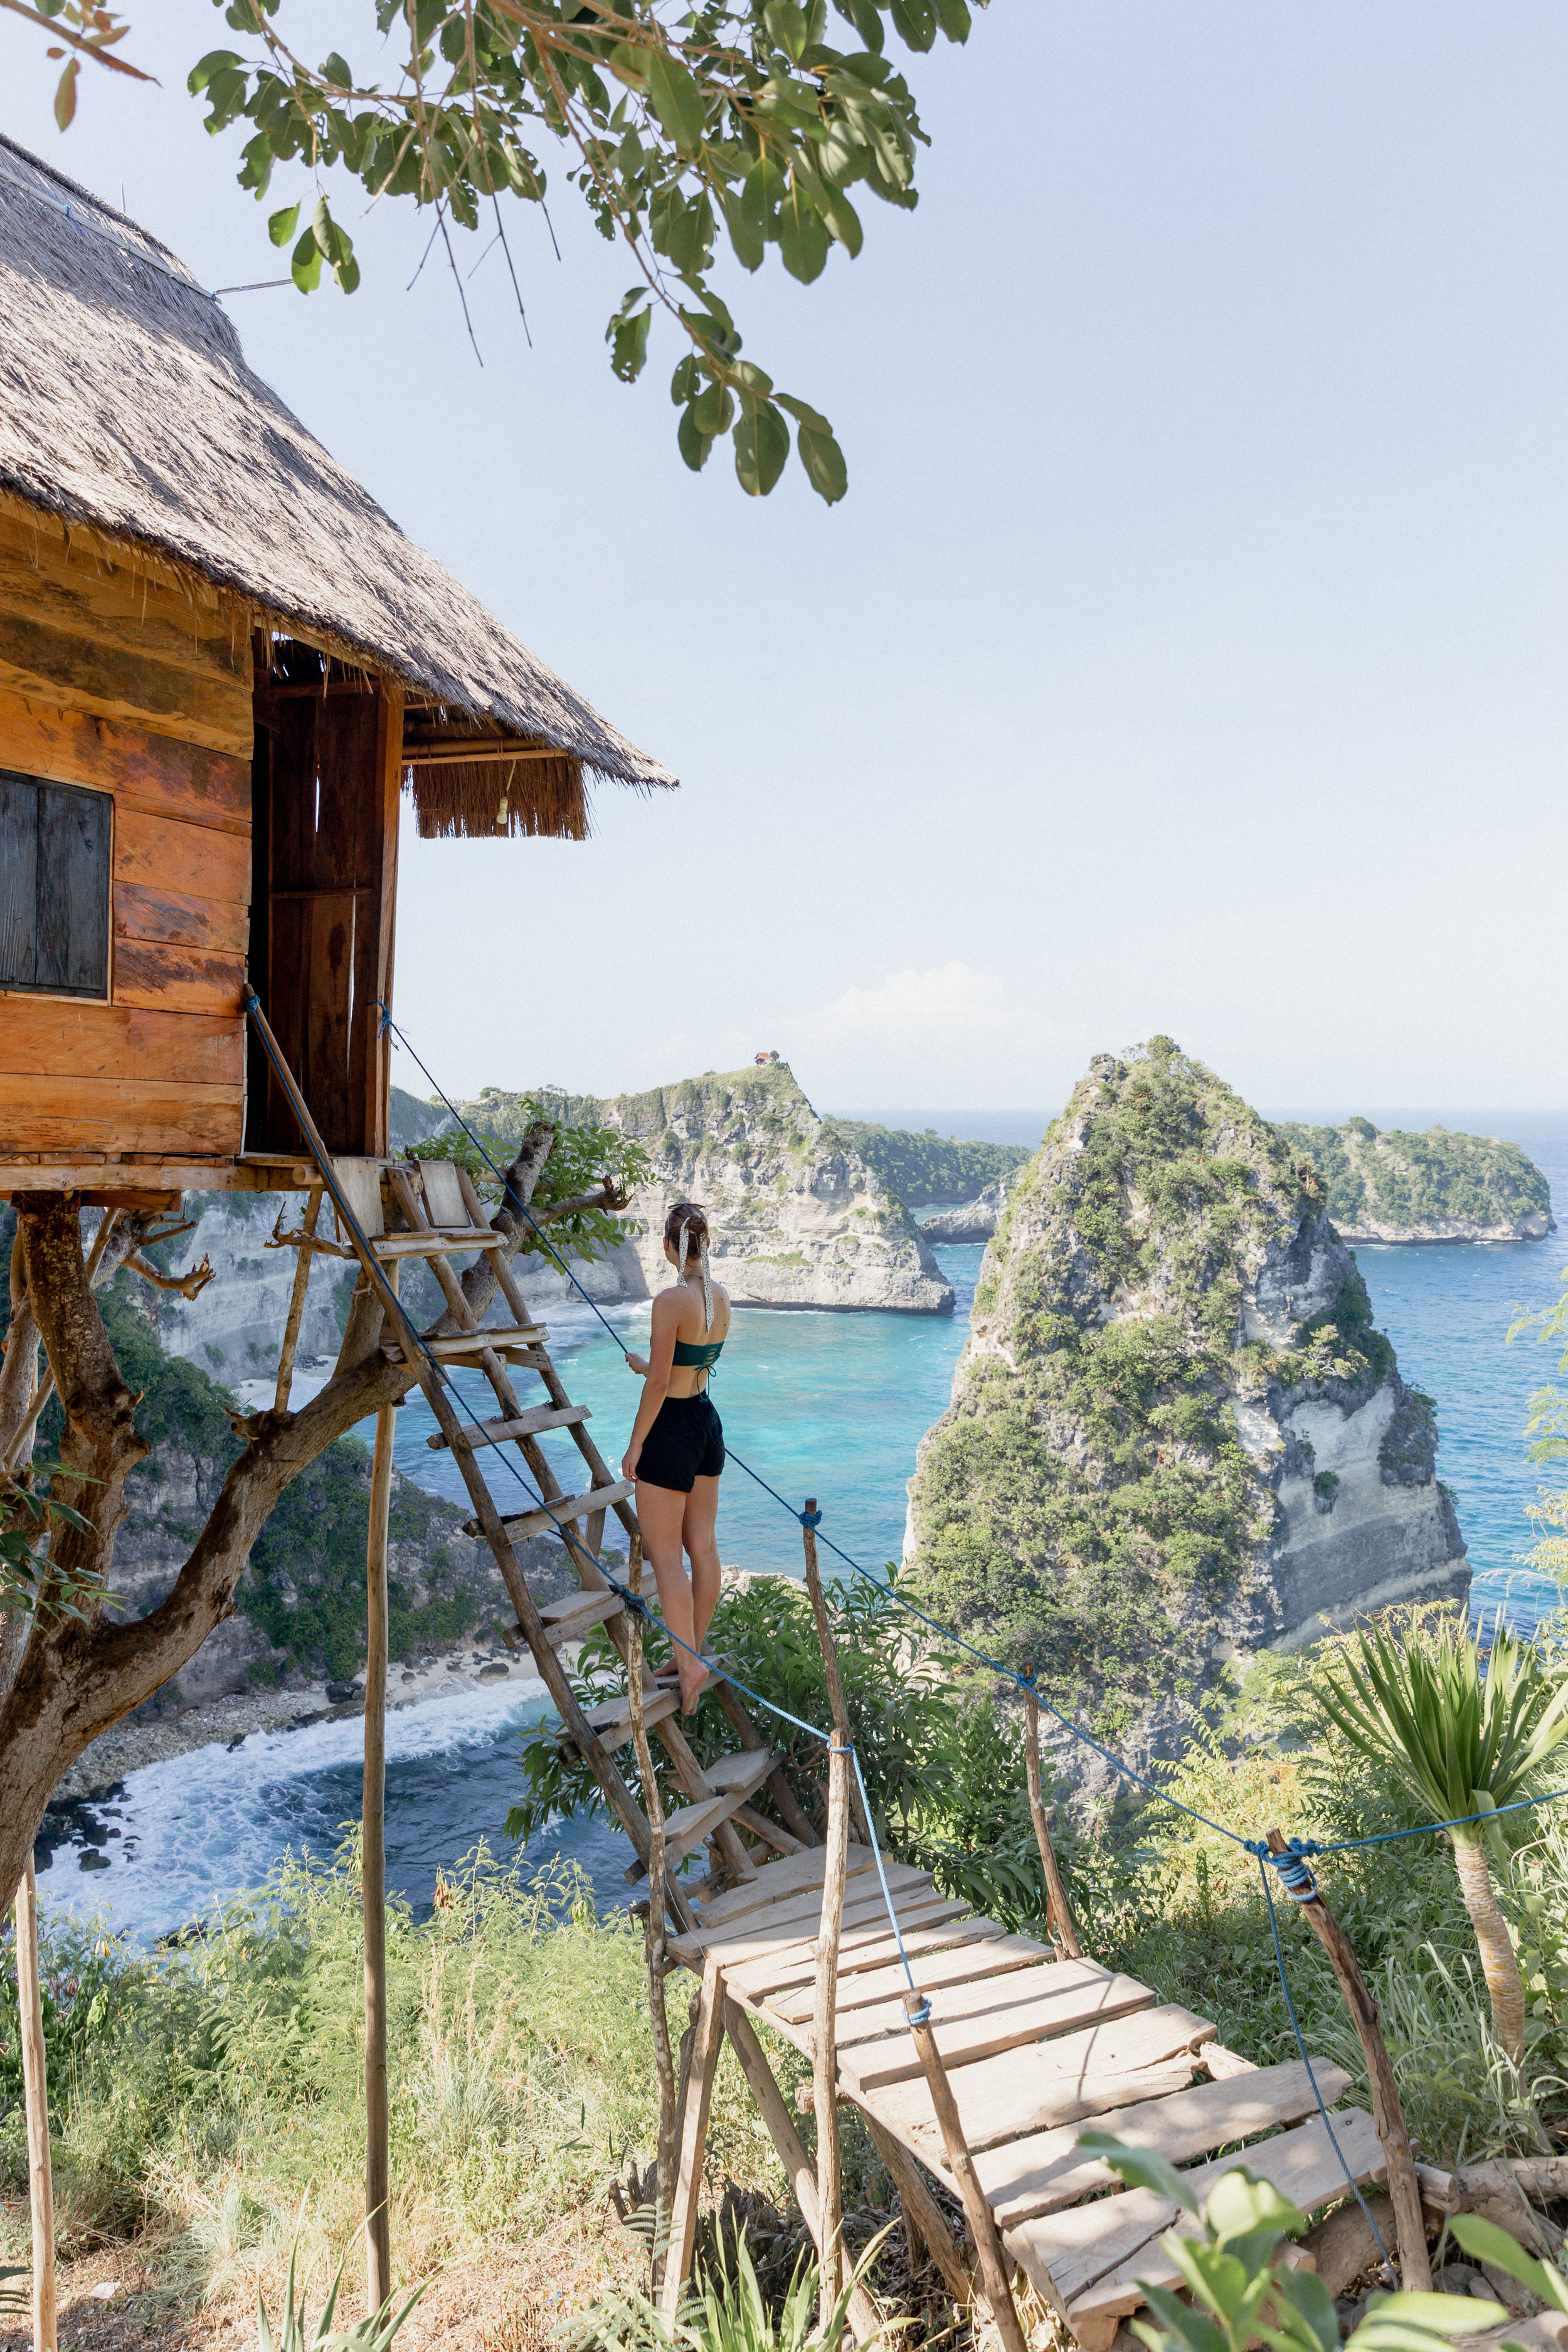
Rumah Pohon Treehouses
Located down the road from Diamond Beach and Atuh Beach are the Rumah Pohon Treehouses. It is about a 20 minute walk down to the treehouses. Apparently you can stay in these treehouses, but they are very basic inside with just a mattress and there is no air-conditioning. With how hot Nusa Penida is I can’t imagine staying in these treehouses, but I imagine it could be a cool experience for a night.
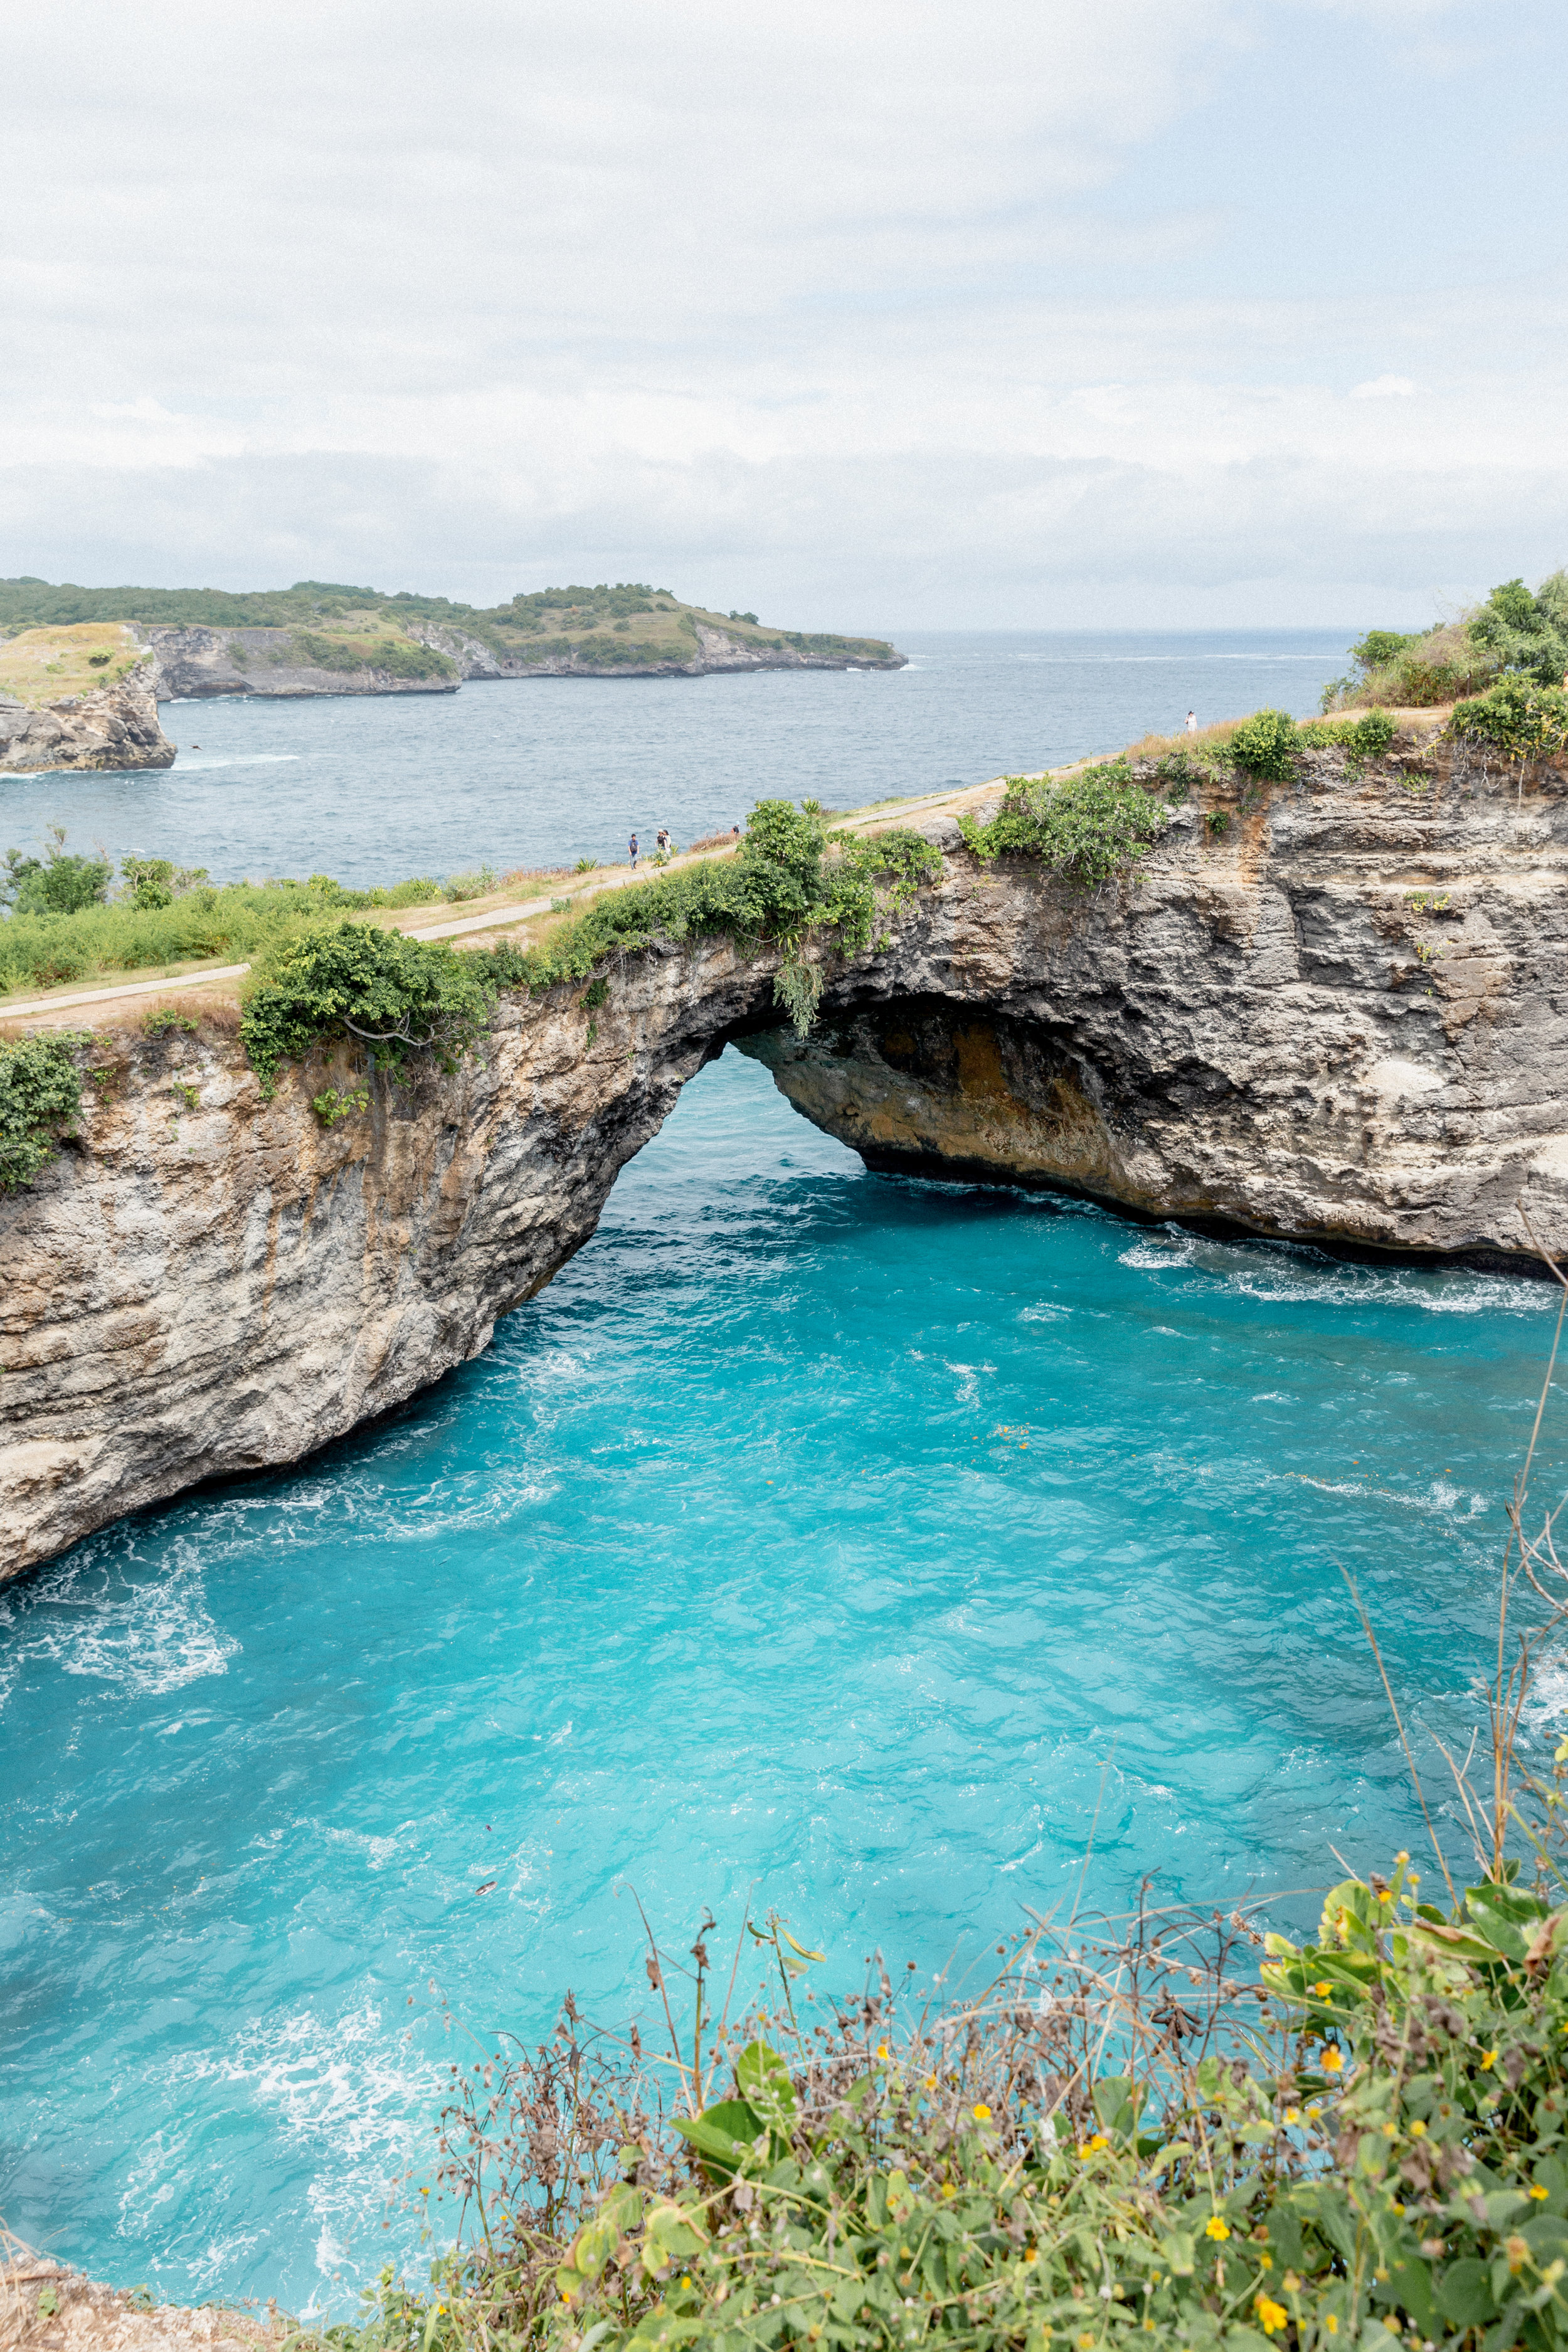
Angel’s Billabong and Broken Beach
We never intended to visit this area, but accidentally came here due to a miscommunication with our driver. The two are located within walking distance from one another. While the landscape of these locations is beautiful, I personally don’t think they are worth coming to. They are crowded with lots of people all trying to get “the perfect shot”.

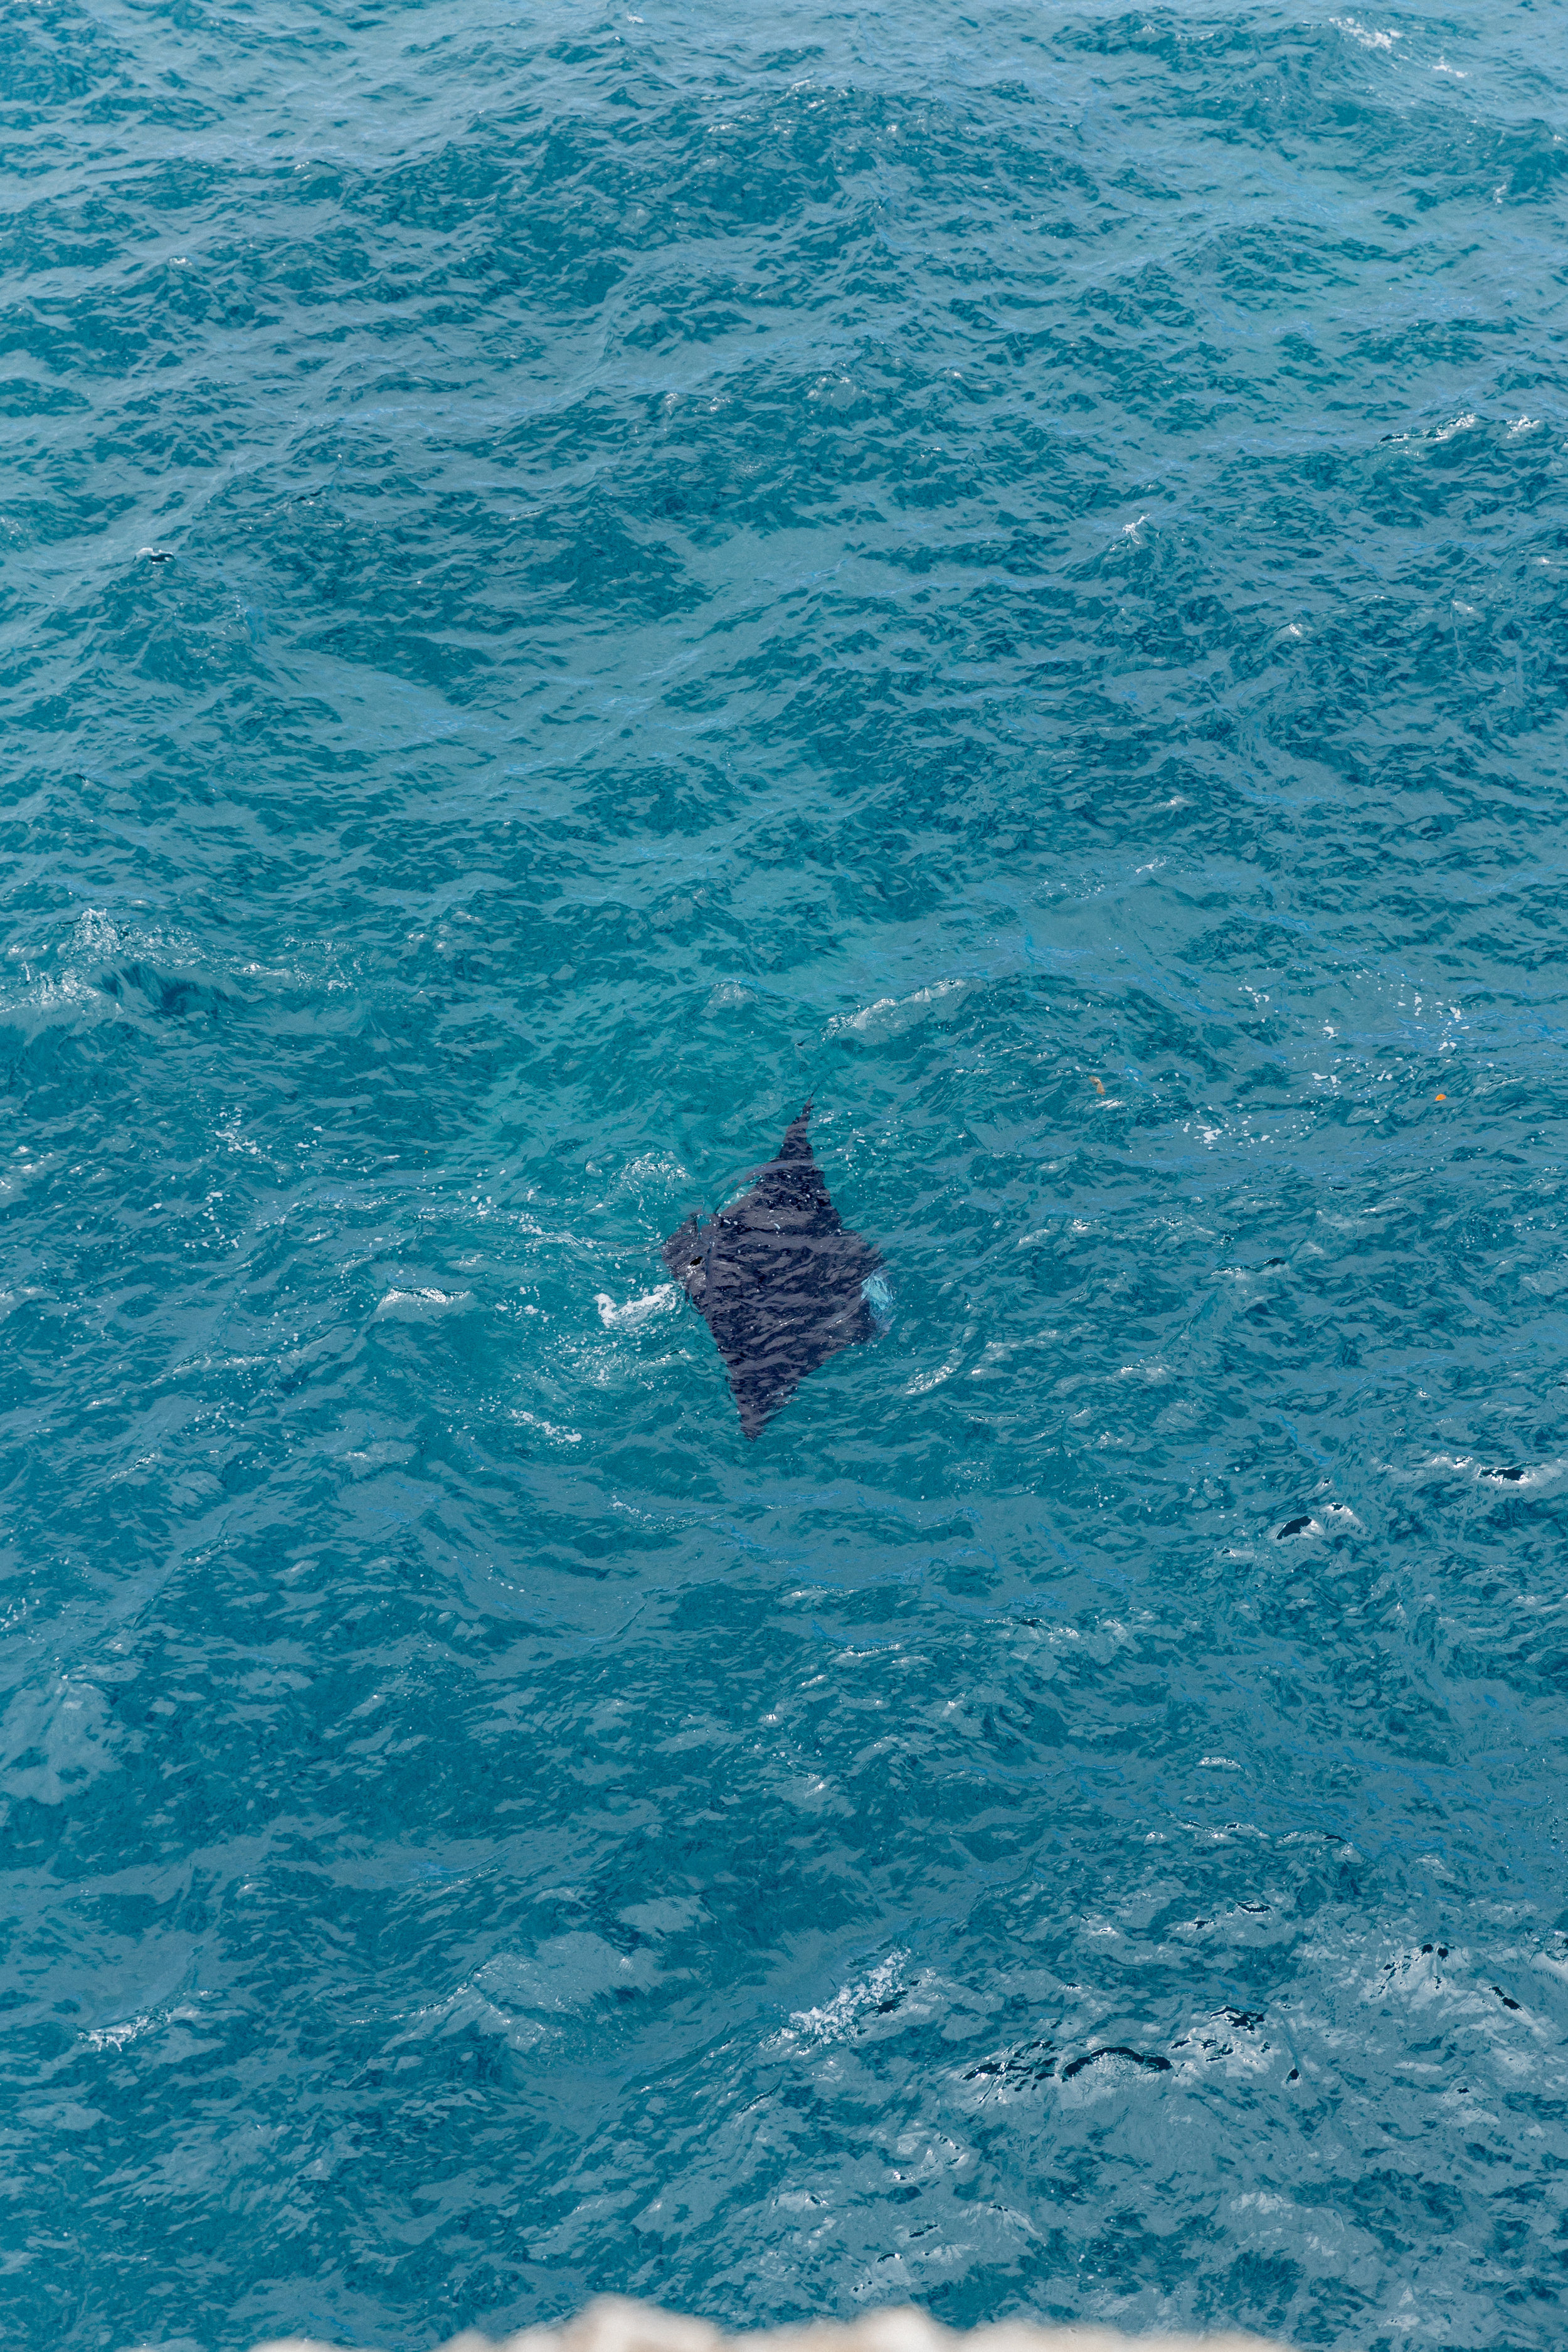
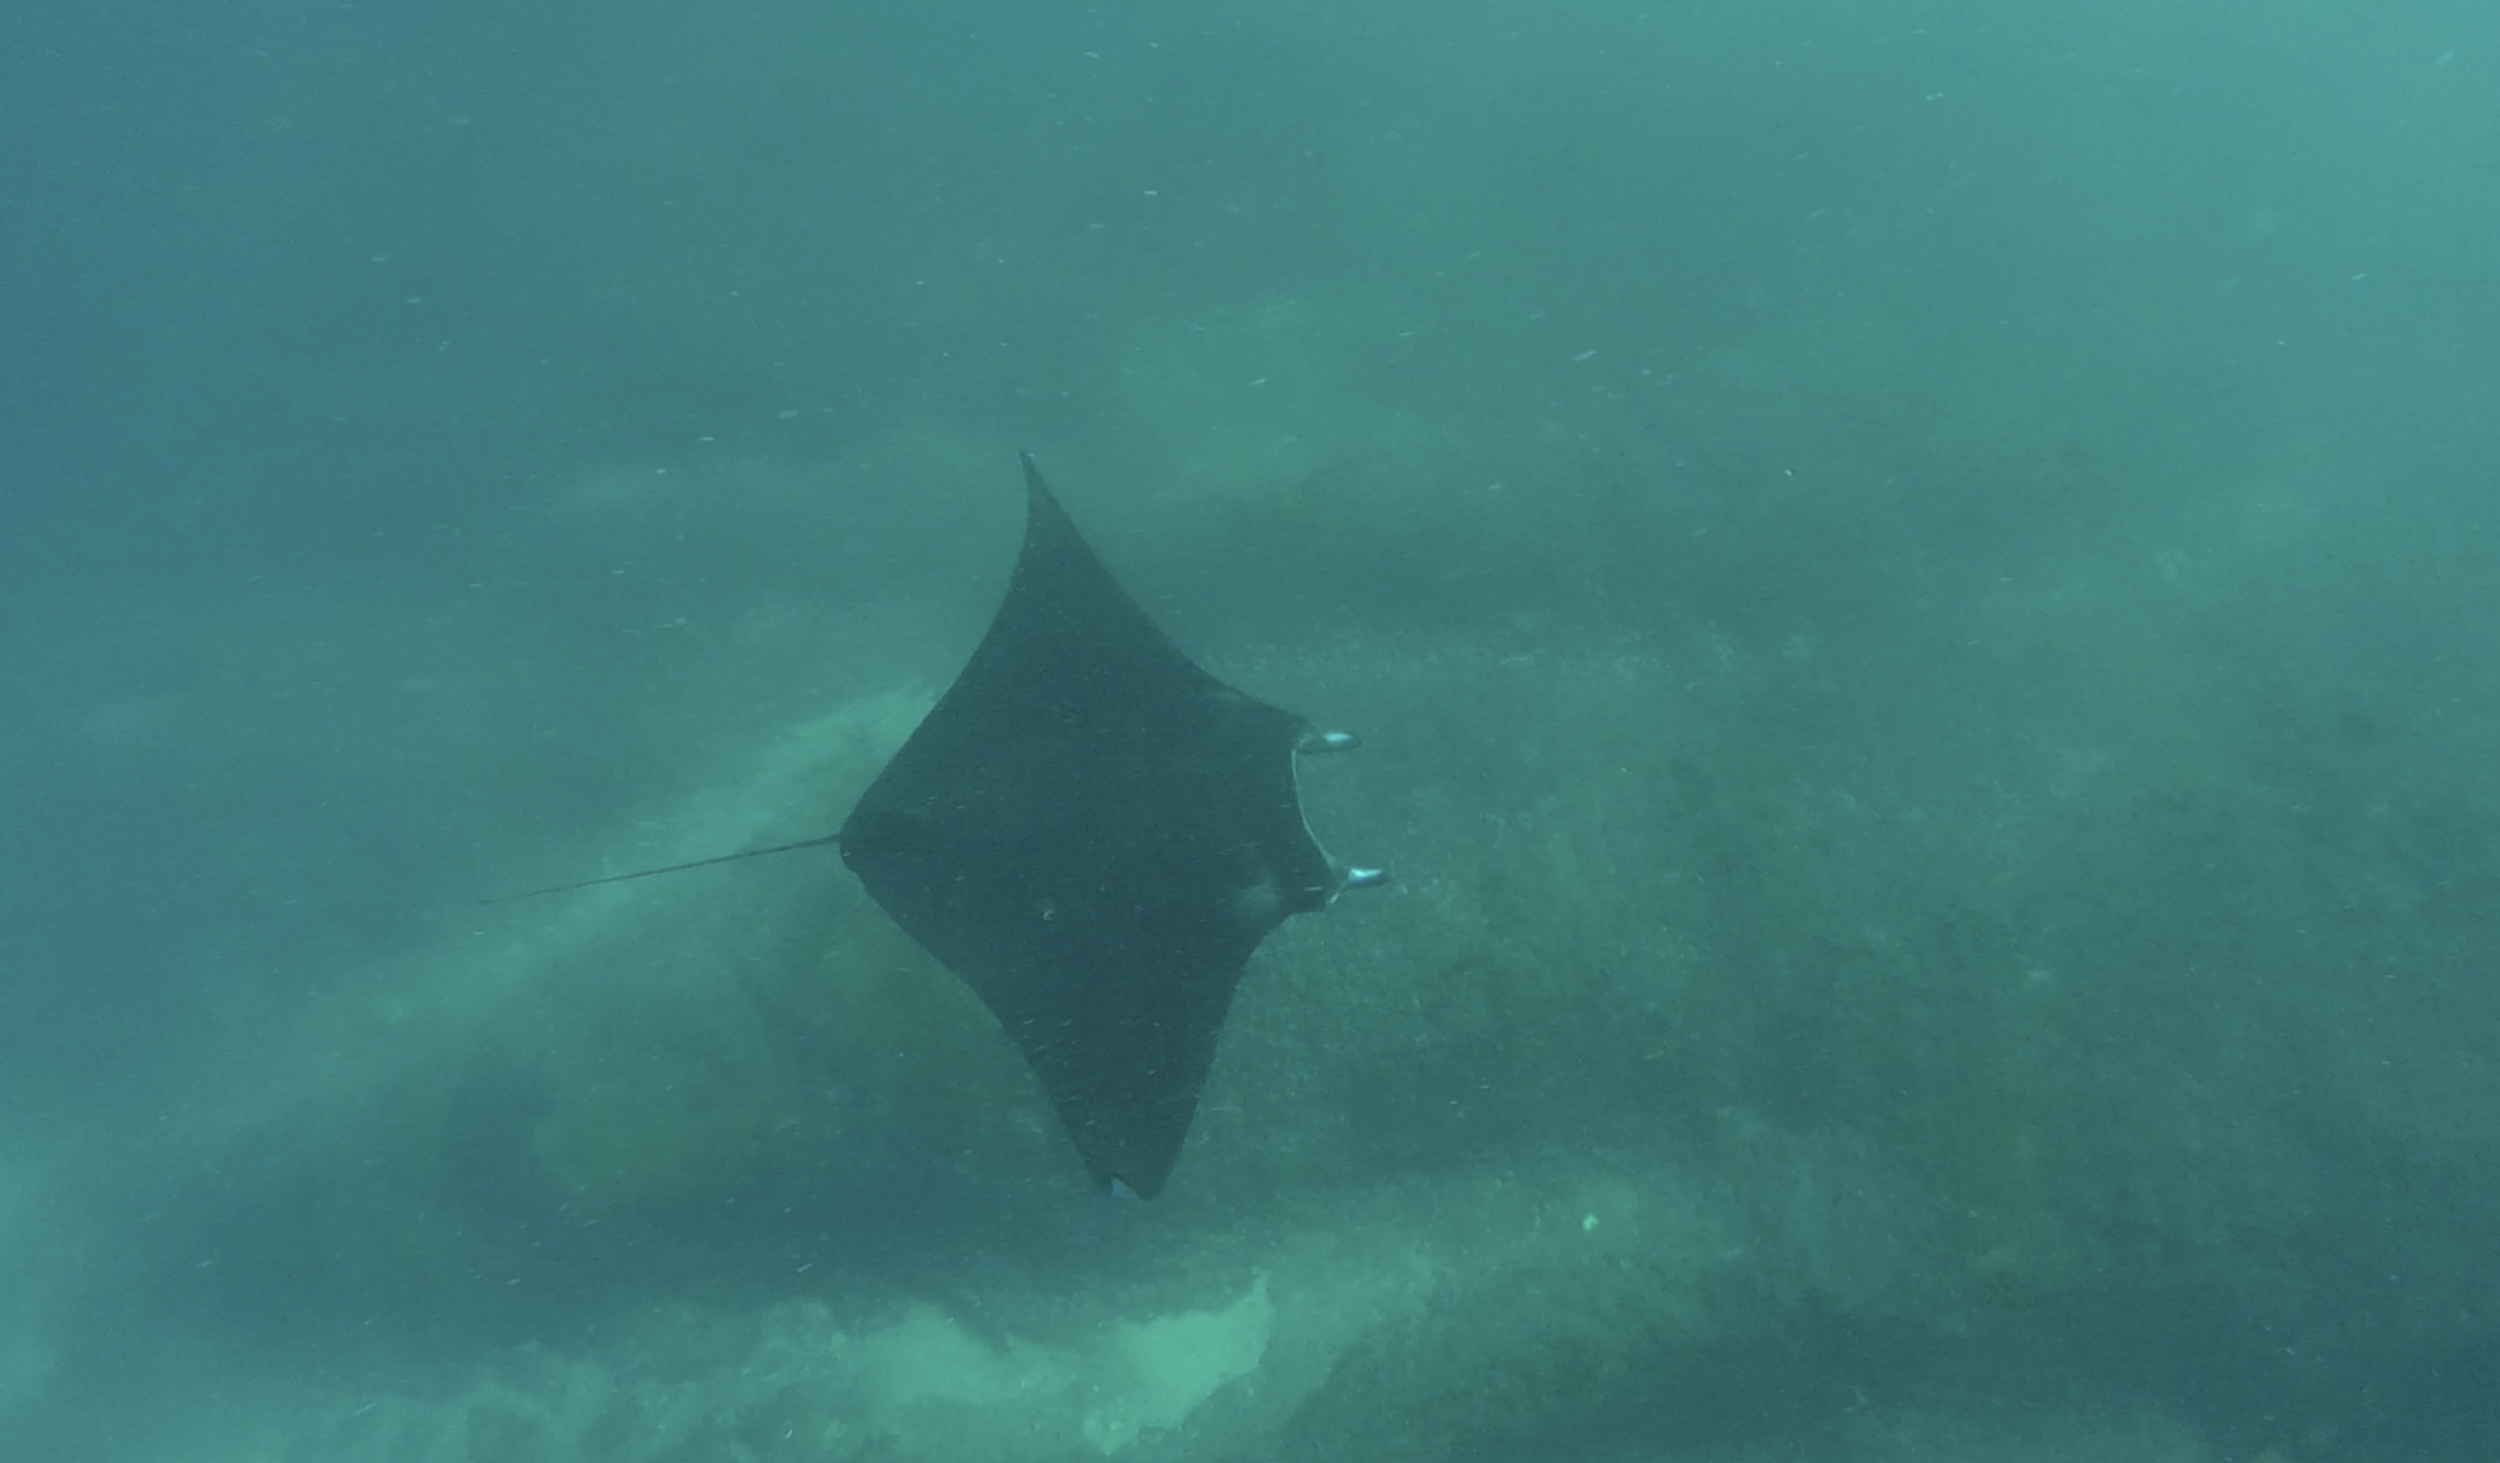
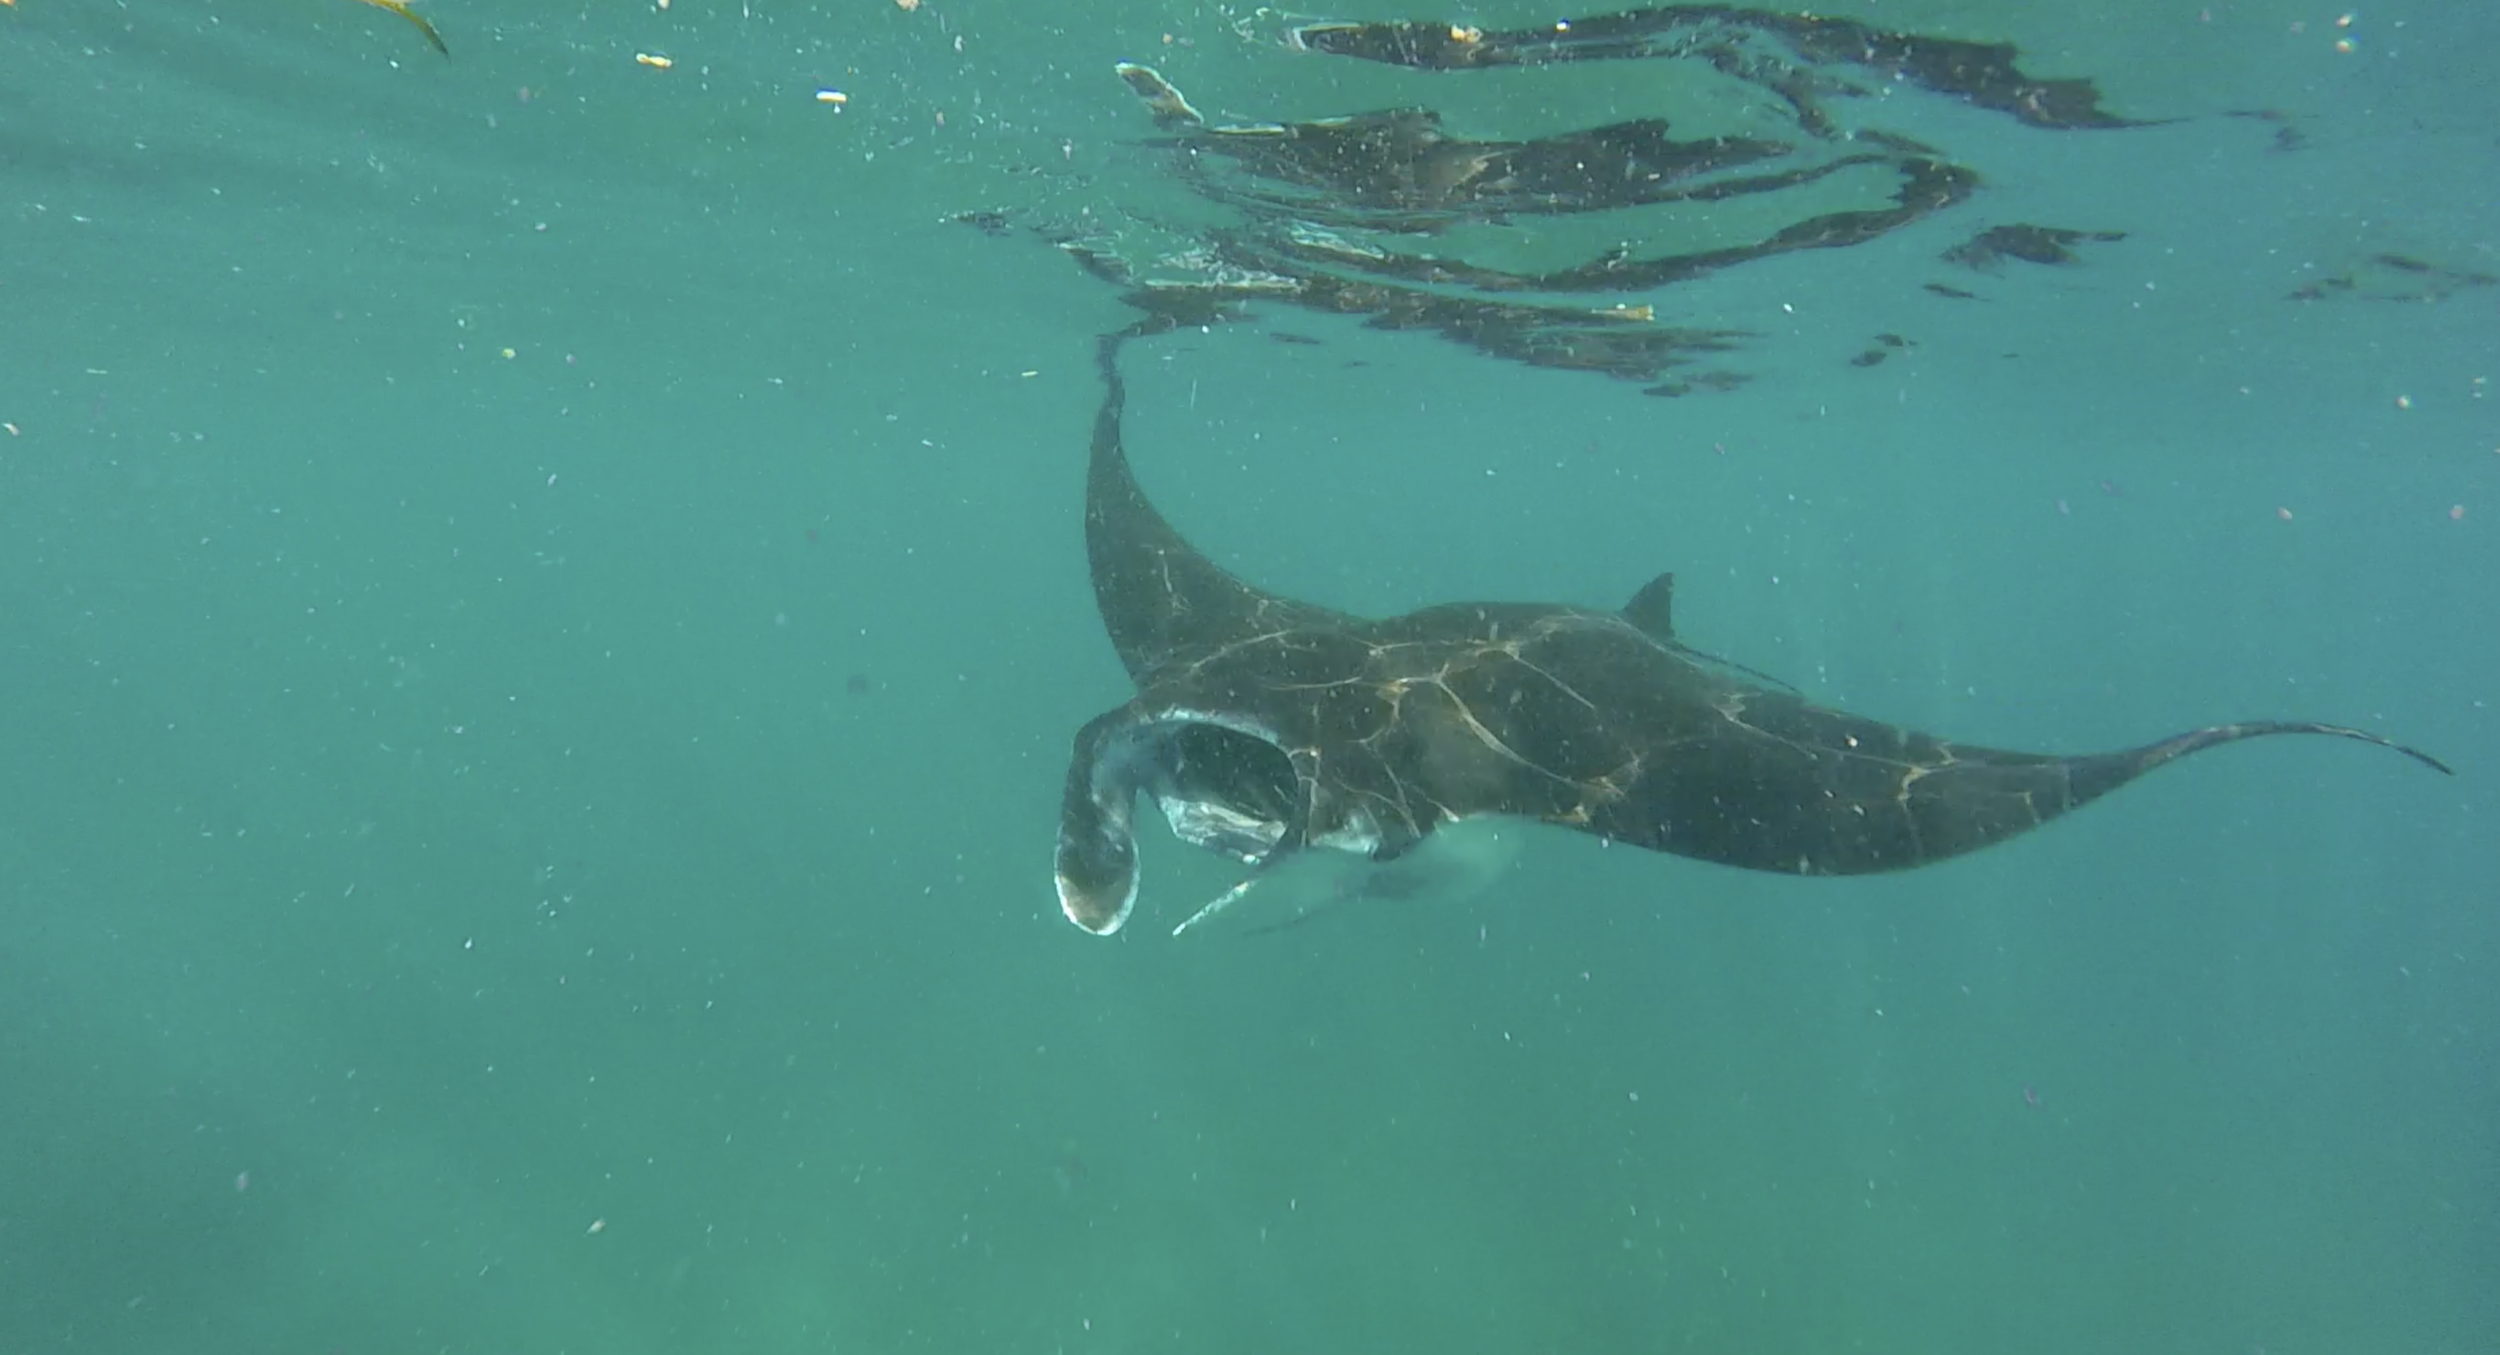
Manta Bay
Getting the chance to snorkel and spend time in the water was much needed to help deal with the Nusa Penida heat! Our tour guide arranged a private boat to take us out early in the morning. Unfortunately the scene was a little chaotic while we were there. The strategy was: the drivers would find the manta rays then yell at you to jump in. Then once in the water and the current manta rays had swam into the bay one driver in the crowd would yell and point in a direction to designate where the next manta rays were, and everyone would swim that direction. It was chaos. We only saw one or two manta rays at a time. Our boat driver stated that there are more manta rays in the early afternoon and less boats, so the experience is better; however, the tides can get too low for the boats at that time of day. With the chaos set aside, it was a cool experience to be so close to such massive creatures! Afterwards we did snorkeling in Crystal Bay, and saw some beautiful fish. Unfortunately the water was very choppy for us, so much so, that I legitimately almost threw up from motion sickness! I also want to warn you that there are a lot of tiny, stinging creatures in the water that will frequently sting you. It’s not horrible, just annoying!